Imagine waking up on a spring morning with the excitement of Easter in the air. You head for your living room, dazzled by an explosion of cheerful colors and decorations that capture the festive spirit of this holiday. Easter is celebrated by over 2 billion people around the world, each bringing their own unique touch to this age-old tradition. In this article, we’ll share innovative ideas and offer tutorials to make your home shine this Easter Sunday.
| Key points to remember |
|---|
| The cultural and traditional importance of Easter decorations. |
| A variety of creative ideas for decorating eggs. |
| DIY tutorials for making your own festive decorations. |
Easter decoration ideas
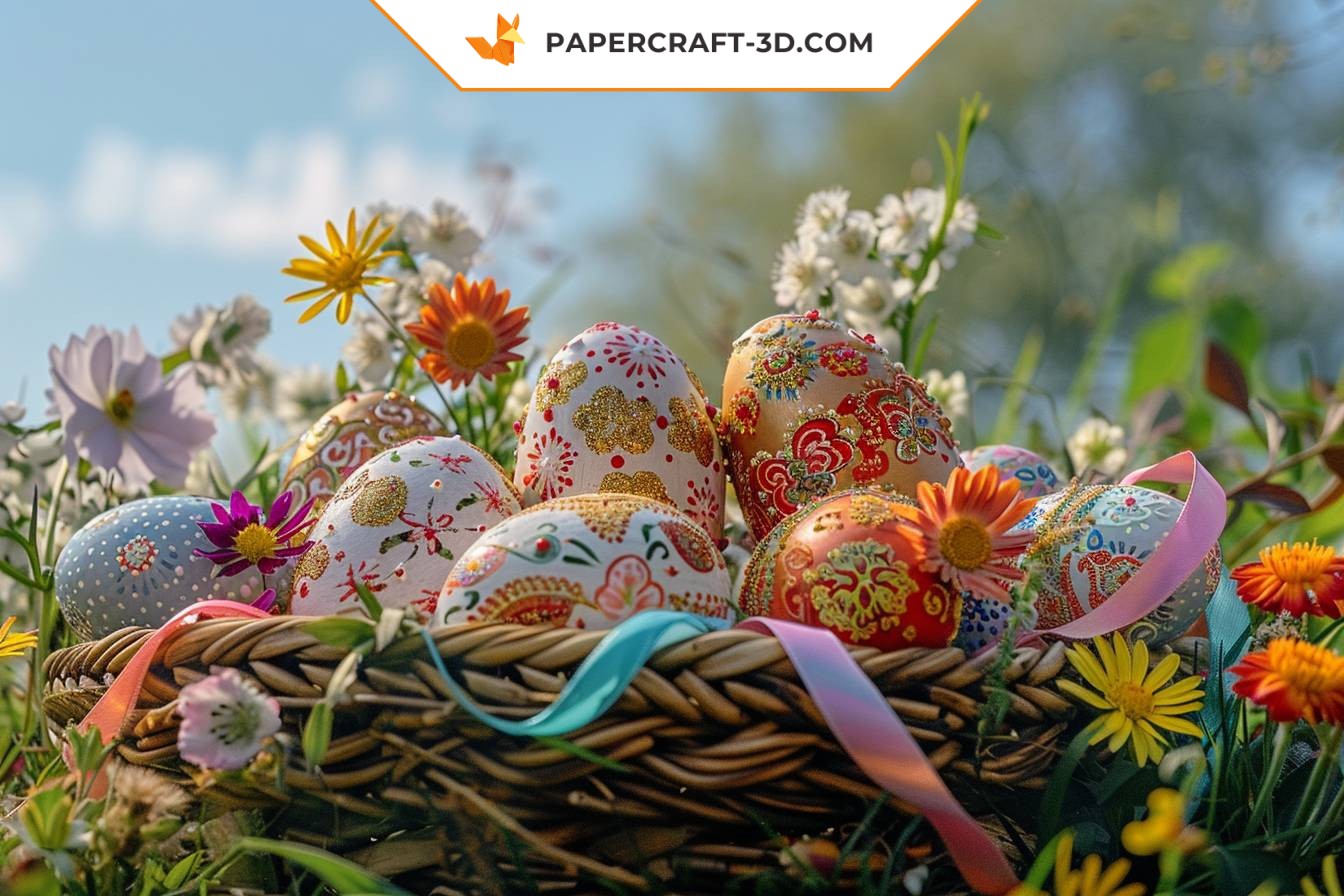
To celebrate Easter, there’s nothing like inviting a party into your home with festive decorations. Whether you prefer a rustic or more modern ambience, these Easter decoration ideas will brighten up your home.
DIY Easter garland
Quick and economical to make, Easter garlands are a timeless classic. You can opt for a paper version by cutting out bunny or egg shapes from colored paper. Then simply assemble them on a string using a stapler or glue gun.
The floral centerpiece
Don’t forget to dress your table with a floral centerpiece. Choose a clear vase and fill it with water. Add fresh flowers in springtime colors: tulips, daffodils, ranunculus… To complete the picture, arrange a few decorated eggs around the vase.
Hanging eggs
This idea is as simple as it is effective: hang decorated eggs from a potted tree or from branches collected from your garden. To do this, gently pierce the top of the egg with a needle and thread through.
- Tip: to empty the egg without breaking it, make a second hole at the base and blow.
- Note: this decoration can also be used outdoors, weather permitting.
The thematic shelf
If you’ve got an open shelf in your living room, why not turn it into a real Easter scene? Place some figurines (rabbits, chickens…), candles in spring-like shapes and, of course, a few decorated eggs, and you’ve got a few ideas to get you started with your Easter decorations. But don’t forget: the most important thing is that you enjoy creating and that you like the result!
A world of creativity: DIY Easter decorating tutorials
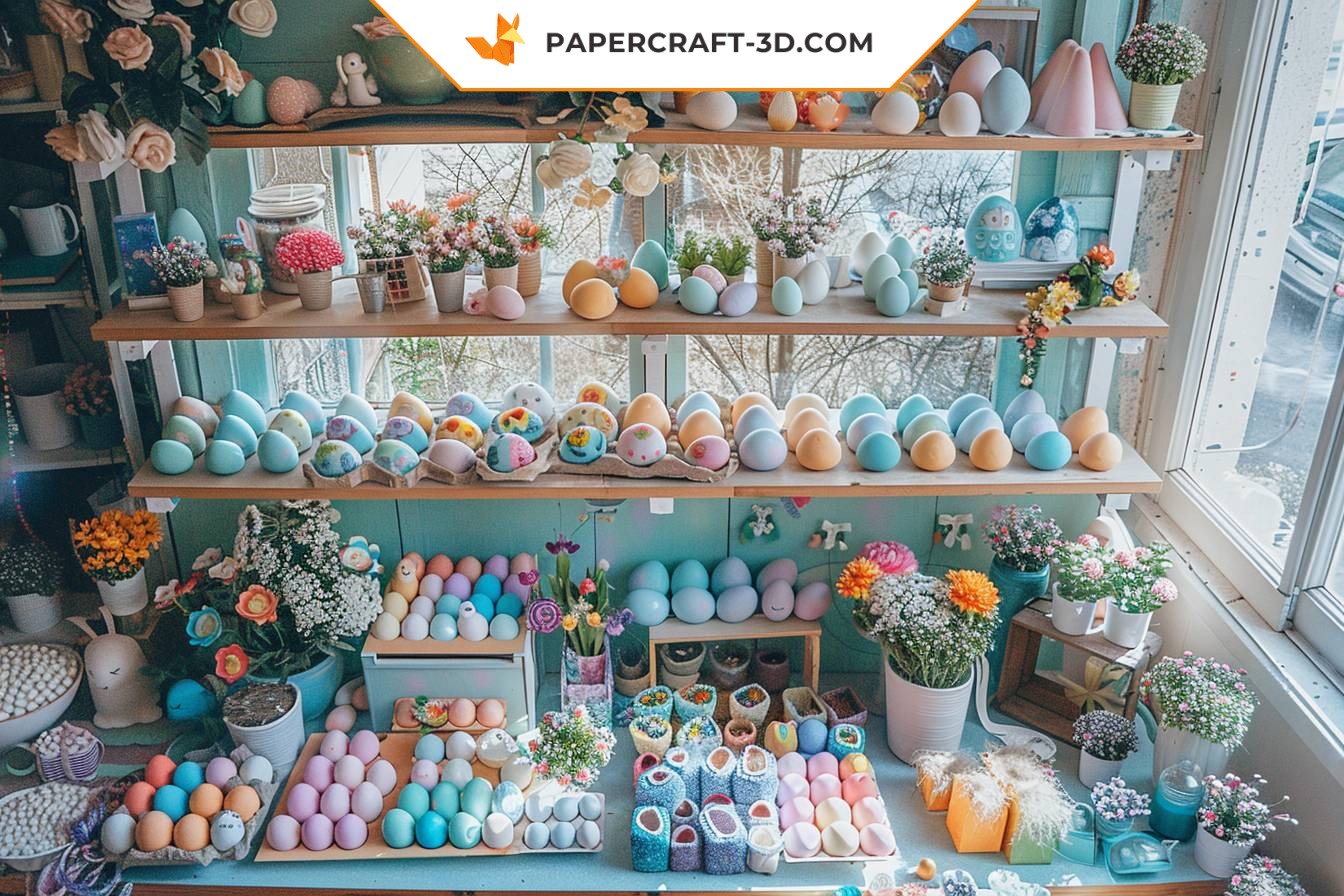
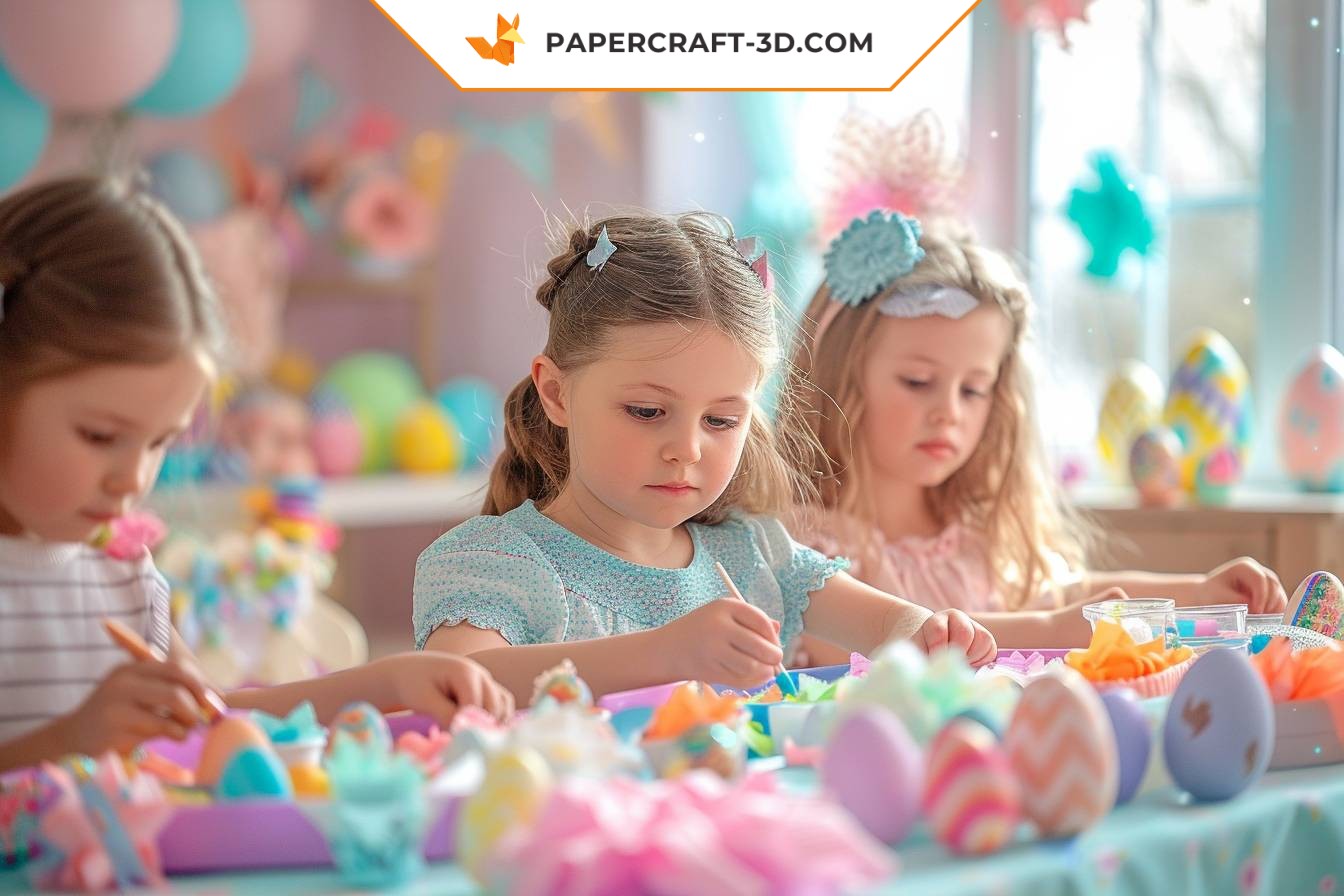
What could be more rewarding than adding your own personal touch to Easter decorations? Let yourself be inspired by these DIY (Do It Yourself) tutorials and demonstrate your originality. There’s nothing like the pleasure of creating your own decorations, and it’s a fun activity that can be shared with children for a convivial moment.
Floral decorations: springtime in your home
Nothing says spring like fresh flowers. Create your own floral arrangements to give your home a festive, colorful vibe. Here’s how:
- Choose your flowers: Choose tulips, daffodils or any other flower that evokes spring for you.
- Prepare your vases: Glass jars, woven baskets or even emptied eggshells can be used as vases. Get creative!
- Arrange your flowers: Don’t worry too much about the perfect arrangement. A messy, natural look is just as beautiful.
Festive banners: brighten up your space
Nothing says “celebration” like a beautiful, festive banner. Follow these simple steps to create your own:
| Materials | Colored card stock, scissors, glue, string or ribbon, hole punch |
| Step 1 | Cut the card into oval shapes (or egg shapes, if you’re feeling ambitious). |
| Step 2 | Decorate each room with drawings, stickers or whatever you like. |
| Step 3 | Punch two holes in the top of each piece and thread the string or ribbon through. |
| Step 4 | Hang your banner where it will be clearly visible. |
Door wreaths: welcome your guests in style
A festive door wreath is the perfect way to welcome your guests this Easter. Here’s a simple tutorial for creating your own:
- Find your base: Use a wicker wreath, or create your own with wire and floral ribbon.
- Add natural elements: Attach branches, flowers and leaves to your base with floral thread.
- Personalize: Add a personal touch with decorated eggs, ribbons or anything else that evokes Easter for you.
Whatever idea you choose to explore, remember that the aim is to have fun and create something you enjoy. So go for it, be creative and, above all, have fun!
Créativité en Fête: Decorating Easter Eggs
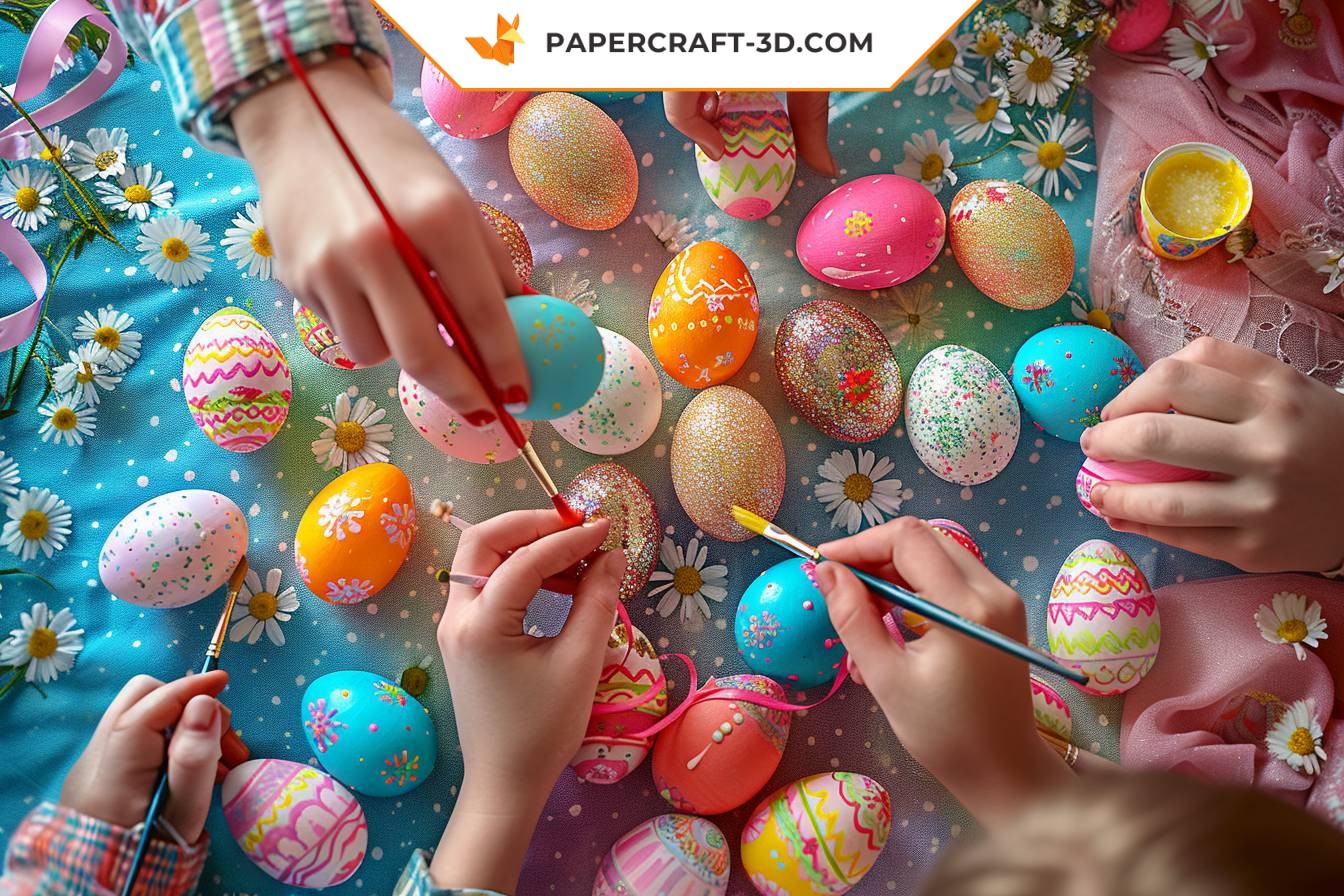
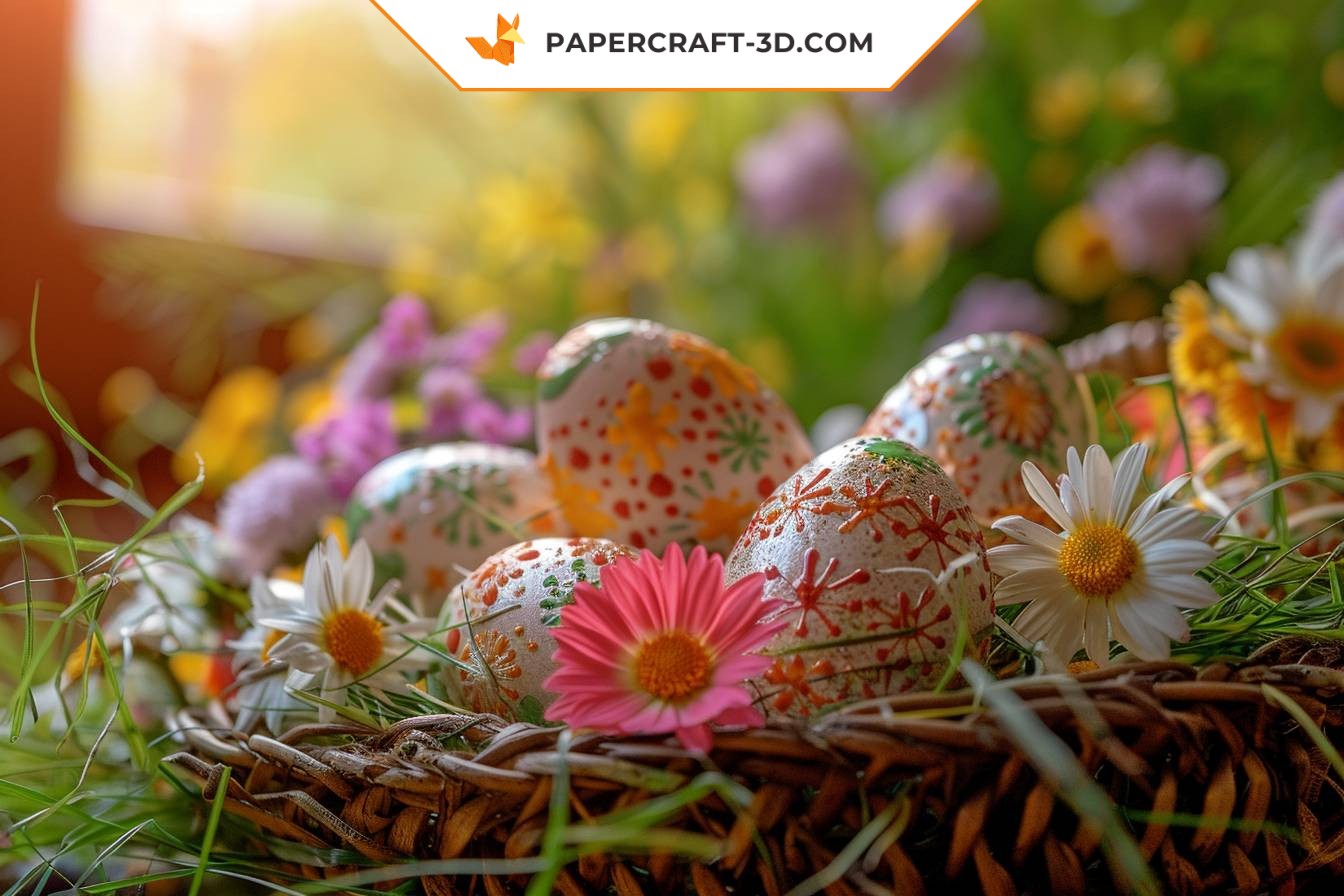
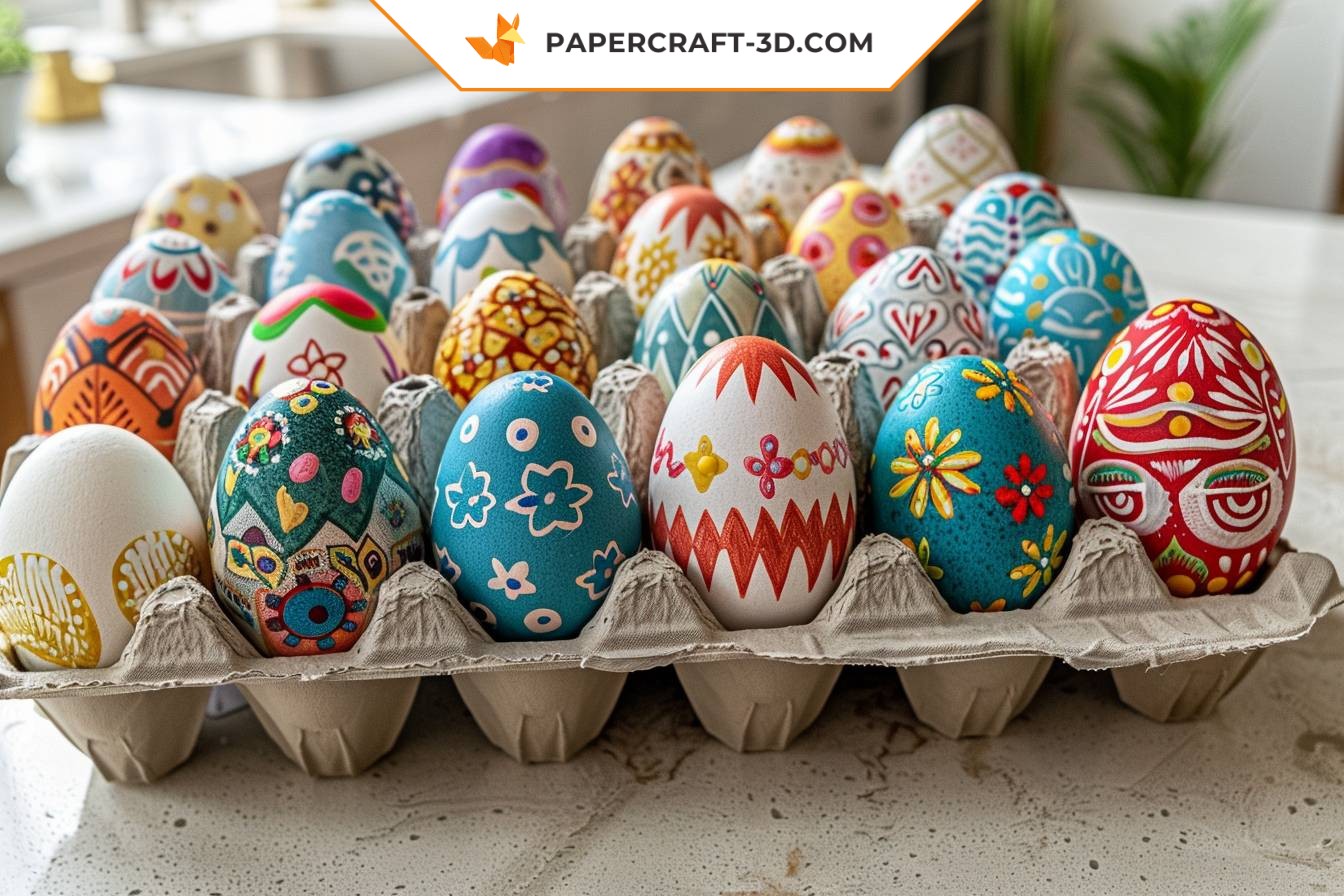
For most of us, the iconic image that comes to mind when we think of Easter is that of colorful eggs. It’s an age-old tradition cherished by many. So why not add a personal touch this year with some creative egg decoration ideas?
A palette of colors for your eggs
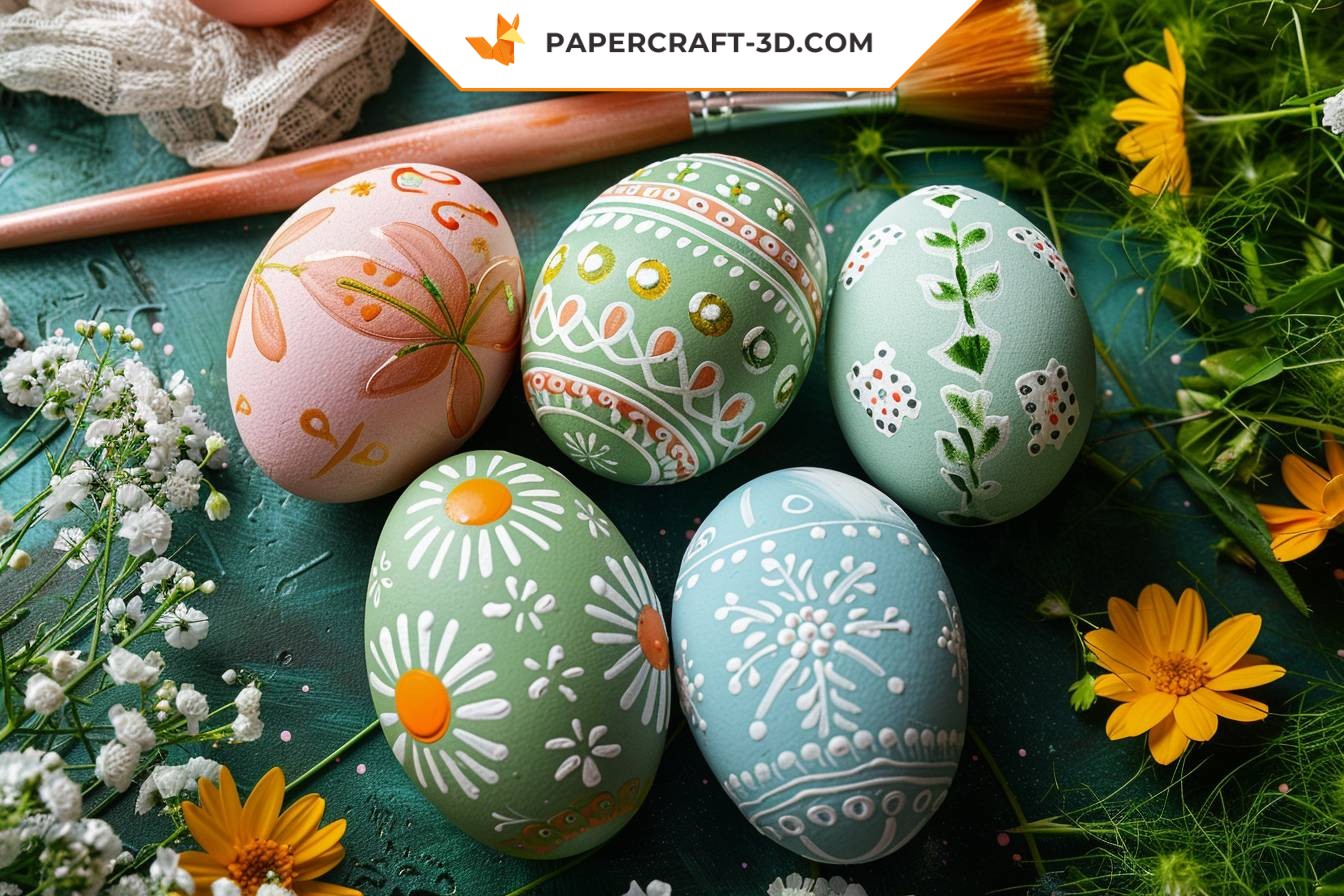
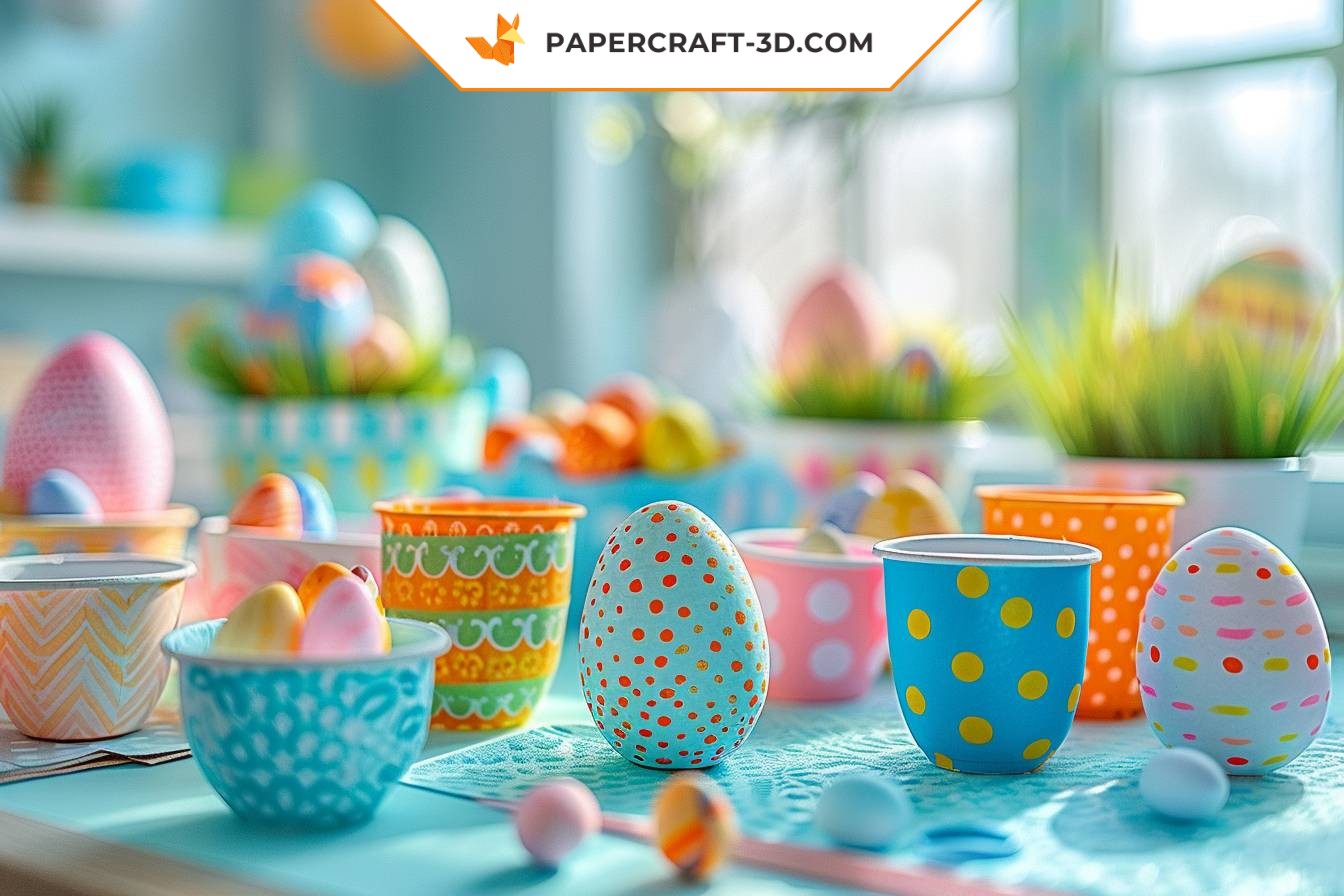
One of the first steps in decorating your Easter eggs is to decide on a color scheme. You can opt for soft pastel hues or choose bold, bright colors. The possibilities are endless.
- Soft pastels: Use delicate shades like powder pink, sky blue, mint green and lemon yellow for a classic look.
- Bright colors: For a bolder effect, opt for bright hues like cherry red, royal blue, bright orange and emerald green.
Patterns and designs for a personal touch
Once you’ve chosen your colors, it’s time to move on to patterns. From simple stripes and playful polka dots to delicate florals and modern geometrics – let your imagination run wild! Don’t hesitate to mix different patterns to create a visually interesting ensemble.
- Abstract drawings: Let your creativity flow with free-form shapes and wavy lines.
- Geometric patterns: For a modern look, try triangles, squares or even hexagons.
Add relief to your eggs
Why limit yourself to two dimensions? By adding relief to your eggs, you not only give them a unique look, but also a texture that’s pleasant to the touch. You can use a variety of materials, such as lace, sequins or even feathers.
- Lace: Delicately wrap a piece of lace around your egg for a romantic vintage effect.
- Glitter: Add a touch of glamour with sparkling sequins. They adhere easily with a little glue.
Remember, the key is to have fun during the process. Each egg is a blank canvas waiting to be transformed into a little work of art. So grab your brushes and let your creativity take over!
Transform your Easter eggs with these DIY tutorials
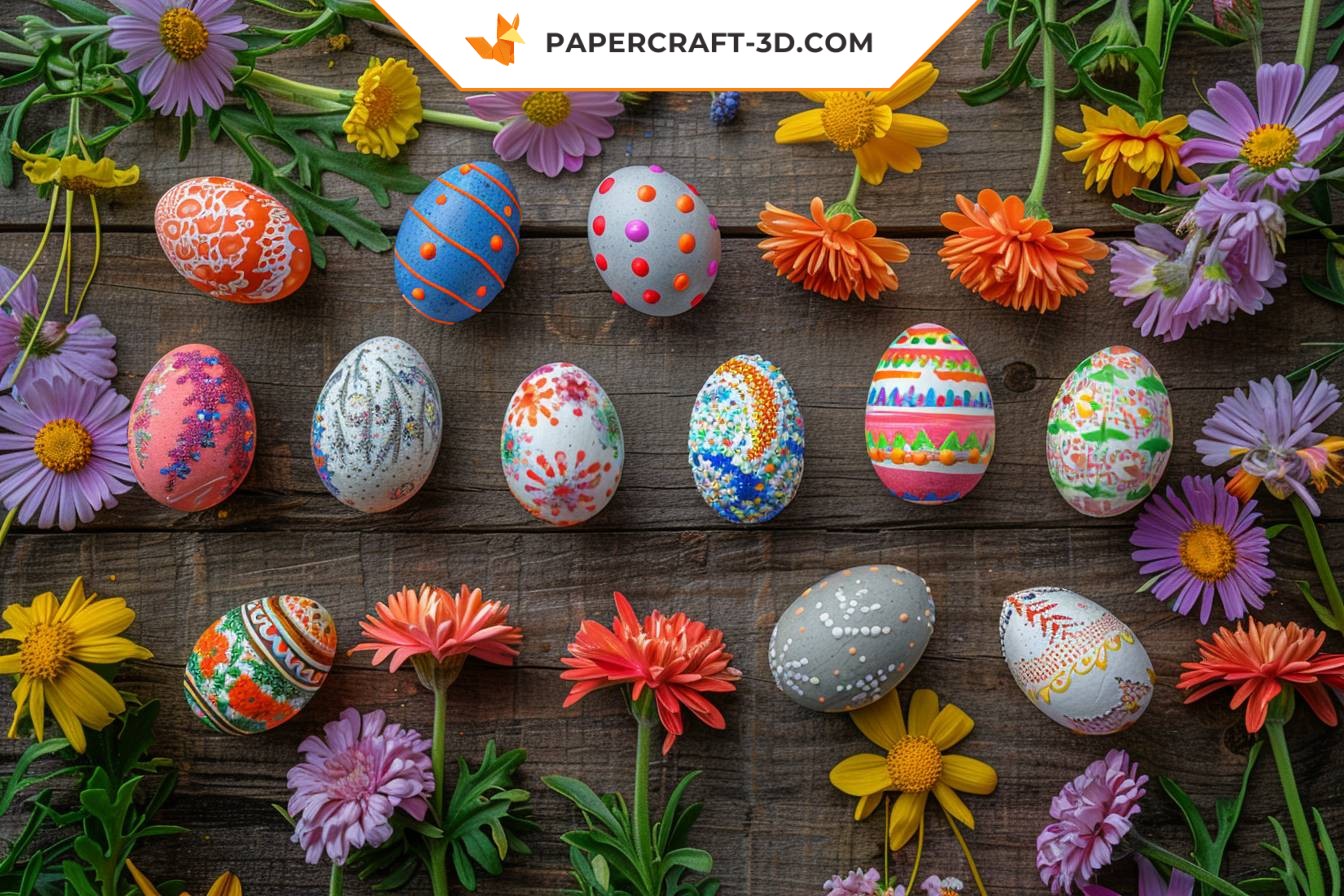
Easter is also the time to give free rein to your creativity and express your artistic talent. Decorating Easter eggs is a tradition you can take back into your own hands with these DIY tutorials. You’ll discover how to transform simple eggs into real masterpieces.
Decorating eggs with ribbons
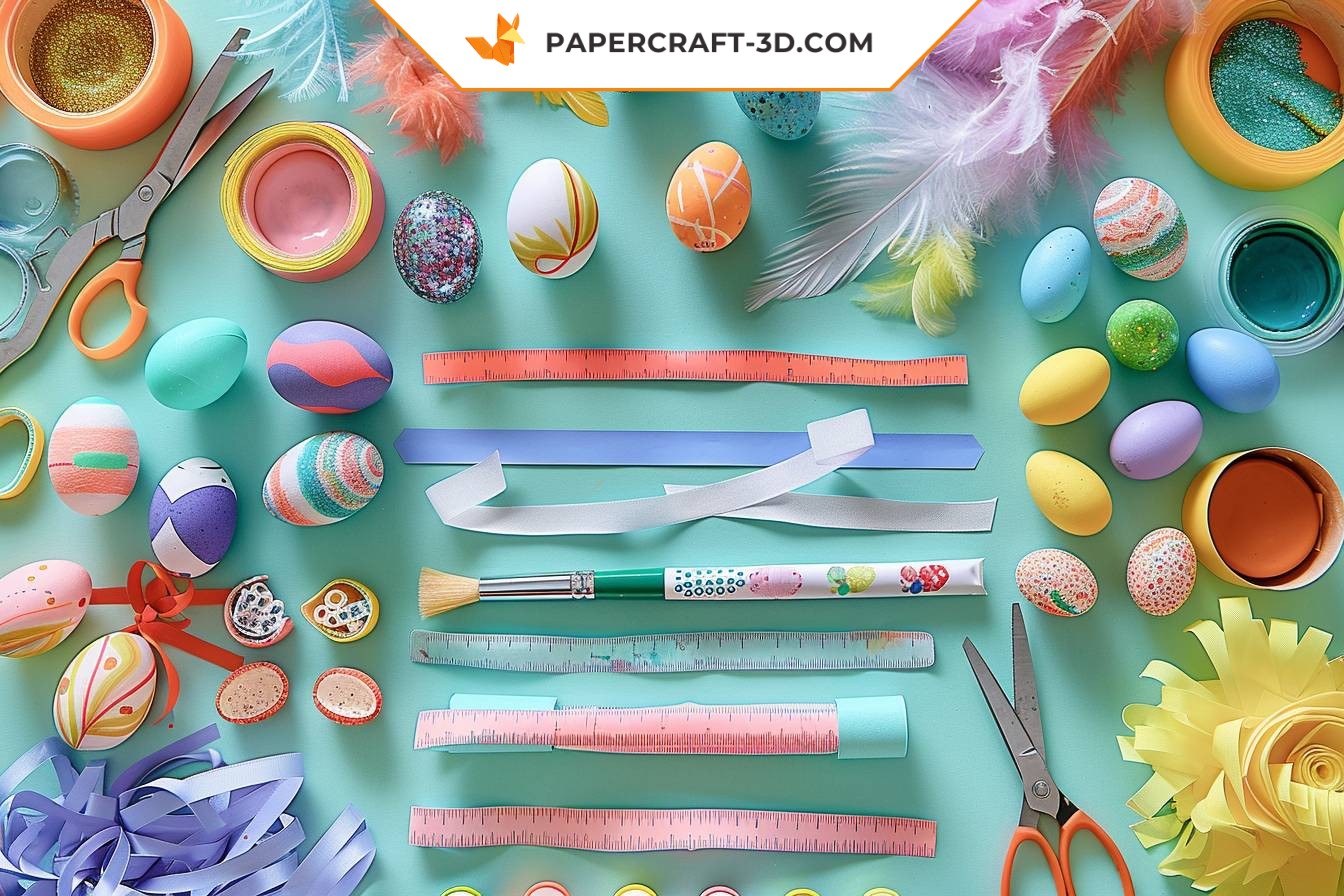
Turn your Easter eggs into dazzling decorative objects with colorful ribbons. Here are the steps to make this decoration:
- Find adhesive tapes in different colors and patterns.
- Glue them onto your eggs, creating geometric or abstract patterns to suit your inspiration.
- Leave to dry, then admire the result!
Decorating eggs with watercolors
If you love watercolors, why not use them to decorate your eggs? The result is simply magnificent and unique. To do so:
- Start by painting your eggs with a solid color as a base.
- Then, using a fine brush, draw floral, geometric or any other pattern you like.
- Leave to dry and voilà, you’ve got watercoloured eggs!
Marbled egg decoration
Looking for something a little more sophisticated? Marbled eggs are for you! To create this marbled effect :
- Soak your eggs in a light-coloured base.
- While they’re still wet, add a few drops of another color.
- Using a toothpick or small stick, swirl the colors together to create a marbled effect.
- Allow to dry completely before handling.
With these original and creative ideas, decorating your Easter eggs will be child’s play. So don’t hesitate to experiment and, above all, enjoy this manual activity. After all, that’s what Easter’s all about!
Meet Papercraft-3d.com for an Exceptional Easter Decoration
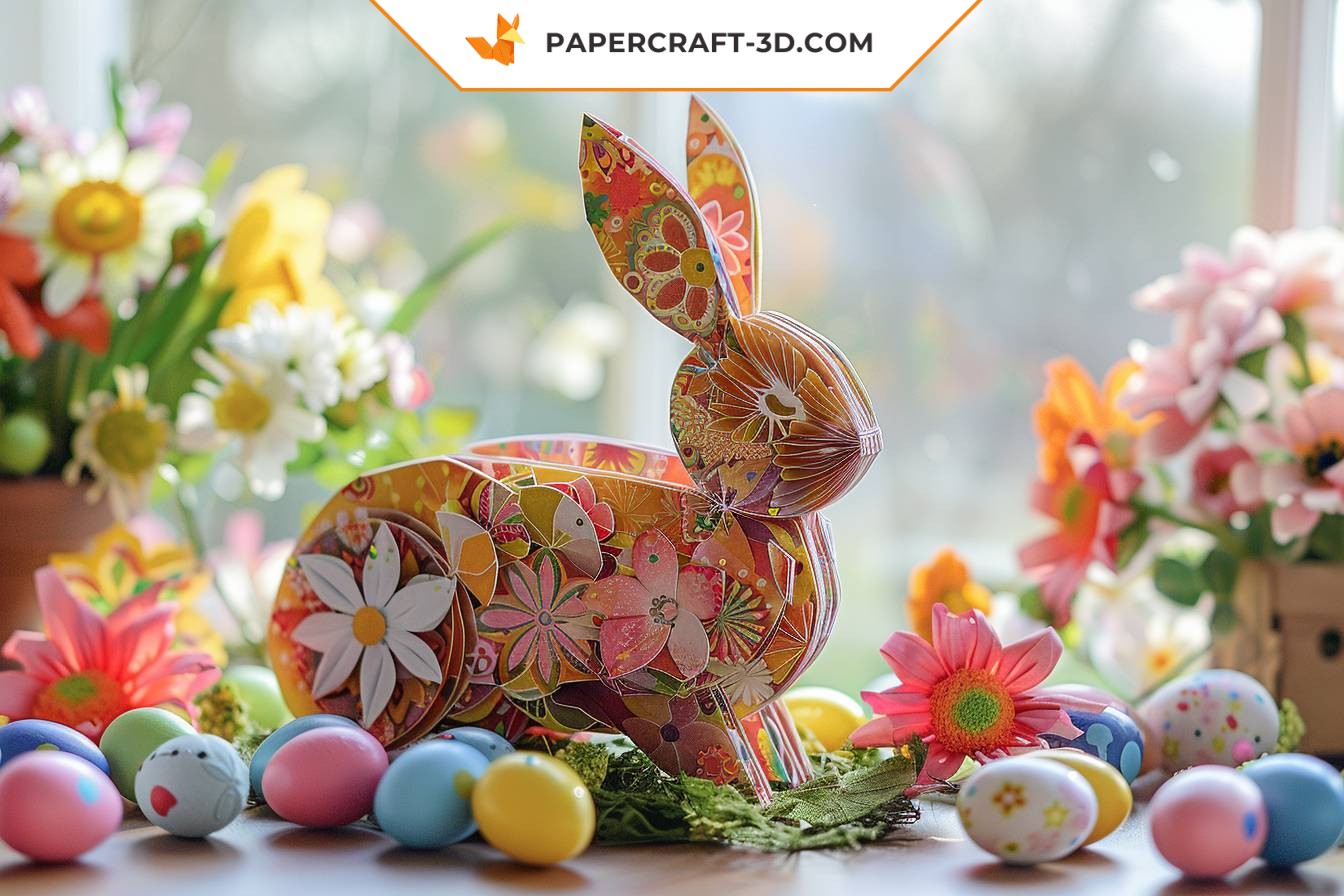
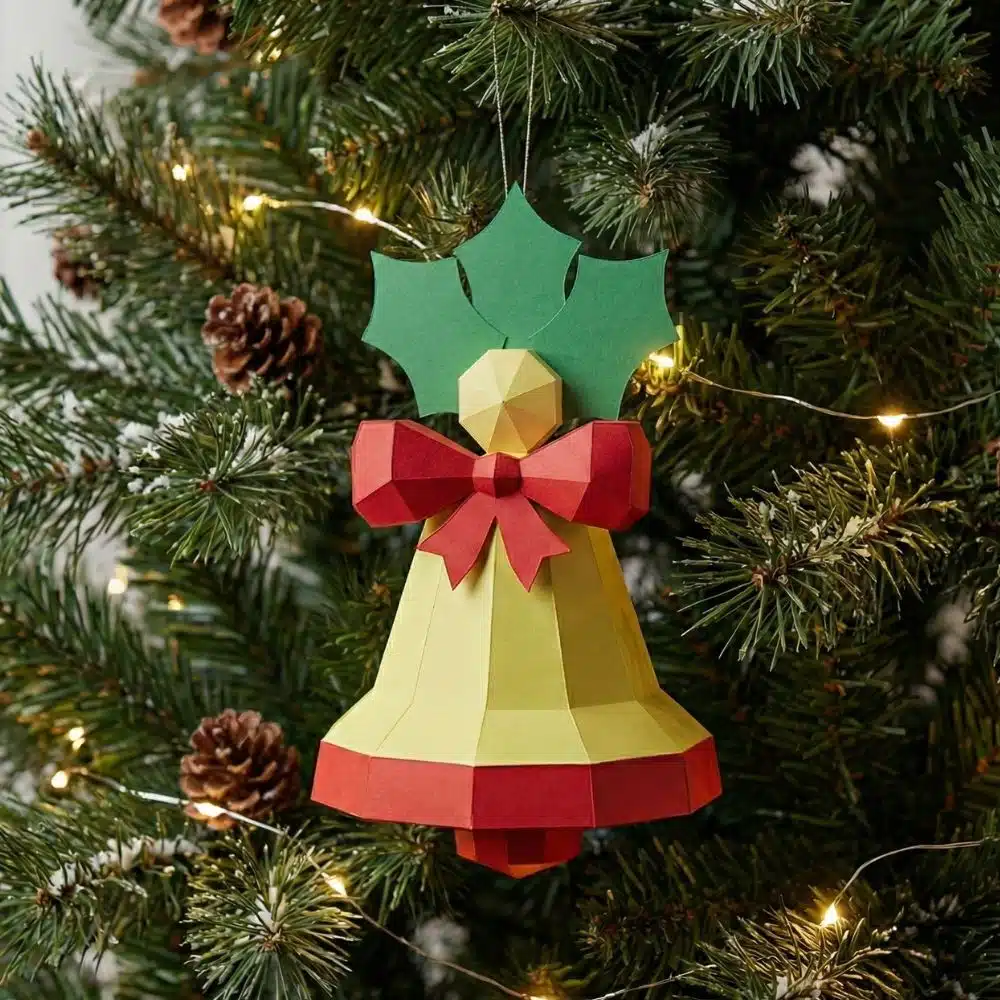
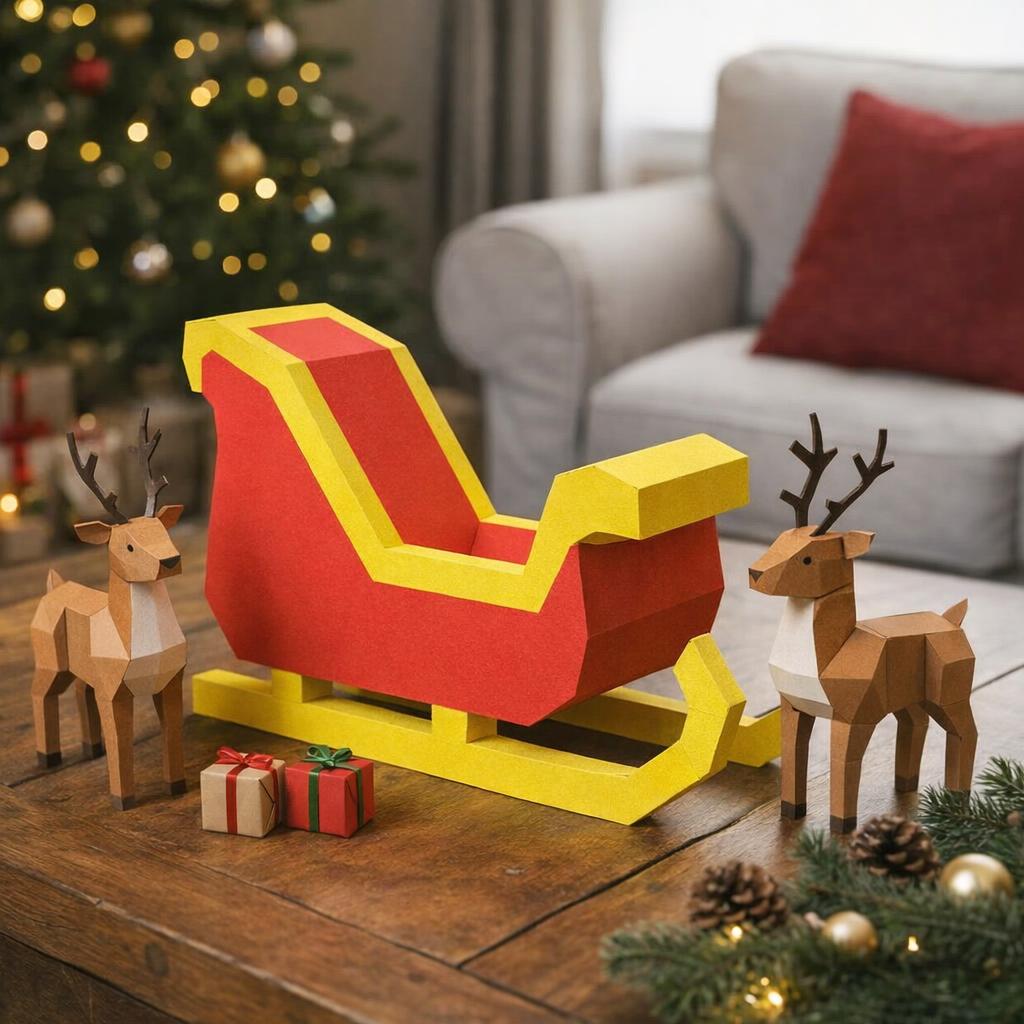
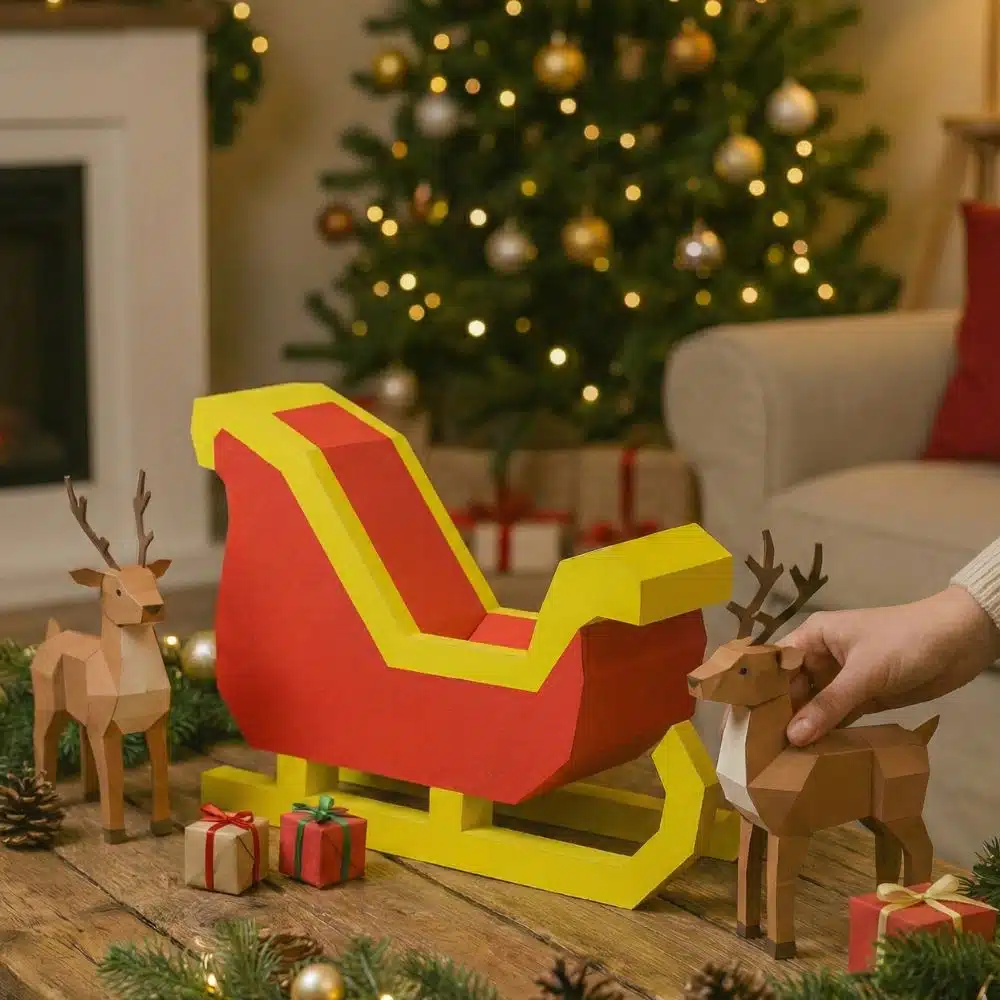
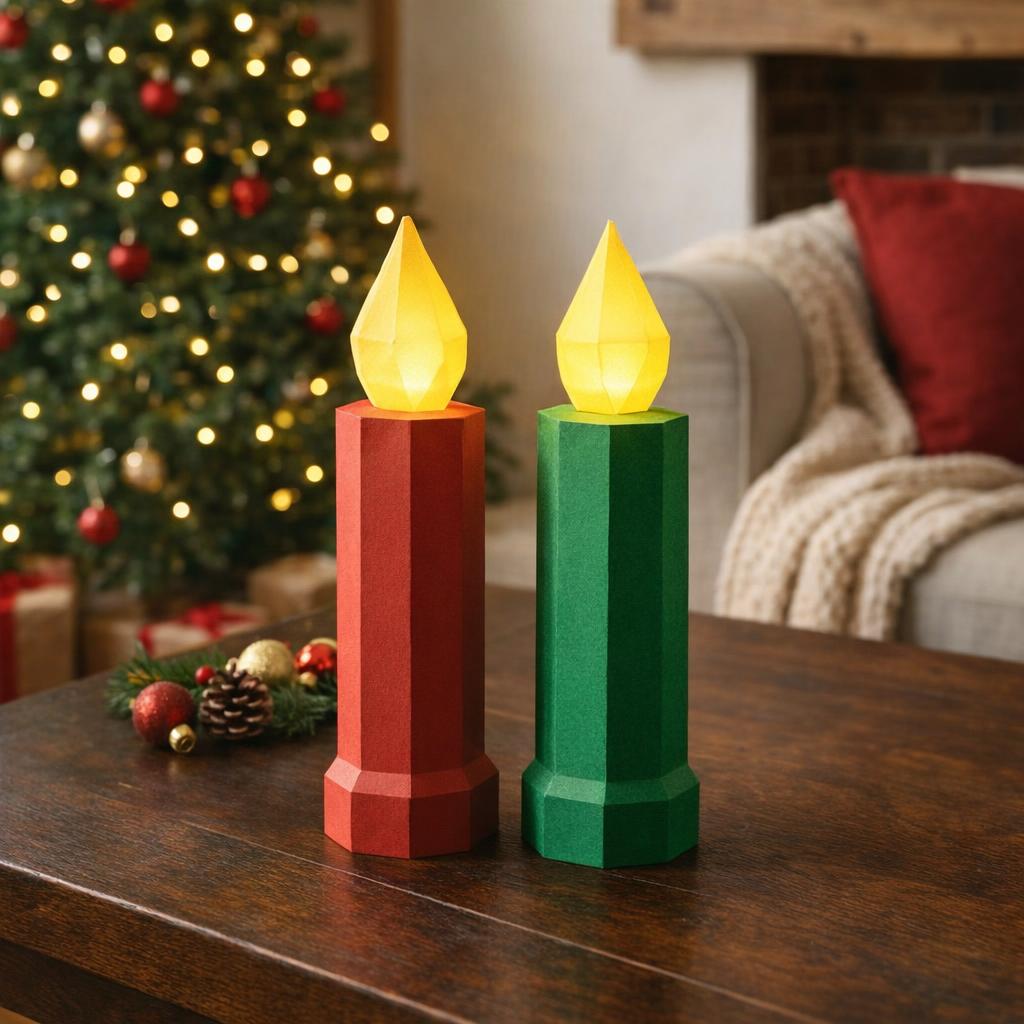
We offer a creative solution to your Easter decoration quest. On our website, Papercraft-3d.com, imagine an unforgettable Easter celebration with our PDF templates and complete kits. They’re a quick and easy way to decorate and make creative paper hobbies. Inexpensive, they’re perfect for those looking for original, affordable Easter ideas. Your creativity knows no bounds with our products! So why not try our kits and designs for your next Easter party?
Why decorate eggs at Easter?
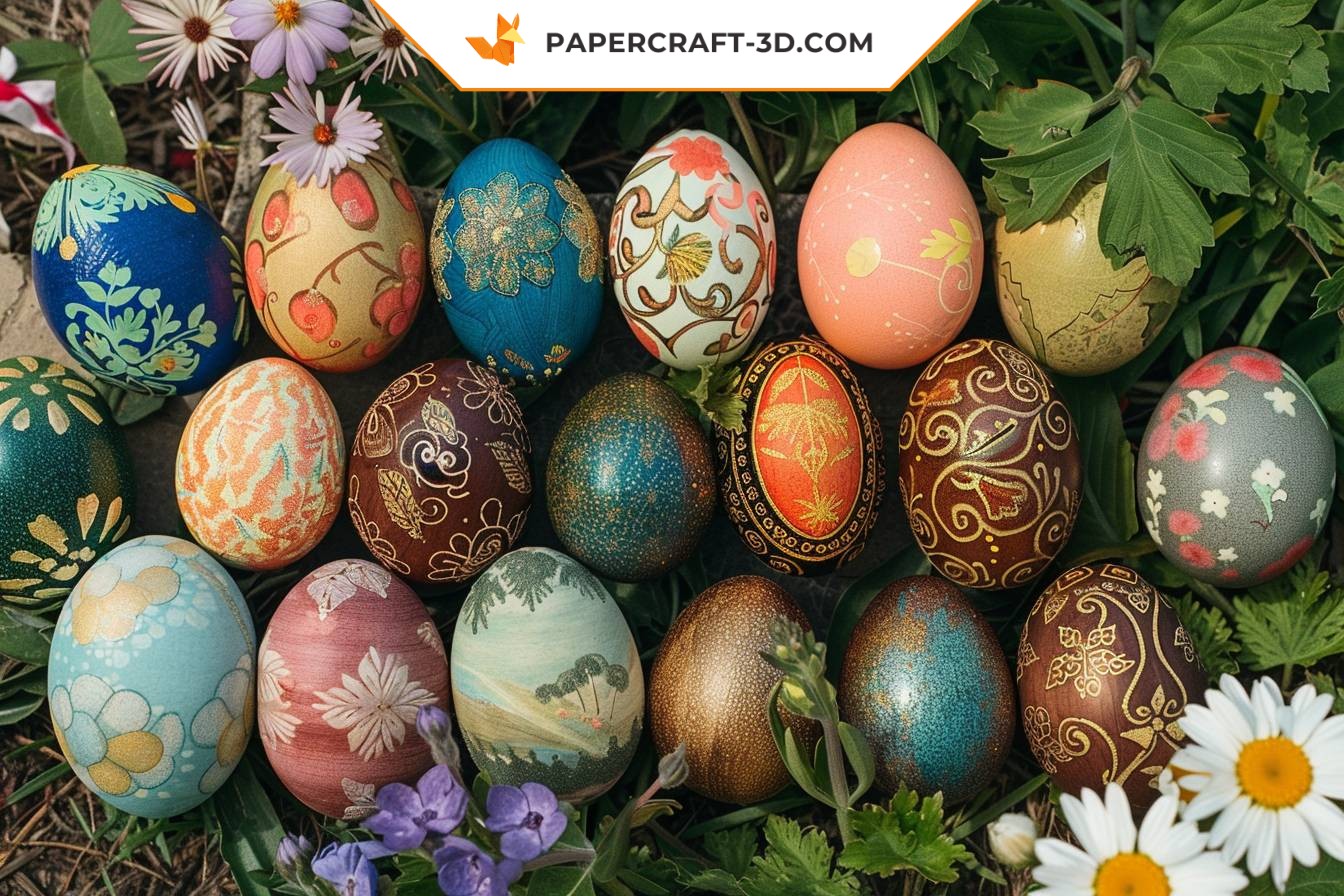
What materials do I need to make my Easter decorations?
How do I preserve my decorated eggs?
Where can I find patterns for my DIY Easter decorations?
Can I make Easter decorations with children?
How far in advance can I start decorating for Easter?
