


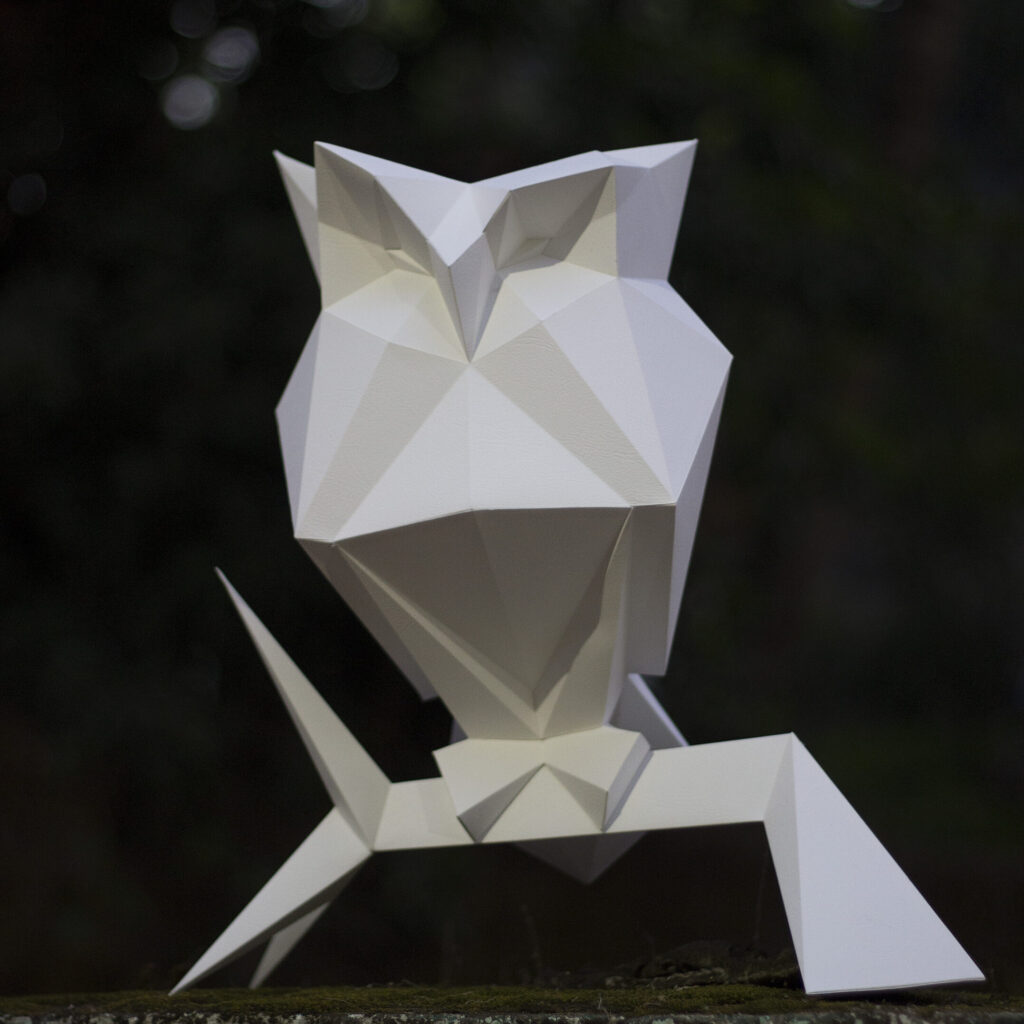
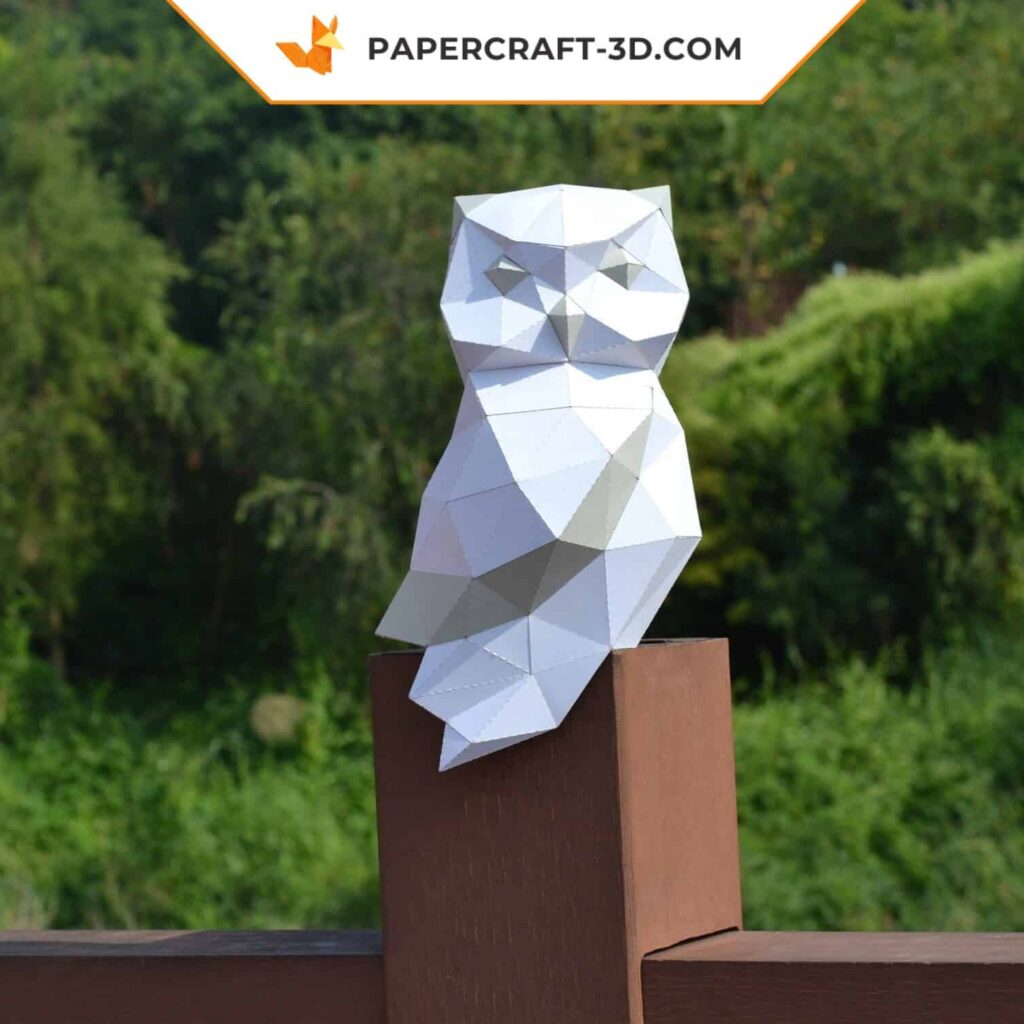
3D origami papercraft owl on branch
In the quiet of an office or the soft light of a living room, the owl watches. Still, perched on its branch, it conveys a calm, almost mystical presence. This 3D origami owl model transforms simple sheets of paper into a striking polygonal sculpture, rich in depth and character.
Each facet tells a story. The story of careful, precise assembly, where shapes come to life one by one. The result? A strong decorative piece, ideal for enhancing a workspace, a bookshelf or an event table. If this universe speaks to you, be sure to explore the other creations in our 3D owl papercraft collection, designed for enthusiasts of bold paper sculptures.
An immersive assembly experience
The model is made up of numerous numbered pieces, designed to fit together logically and smoothly. You start with the finest elements, then the structure gradually builds, gains volume, and finally reveals this majestic owl perched on its branch.
A detailed color guide is included to achieve a faithful and expressive finish. The different shades allow you to play with contrasts and highlight the animal’s geometric lines.
Technical details of the model
- Final dimensions: height 565 mm, depth 290 mm, width 205 mm
- Number of sheets: 15 pages required
- Assembly: several hundred pieces to glue together with precision
- Colors: model designed for multiple paper colors, according to the included guide
A bold creative challenge
This model is made for those who enjoy taking their time. Observing, adjusting, gluing. Each step requires focus, but the reward is there—tangible, almost sculptural. Do you enjoy projects that have to be earned? This owl on branch is definitely one of them.


Reviews
There are no reviews yet