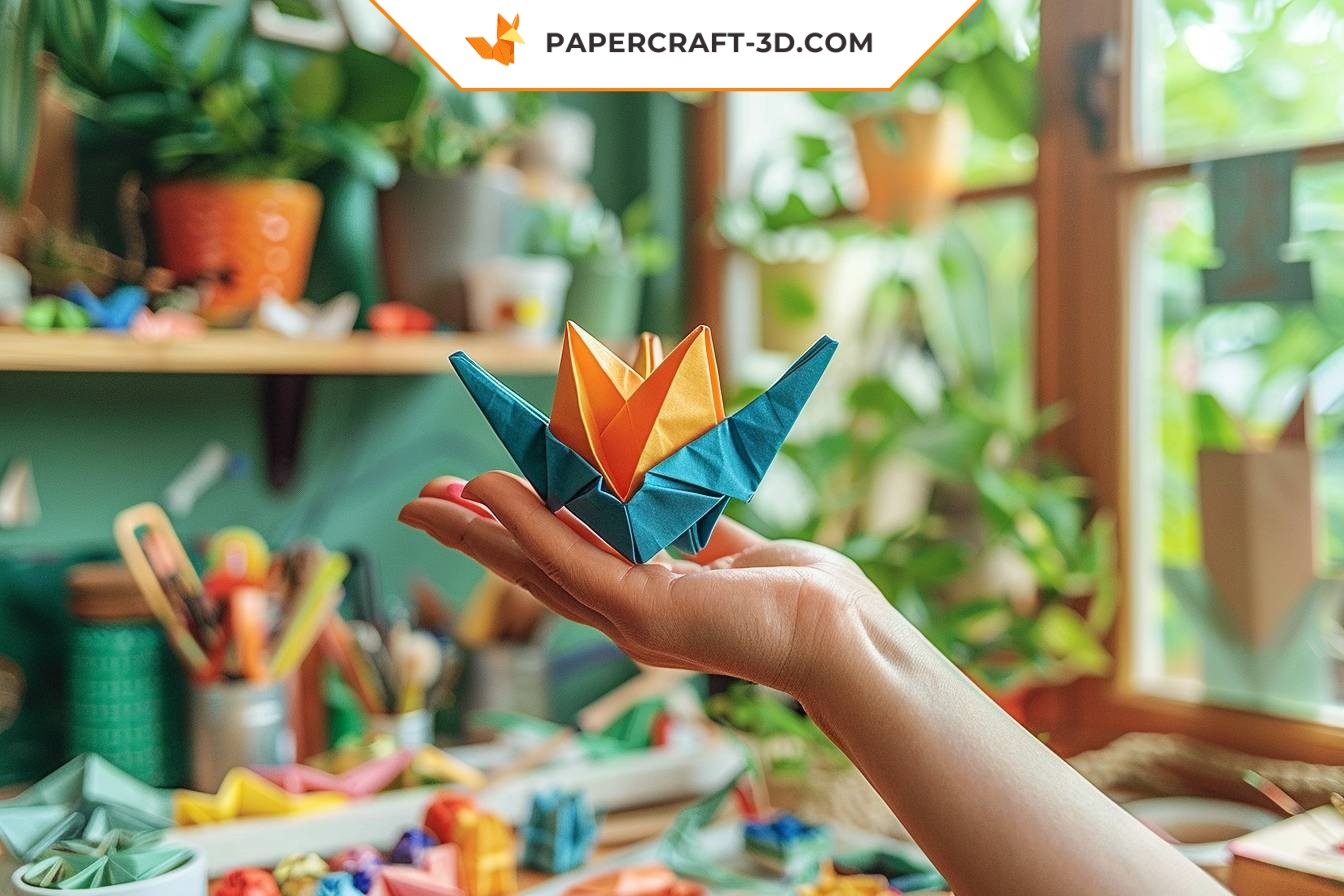
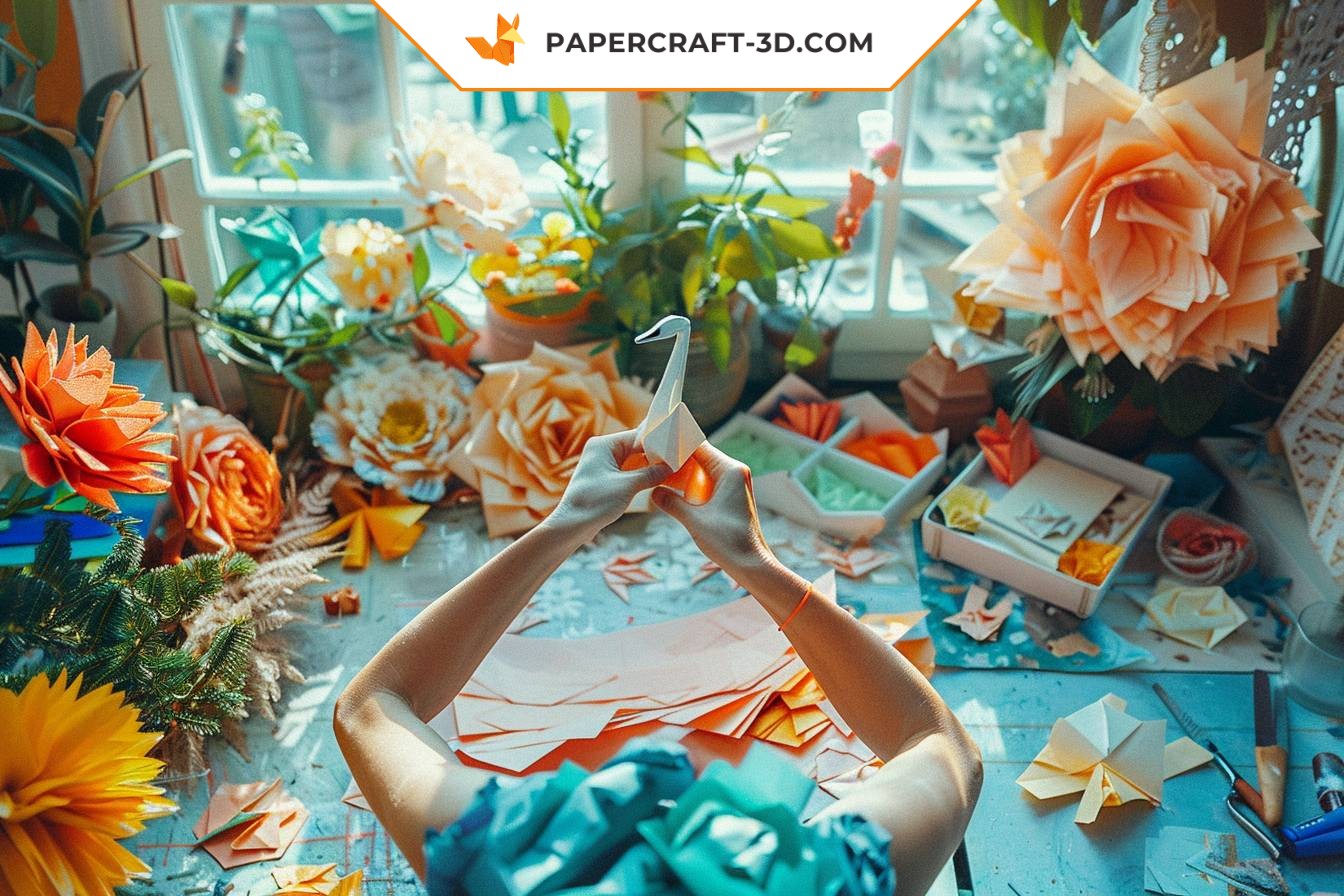
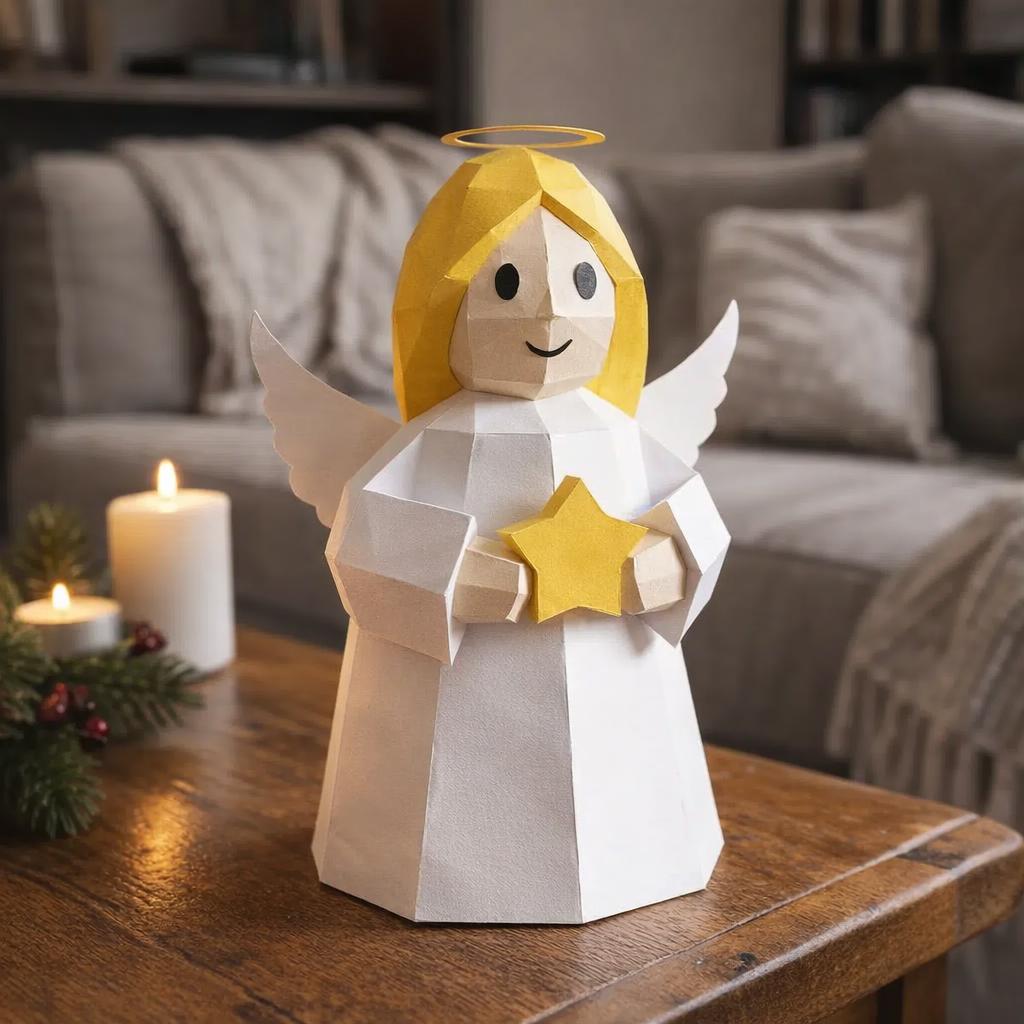
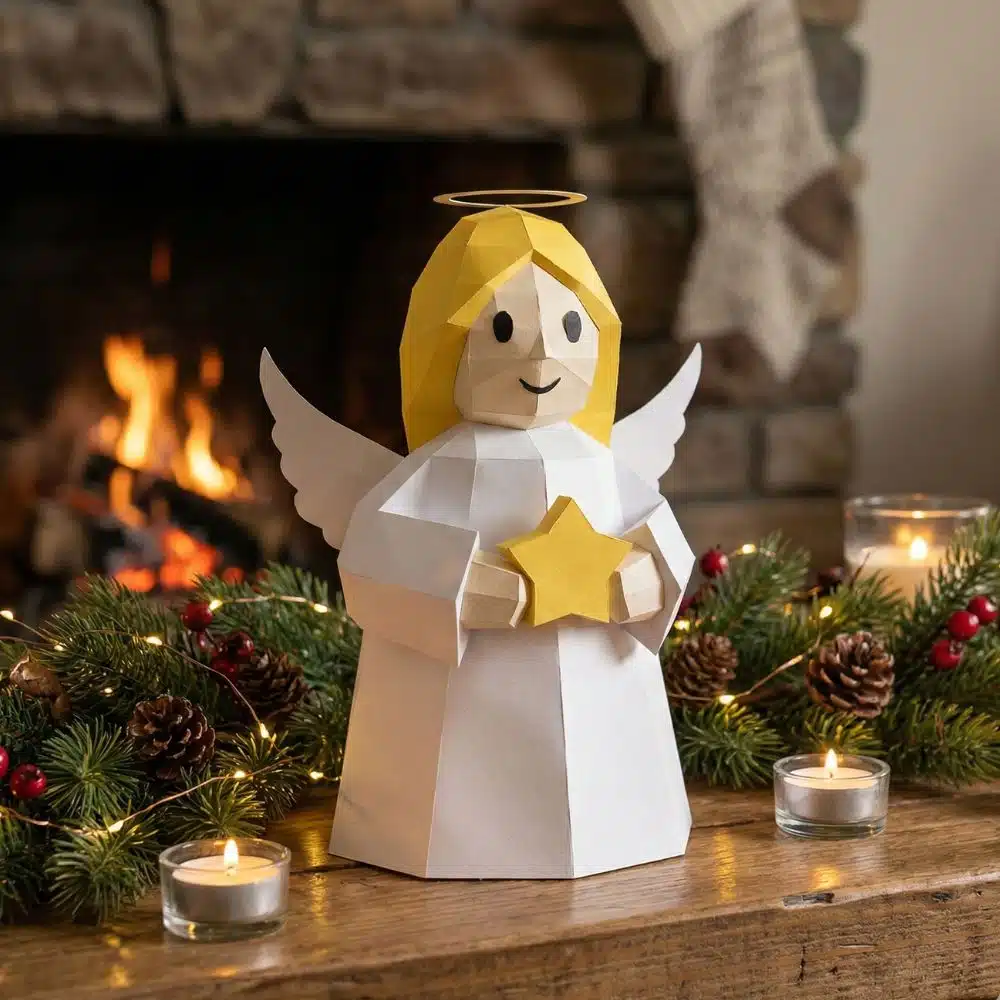
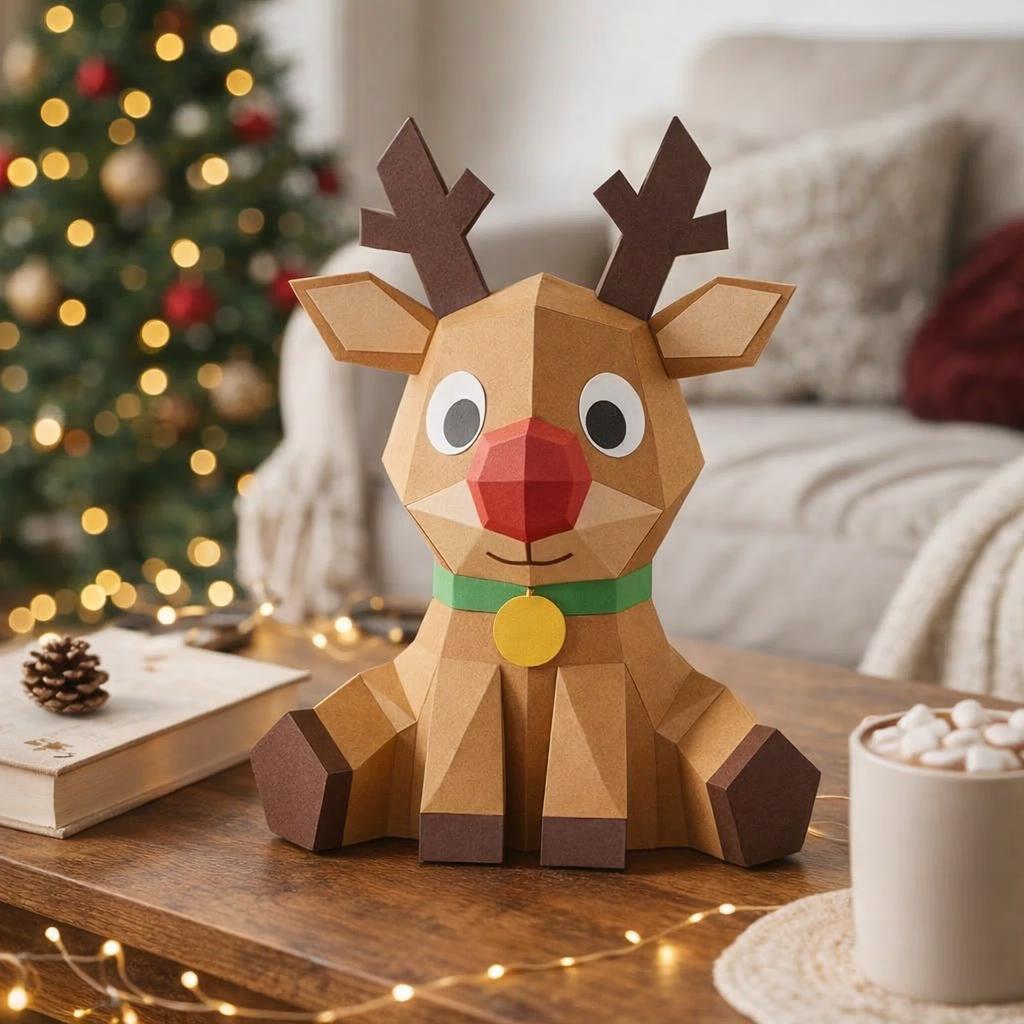
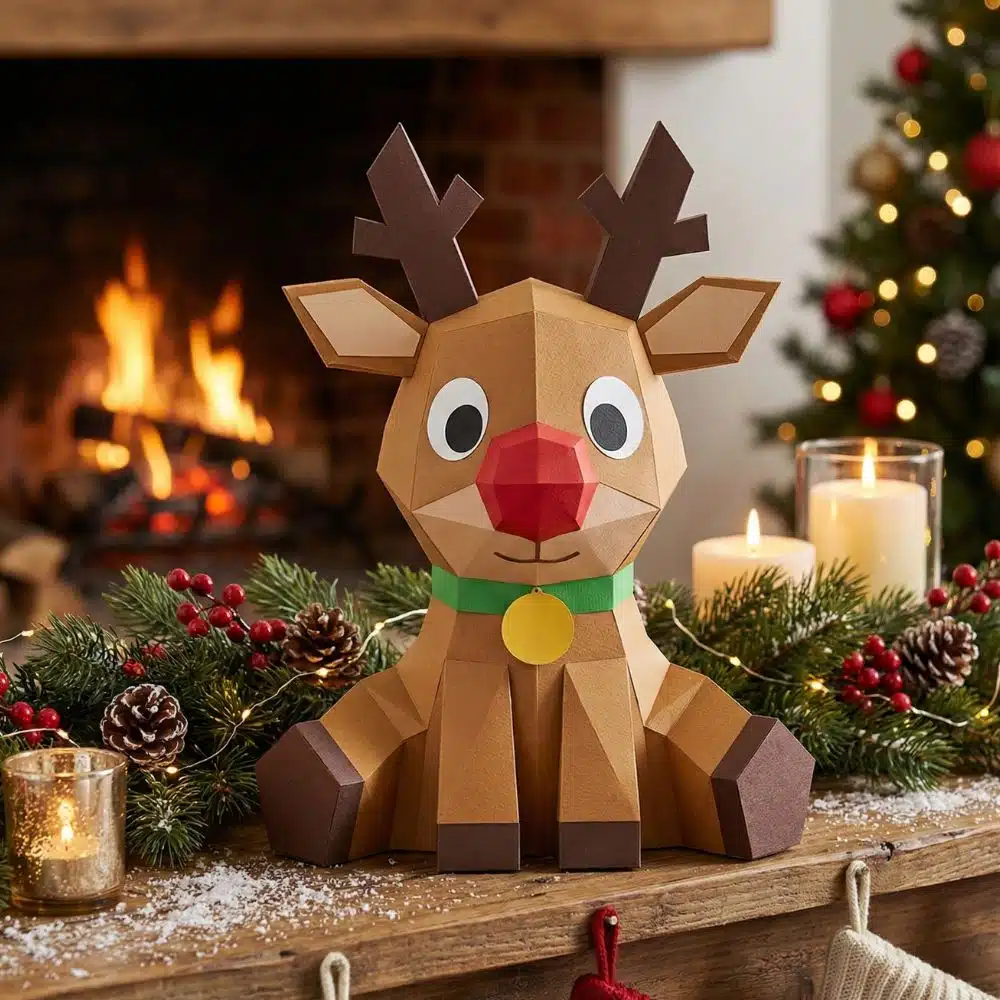
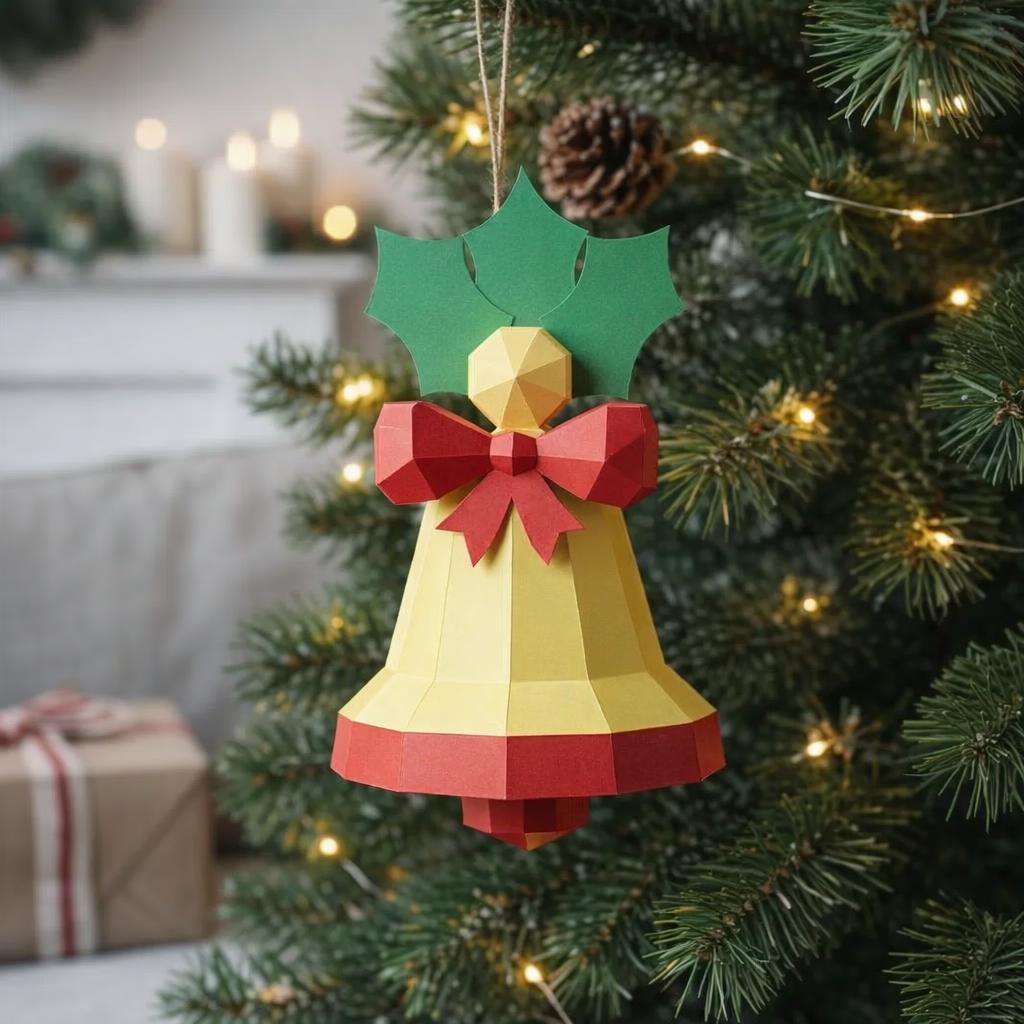
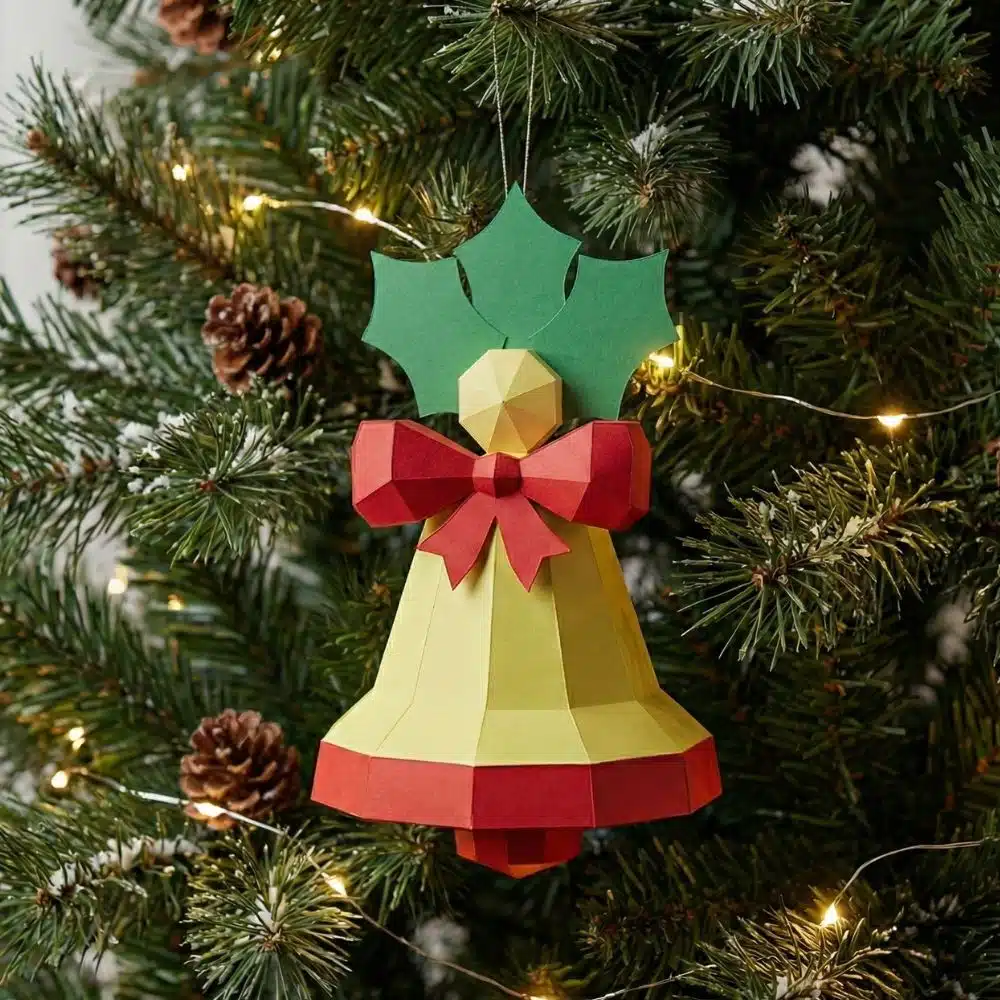
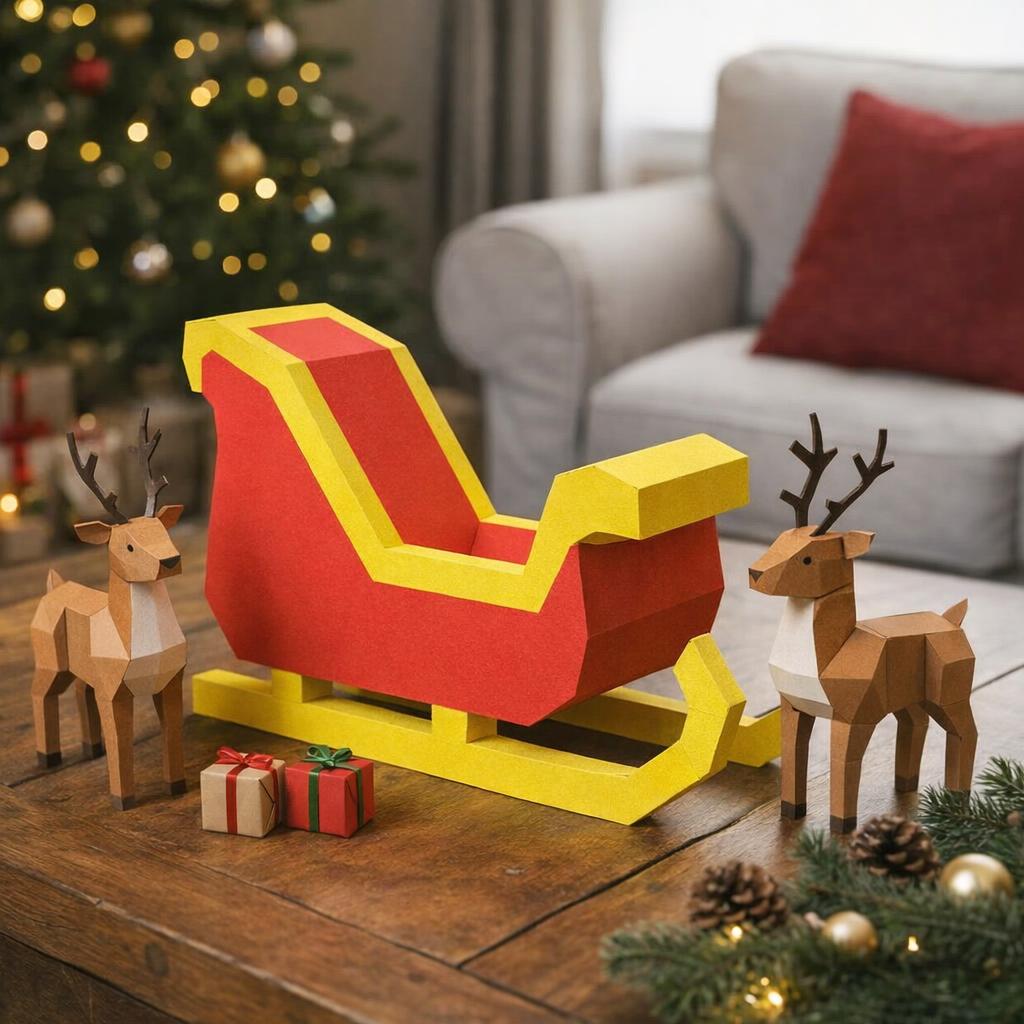
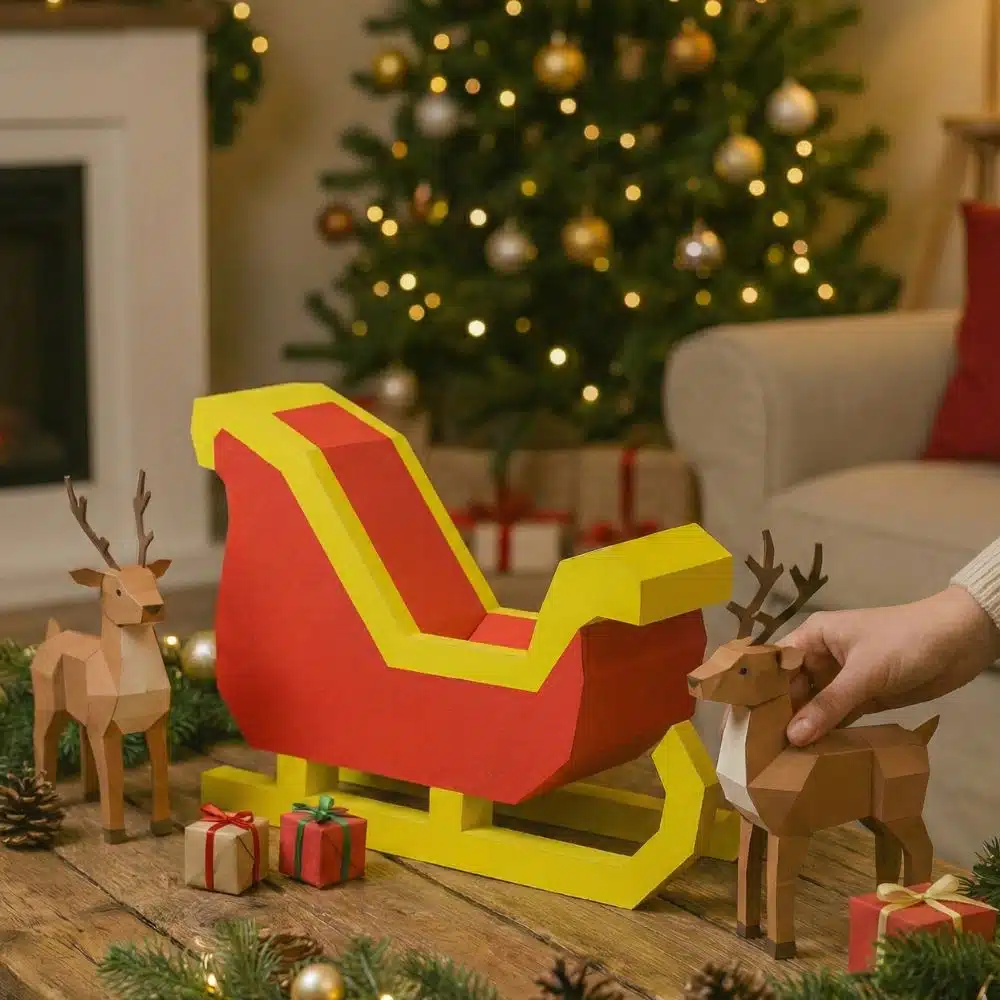
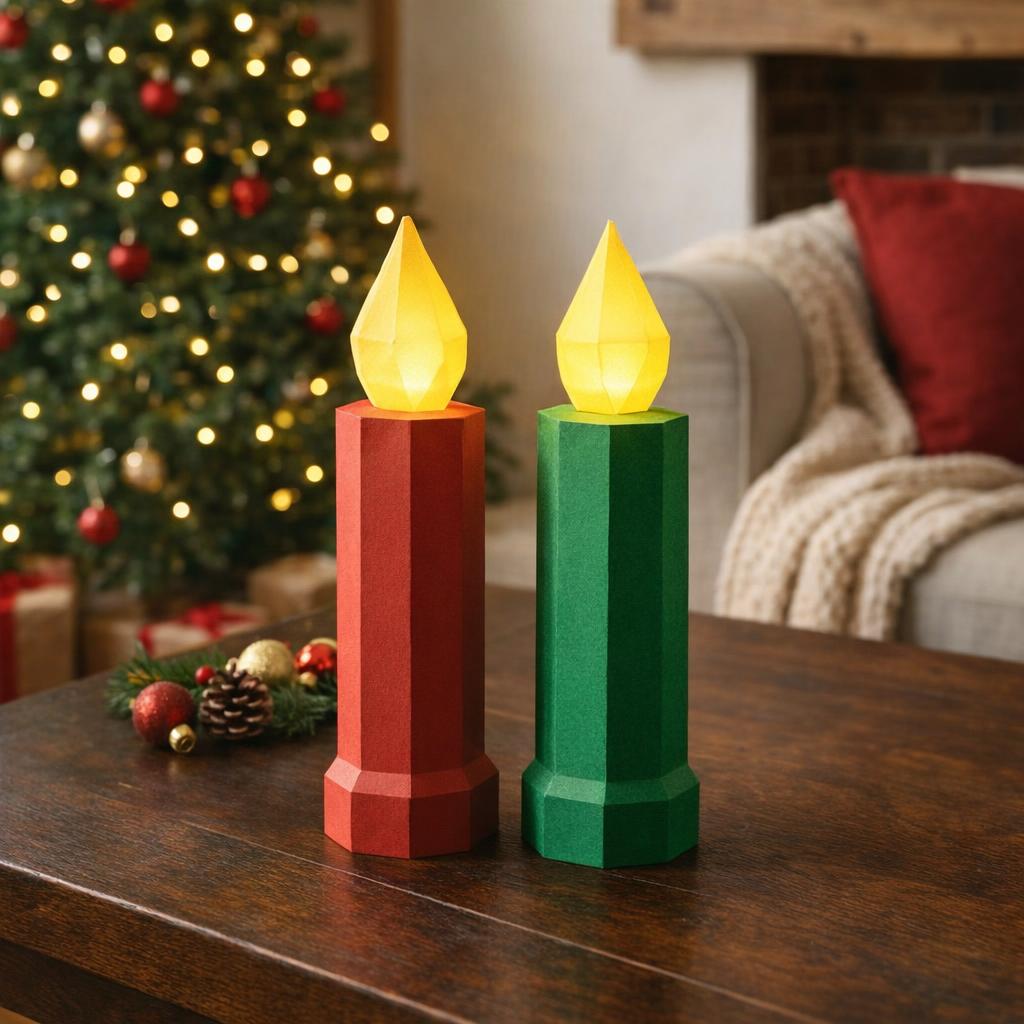
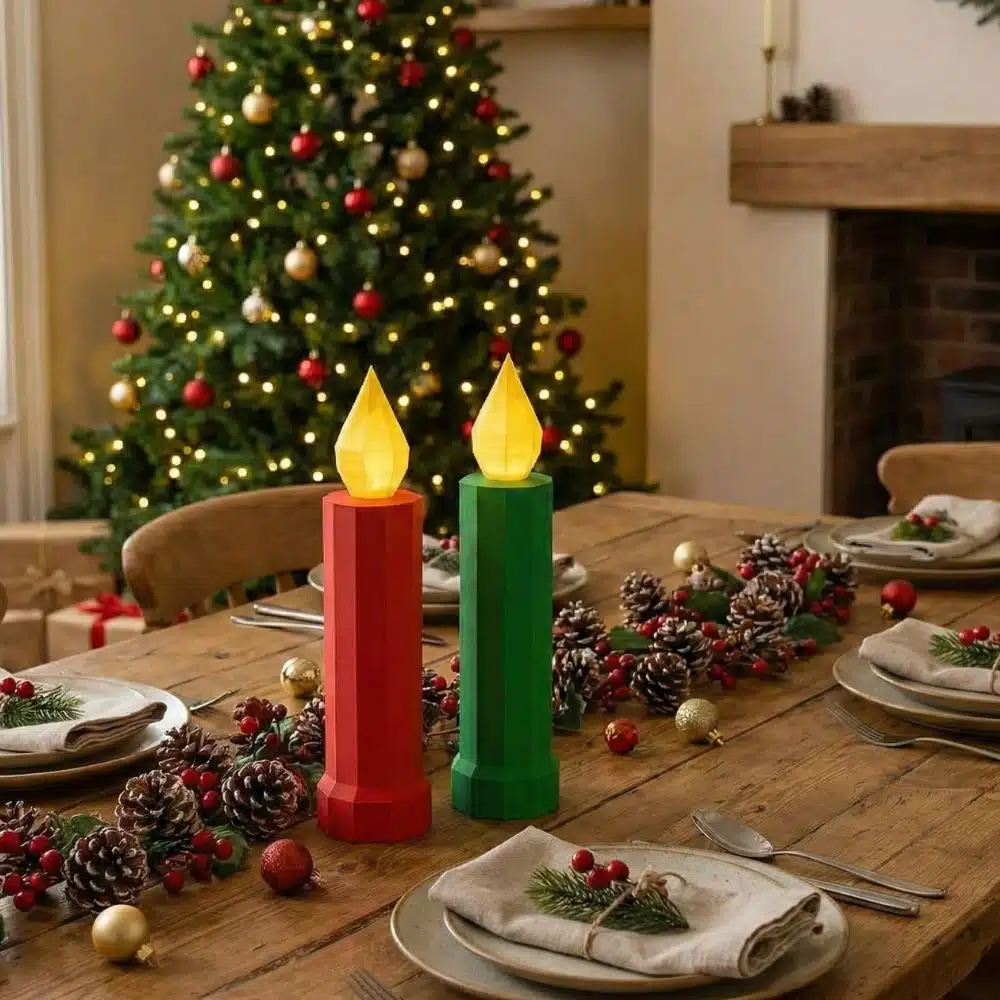
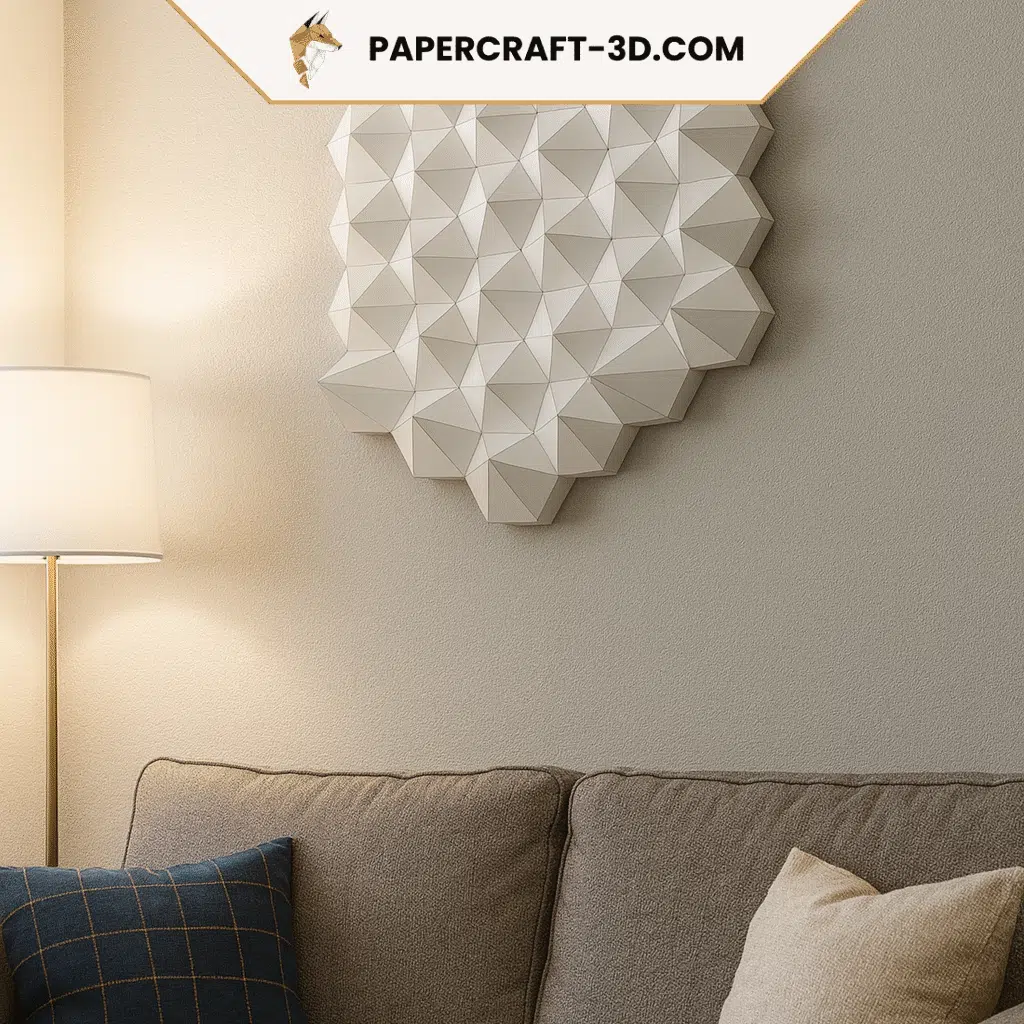
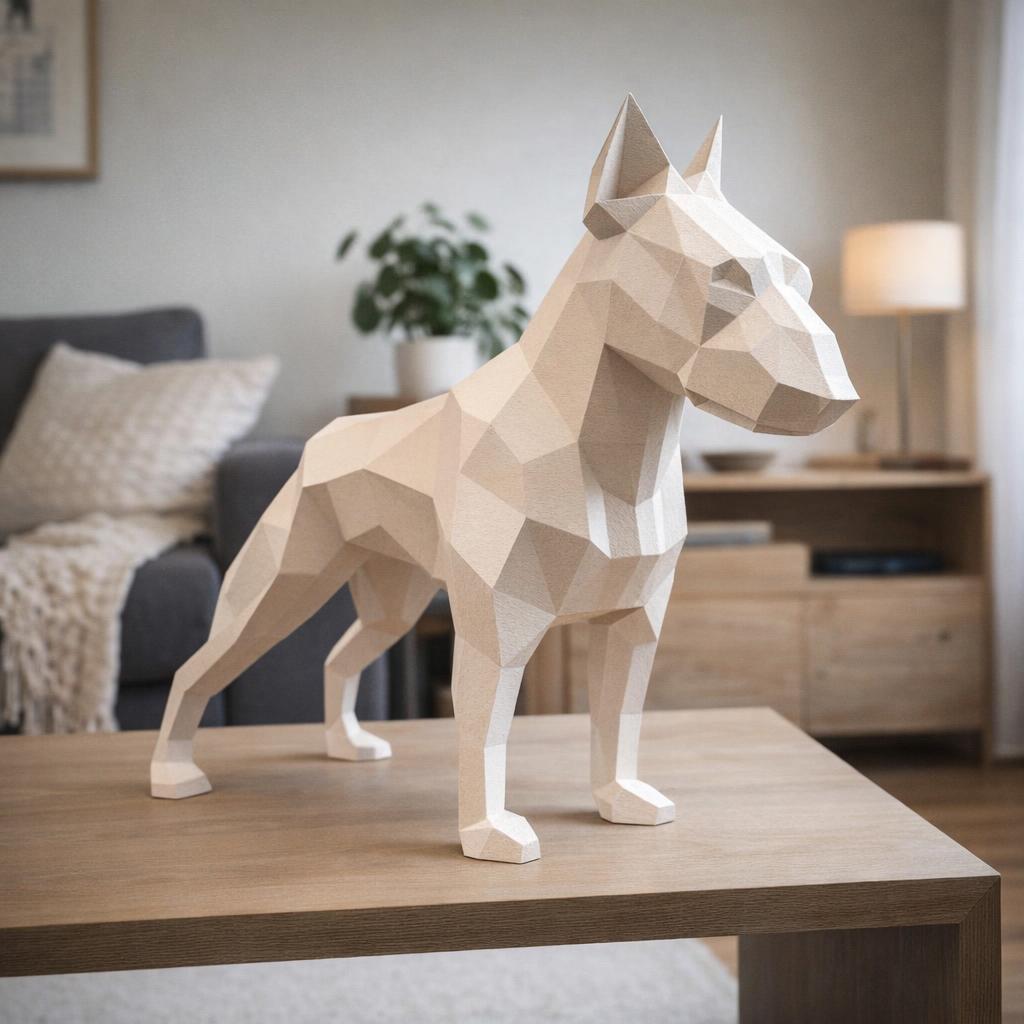
Have you ever thought about the magic that a simple sheet of paper can conceal? In 2024, more than 70% of French people were involved in DIY, or Do It Yourself. Paper craft, or “papercraft”, is booming. Simple, affordable and creative, it can be used to create original decorative objects for your home, or to keep you busy on rainy afternoons. This article takes you on a journey to the heart of this rising trend. From the basics to the finest tricks, let’s discover together how to transform paper into a real work of art.
| Key points to remember |
|---|
| Paper crafting techniques |
| The importance of paper selection |
| DIY project templates |
Paper crafting basics
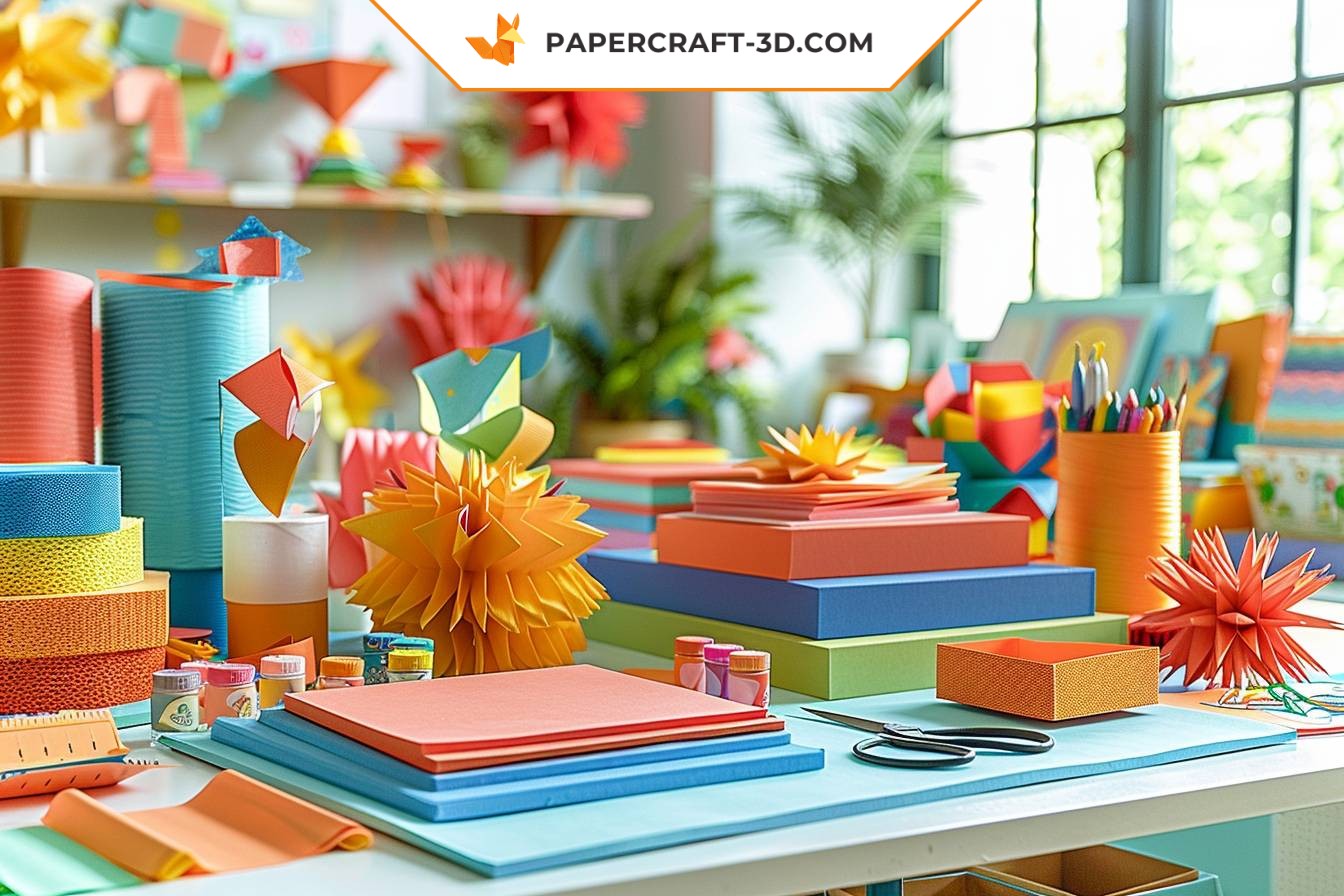
There’s something magical about transforming a simple sheet of paper into a unique and personal creation. But before you get started with paper crafting, it’s essential to understand some basic techniques and have the right materials to hand.
Choosing paper for DIY
Choosing the right paper is undoubtedly the first crucial step in any DIY paper project. The type of paper you choose will have a direct impact on the final result. Paper that’s too thin can tear easily, while paper that’s too thick can be difficult to fold or cut. There are several types of paper suitable for DIY:
- Cardstock: Ideal for projects requiring a certain degree of rigidity, such as cards or boxes.
- Crepe paper: Perfect for creating flowers or other voluminous decorations thanks to its crumpled texture.
- Origami paper: specially designed to be folded, it’s ideal for creating complex geometrical shapes.
Materials needed for paper craft
Now that you’ve chosen your paper, let’s talk about the materials you’ll need. The list may vary according to the complexity of the project, but here are a few essentials:
- Scissors: sharp enough to make clean, precise cuts.
- Ruler: Useful for measuring and drawing straight lines.
- Pencil: For tracing your patterns before cutting.
- Glue: Choose a glue that dries quickly and leaves no visible marks on the paper.
With these elements in mind, you’re ready to begin your journey into the fascinating world of easy paper crafting. Remember, practice makes perfect: the more you experiment, the more you’ll hone your skills and develop your own style. So, are you ready to bring your ideas to life?
Easy paper creations for beginners
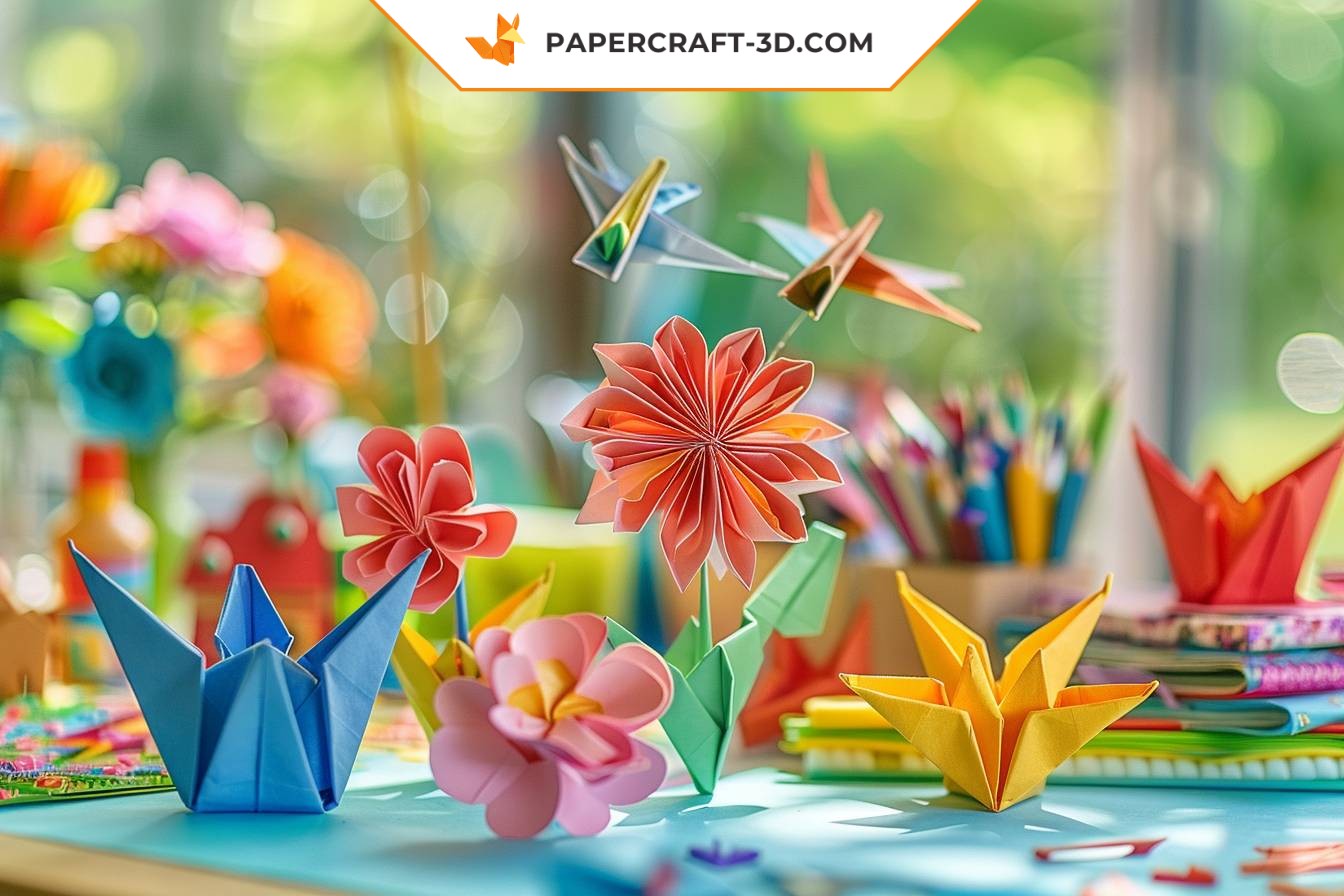
Are you new to paper crafting? Don’t worry, we’ve selected some simple and fun projects for you. These easy paper creations are perfect for beginners and require few materials. So, are you ready to discover your next DIY project?
Paper wall decoration
Embellishing your walls with paper has never been so easy. You can create a beautiful wall decoration with a few colorful sheets of paper and a little imagination. Here’s how:
- Select several sheets of paper in different colors.
- Cut them into geometric shapes (squares, circles, triangles).
- Arrange them on your wall in any pattern you like.
- Stick the shapes to the wall with double-sided tape or repositionable adhesive paste.
Tip: For a more sophisticated look, use metallic or patterned paper.
Paper garlands for the holidays
Nothing creates a festive atmosphere like a colorful garland! Paper garlands are not only pretty, they’re also very easy to make. Just follow these steps:
| Étapes | Description |
|---|---|
| 1. Choose your paper | Select several sheets of colored or patterned paper. |
| 2. Cut paper strips | Cut each sheet of paper into strips about 2 cm wide. |
| 3. Form rings | Bend each strip to form a ring and secure with tape or a stapler. |
| 4. Assemble the rings | Pass a new band through the previous ring before bending and securing it to form a chain. |
Give free rein to your creativity! Alternate colors, add glitter… Your garland will be unique!
Now that you’ve got some ideas on how to get started with your paper creations, it’s time to get started. Remember, the most important thing is to have fun and express your creativity.
Advanced DIY: 3D paper decoration
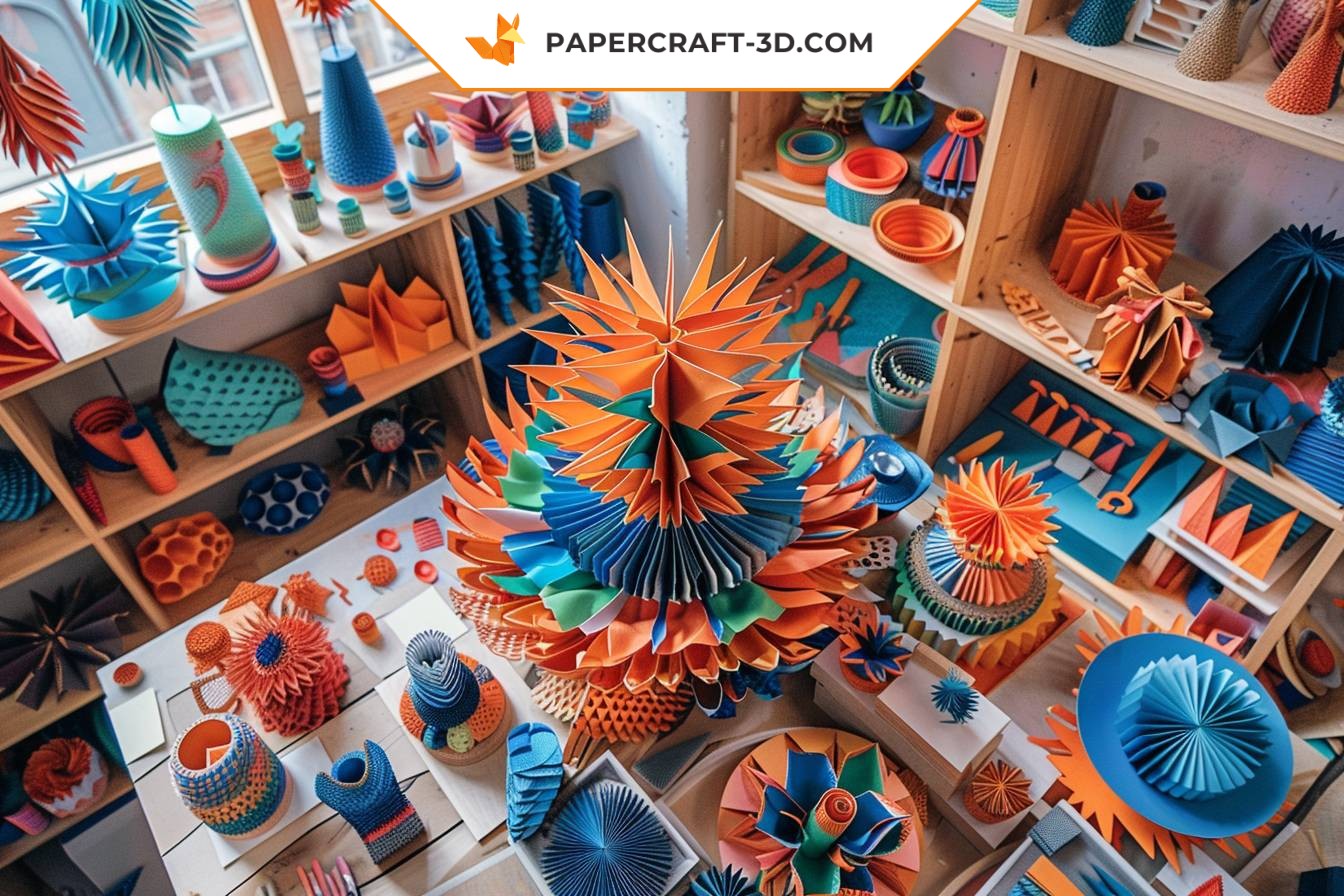
Once you’ve mastered the basics, why not take up a challenge and venture into the fascinating world of 3D paper decorating? Don’t worry, although it may seem complex at first, with clear instructions and a little patience, you’ll be amazed at what you can achieve.
Create a 3D paper sculpture
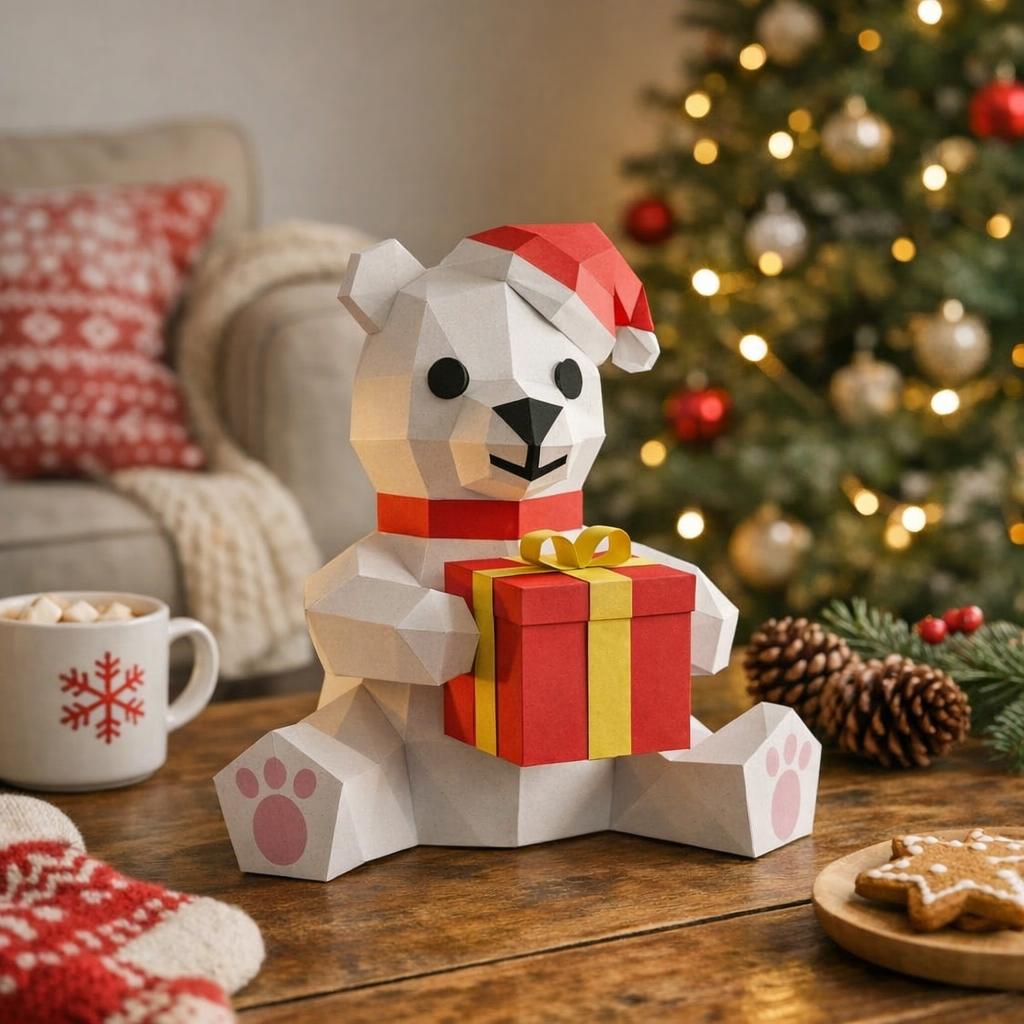
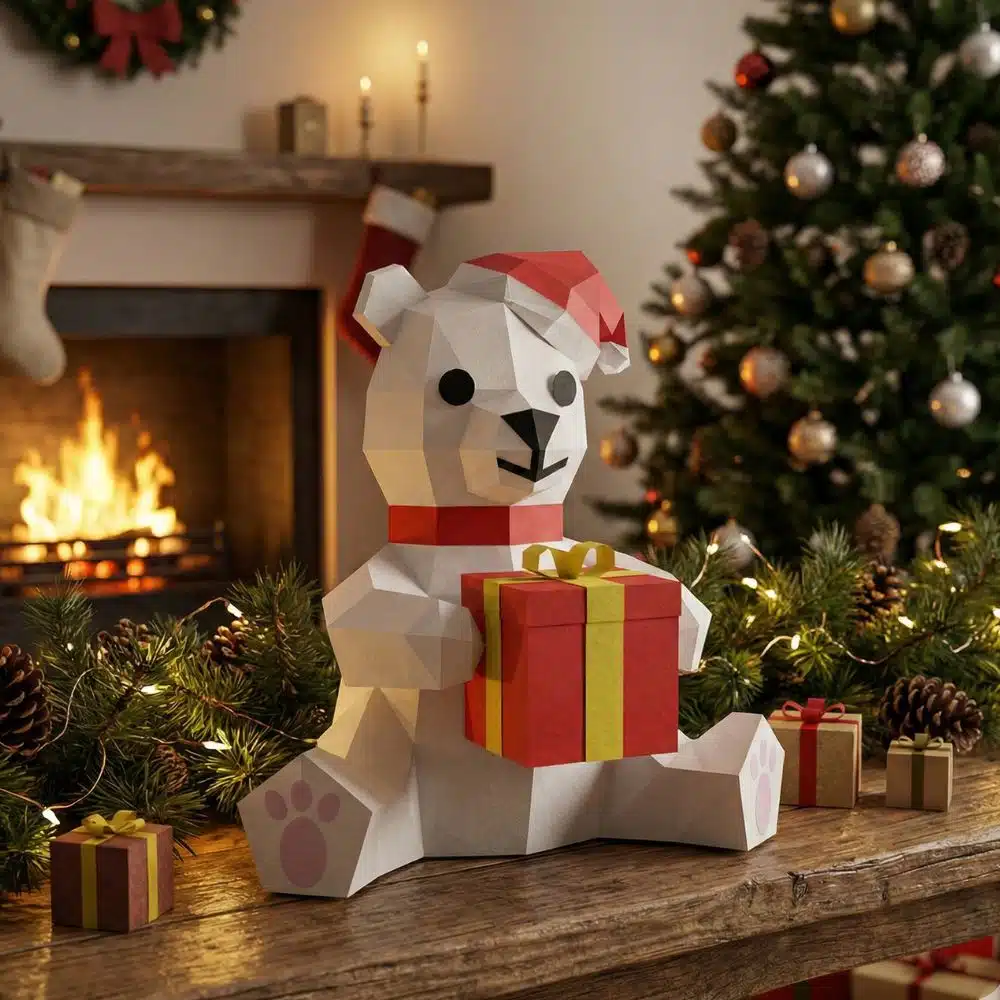
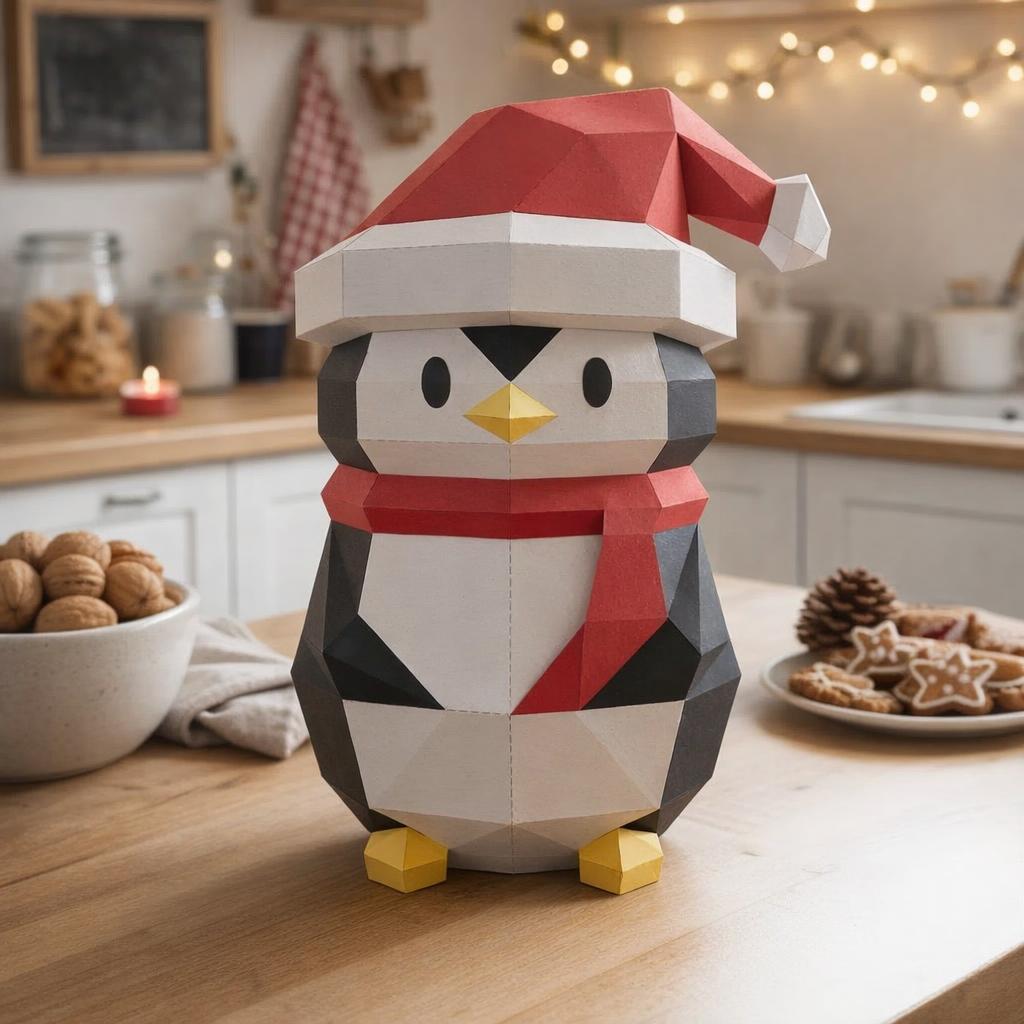
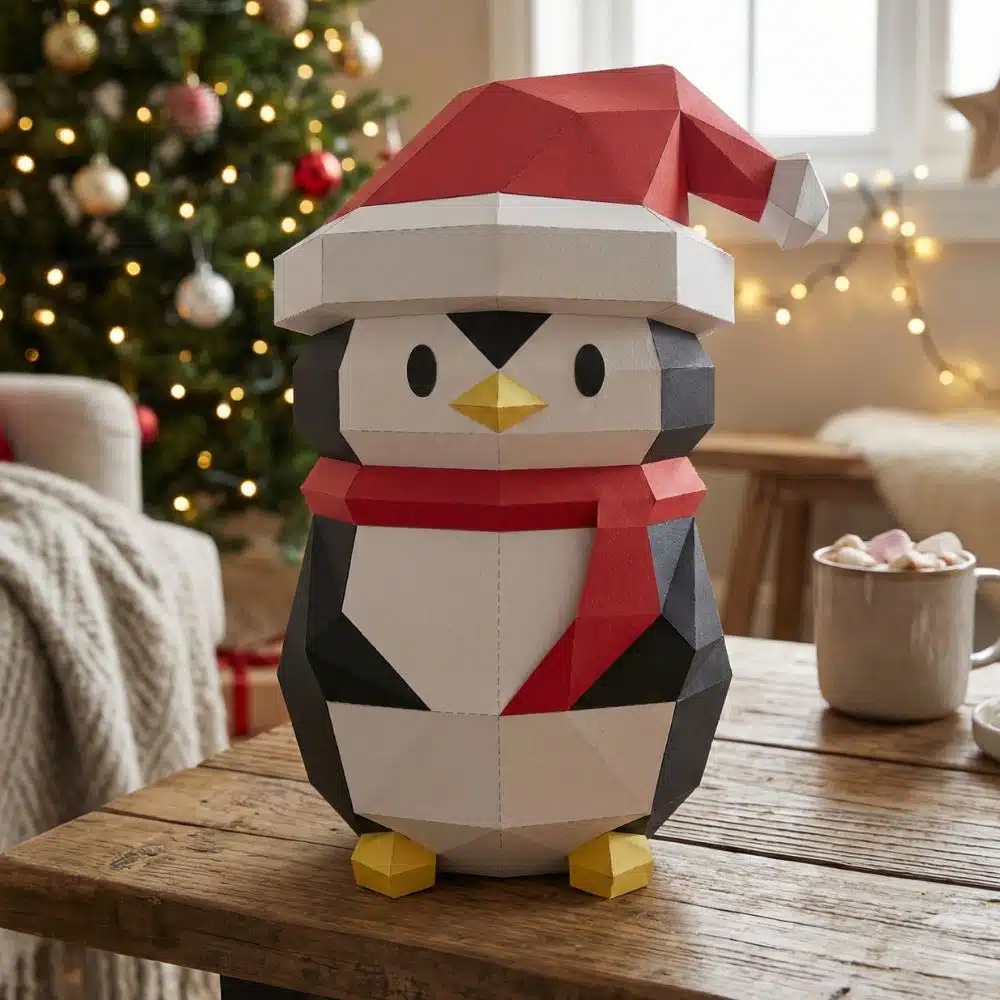
The art of 3D papercraft involves transforming a simple sheet of paper into a three-dimensional work of art. Imagine creating your own statue or figurine simply from pieces of paper! To get started, choose a simple model such as an animal or a geometric shape. Next, print the model on cardboard for greater stability. Carefully cut out the pieces, fold along the lines indicated and glue them together. It’s that easy!
- Choose a simple model to start with.
- Print the template on cardboard.
- Carefully cut the pieces.
- Fold along the lines indicated.
- Glue the pieces together to form your 3D sculpture.
Creating a 3D paper landscape
Now that you’ve created your first 3D paper sculpture, why not try something a little bigger? A 3D papercraft landscape, for example. It could be a natural scene like a forest or a mountain, or perhaps even a miniature reproduction of a famous city. The key here is planning – decide in advance what elements you want to include in your landscape and where they’ll be placed. Then proceed step by step, adding each element one after the other until your landscape comes to life before your very eyes!
- Decide which elements to include in your landscape.
- Make a quick sketch to plan their placement.
- Cut and fold each element separately before starting to assemble the landscape.
- Add each element one after the other until your landscape is complete.
With these advanced paper craft techniques, you can really let your creativity run wild and create unique works of art. So, are you up to the challenge?
Tips and tricks for paper crafting
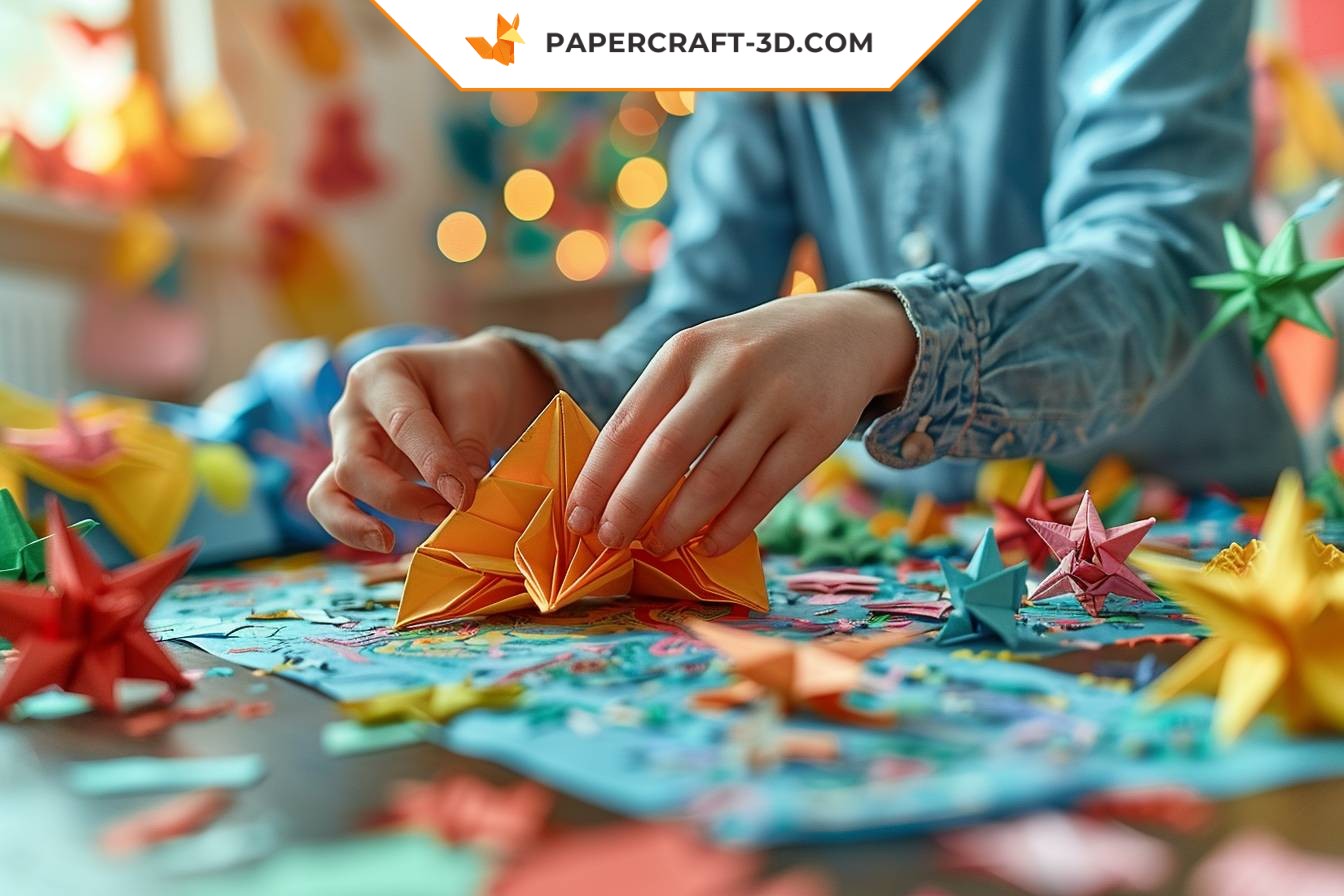
Getting started with paper creations can seem confusing at first. A few well-chosen tricks and sound advice can make all the difference. Ready to discover how to transform your paper crafting experience? Let’s get started!
How do you preserve your paper creations?
Taking care of your paper creations will ensure them a long life. Here are a few recommendations:
- The ideal place to store your artwork is in a dry place, out of direct sunlight.
- Use a protective varnish, available in arts and crafts stores, to protect your creations from moisture and fading.
- To avoid damage, always handle your creations with care.
With these tips, your paper creations will stay beautiful longer!
Mistakes to avoid
Paper crafting is an art that requires patience and precision. There are some common mistakes you can easily avoid:
- Rushing: One of the most common mistakes is trying to finish too quickly. Take your time, enjoy the process!
- Wrong choice of material: Using the wrong type of glue or paper can ruin your project. Always make sure you have the right materials before you start.
- Neglecting the instructions: Always follow the instructions carefully. They are there to guide you towards a successful result.
Remember that every mistake is an opportunity to learn and improve. So don’t hesitate to experiment, try out different techniques and, above all, have fun in the process!
Explore papercraft-3d.com’s services
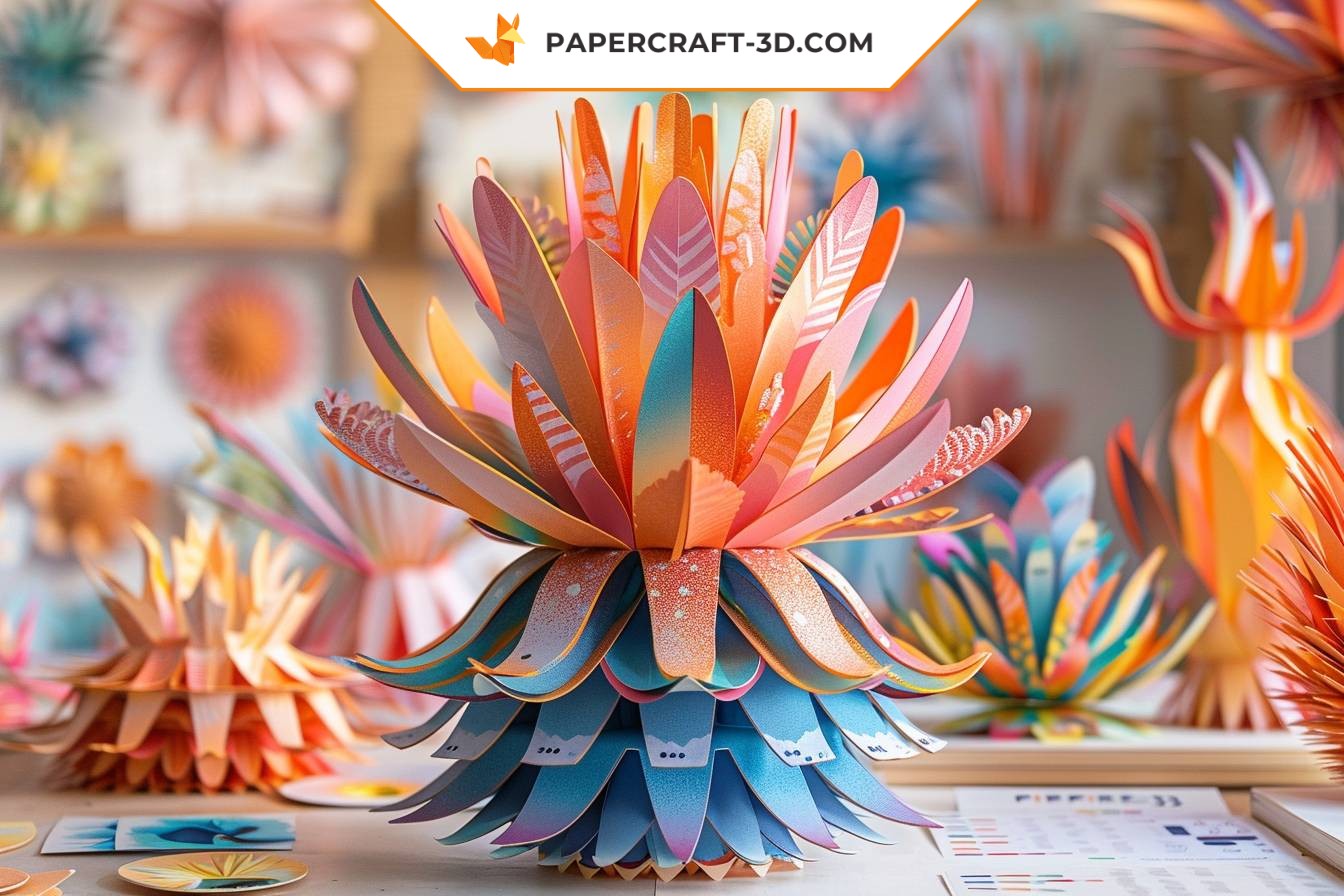
We’re pleased to present papercraft-3d.com, our platform dedicated to the world of paper crafts. Here you’ll find carefully designed PDF templates to make your creations easier. Need a quick, hassle-free project? Our all-in-one kits are just what you need! They contain everything you need to get started on your next paper craft. Not only is it easy, it’s economical too. Your passion for paper crafts has never been easier to live with. So, are you ready to get creative with us?
What type of paper to choose for DIY?
How can I make my paper creations last longer?
Where can I find ideas for paper craft projects?
What is 3D papercraft?
Is paper crafting environmentally friendly?
