


A journey into the forest with the 3D deer head papercraft
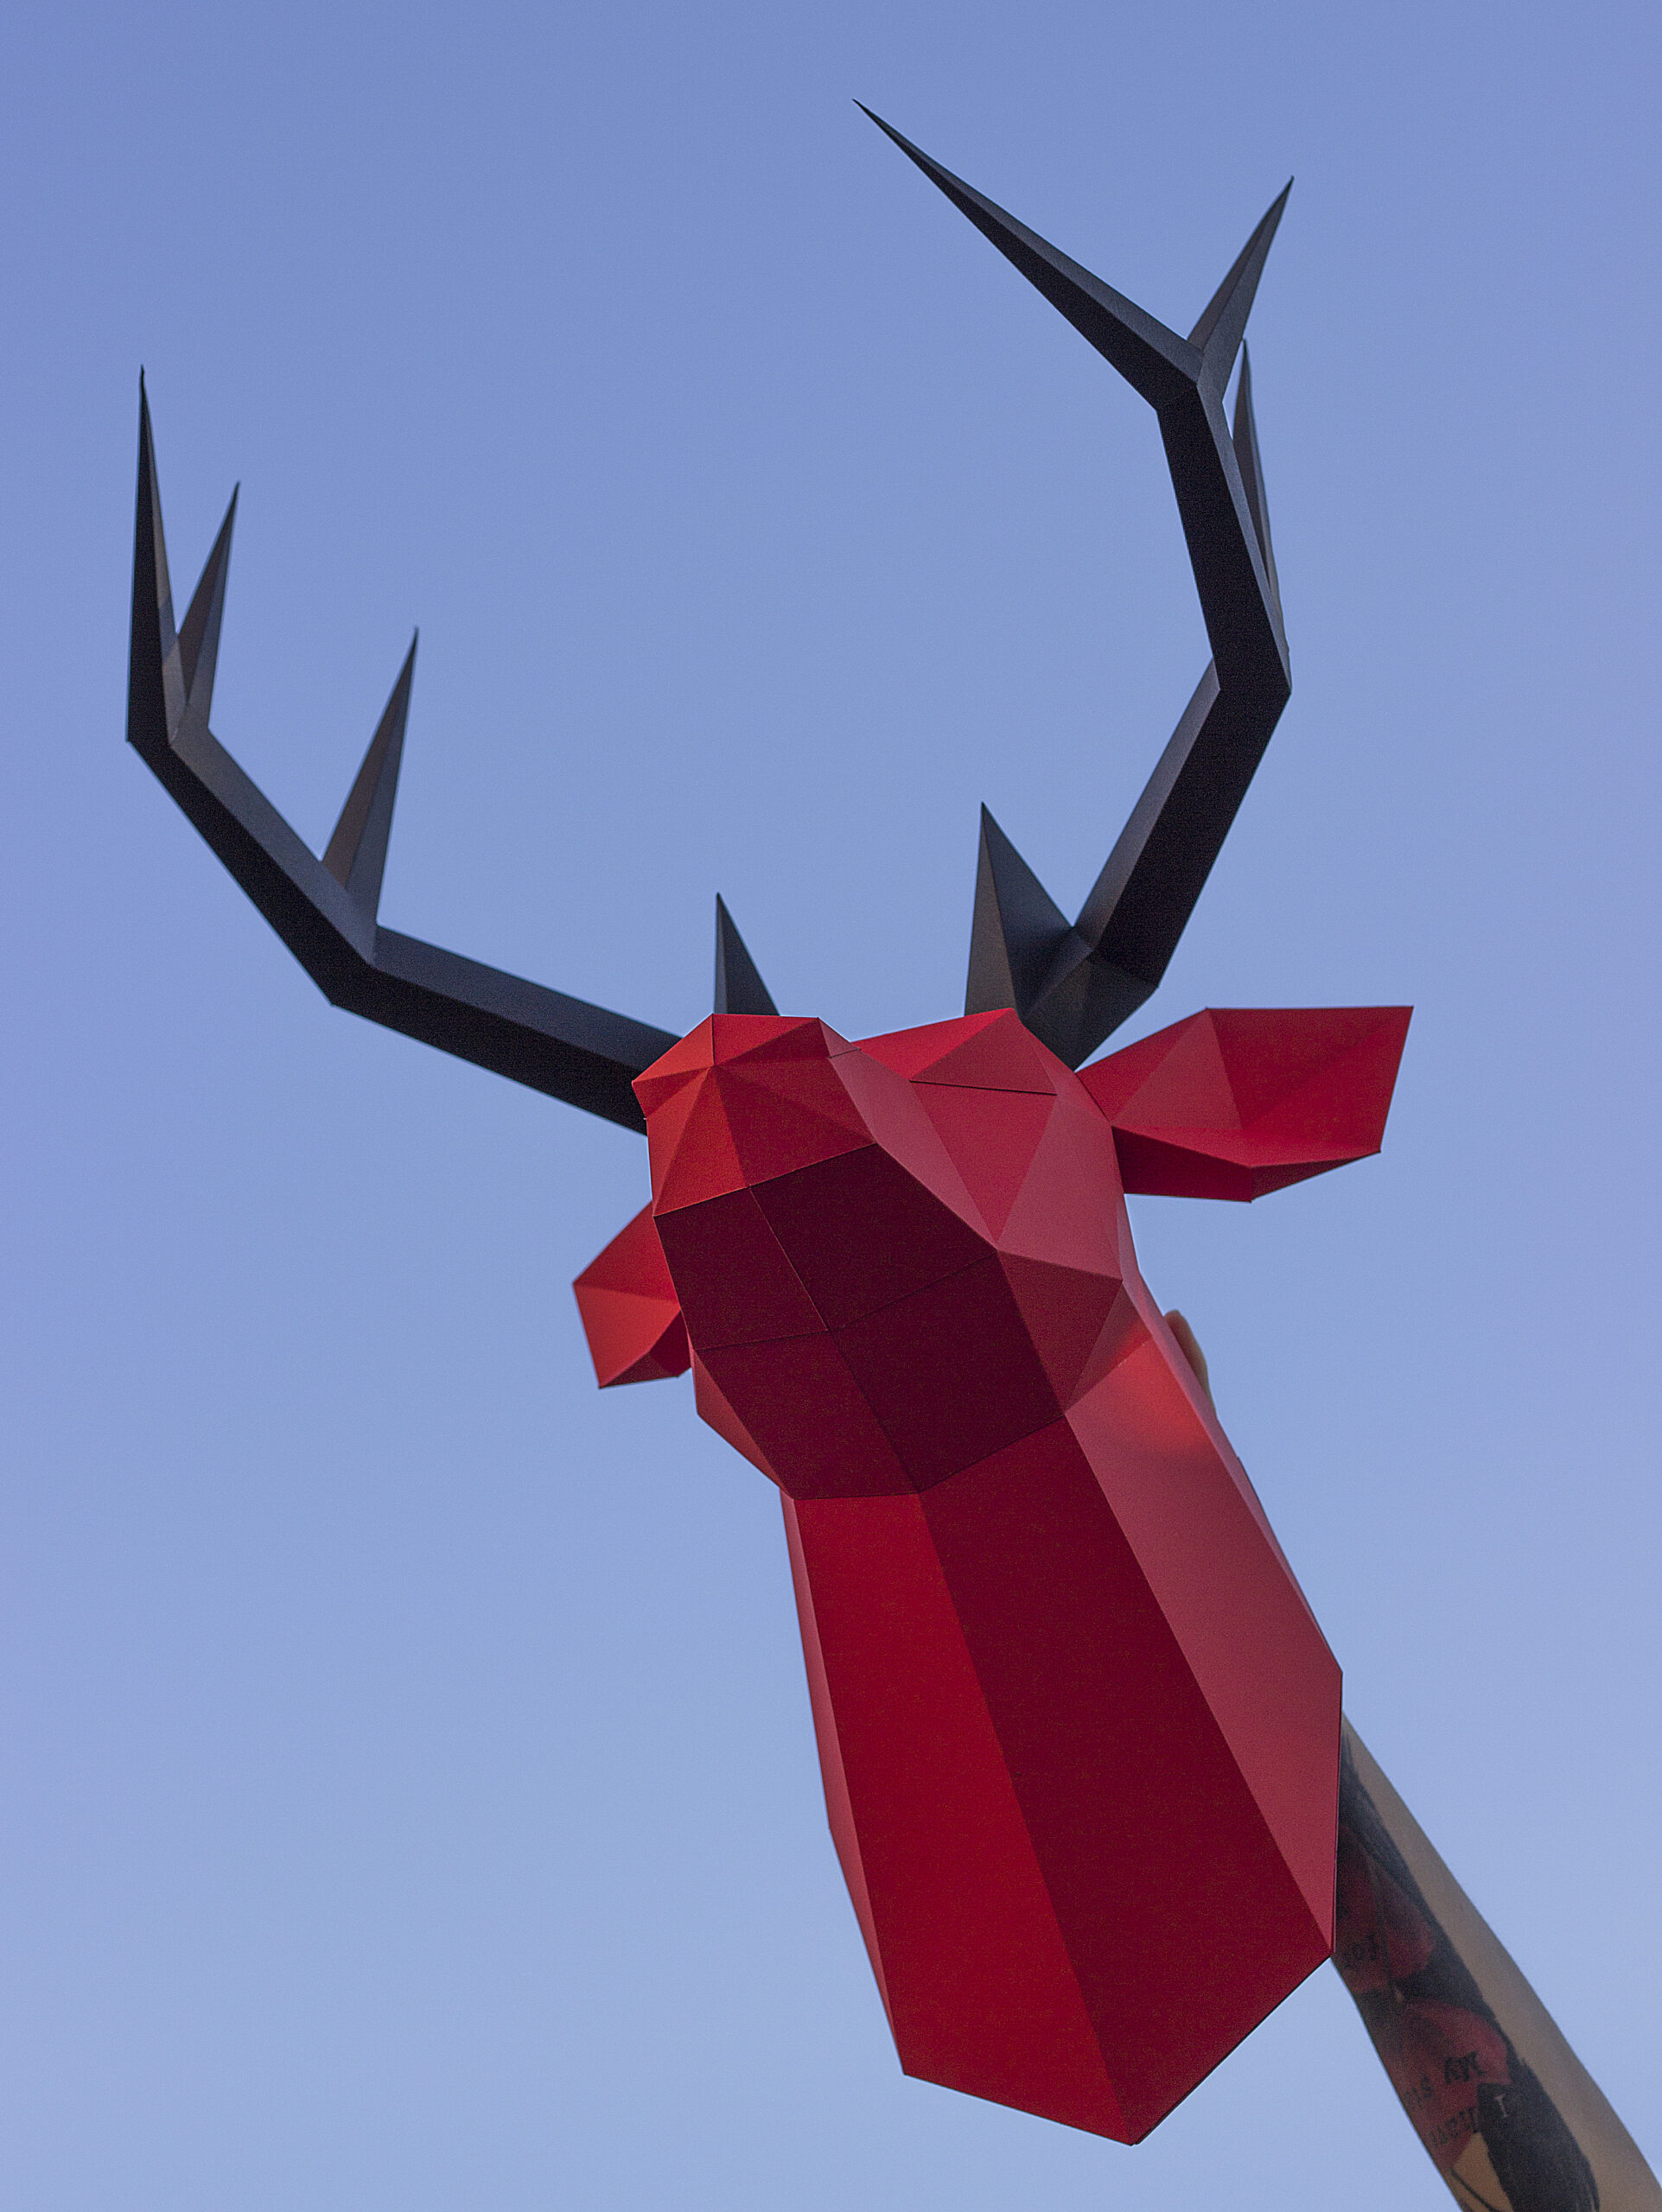
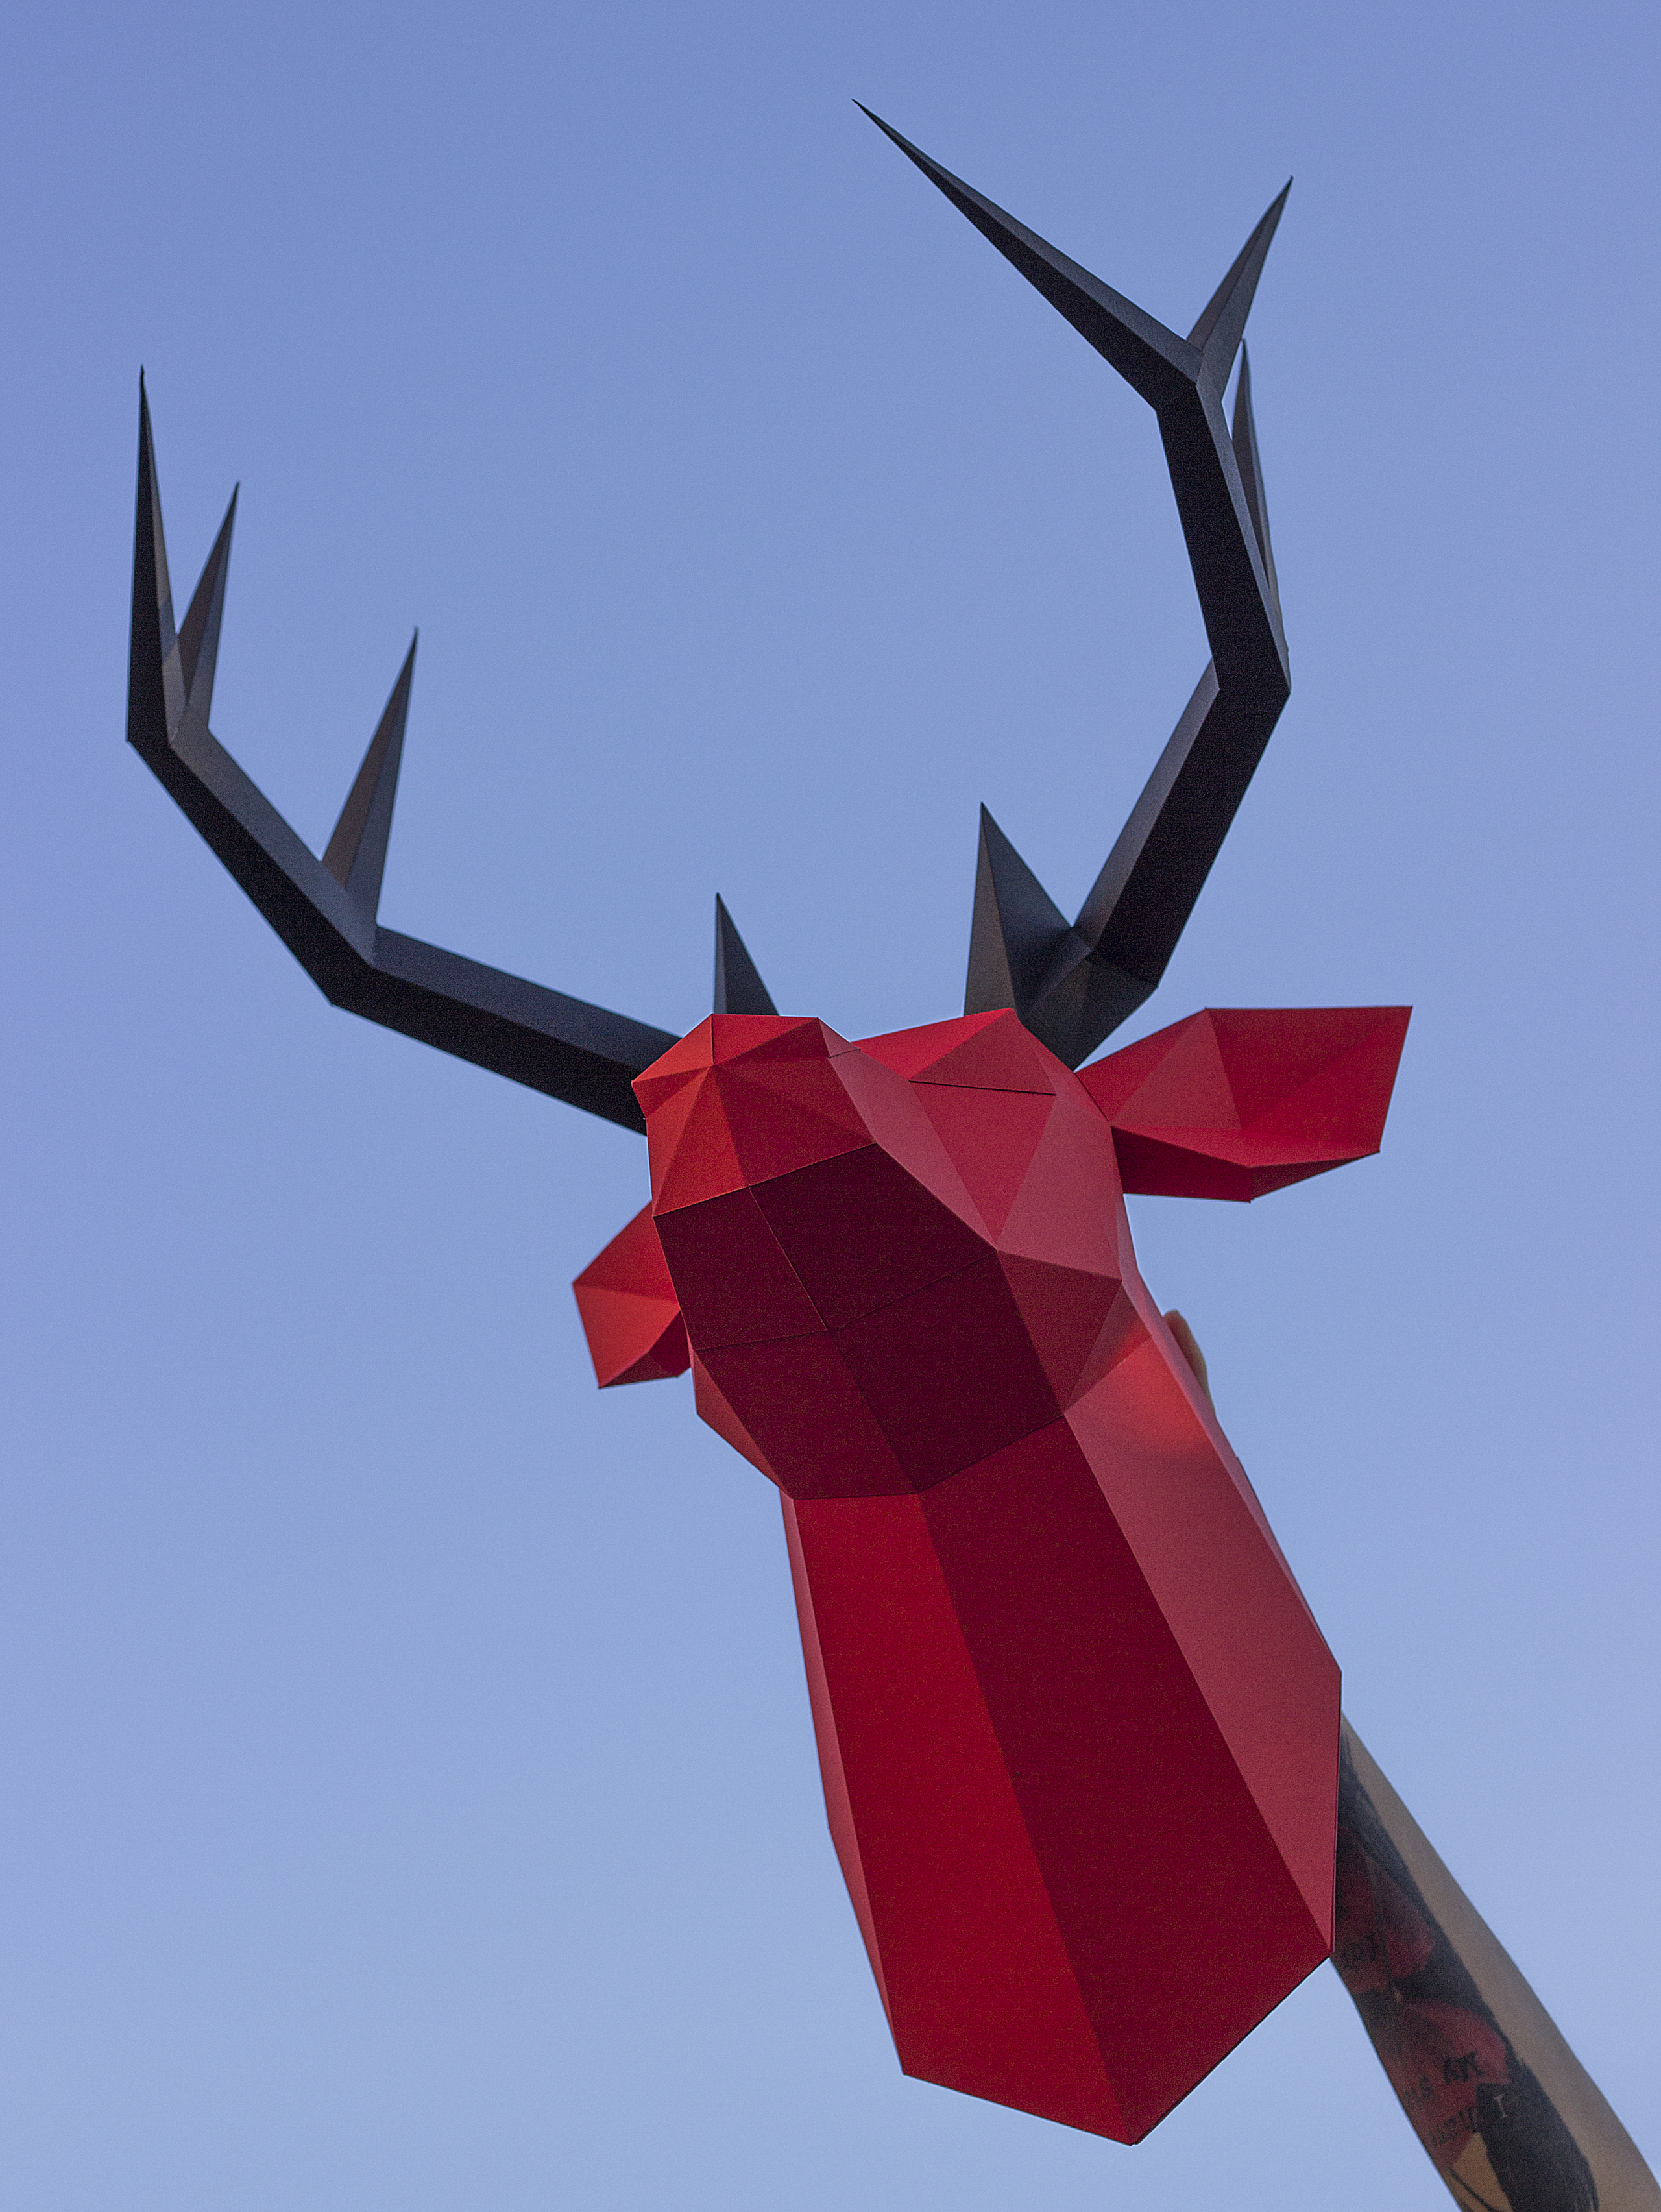
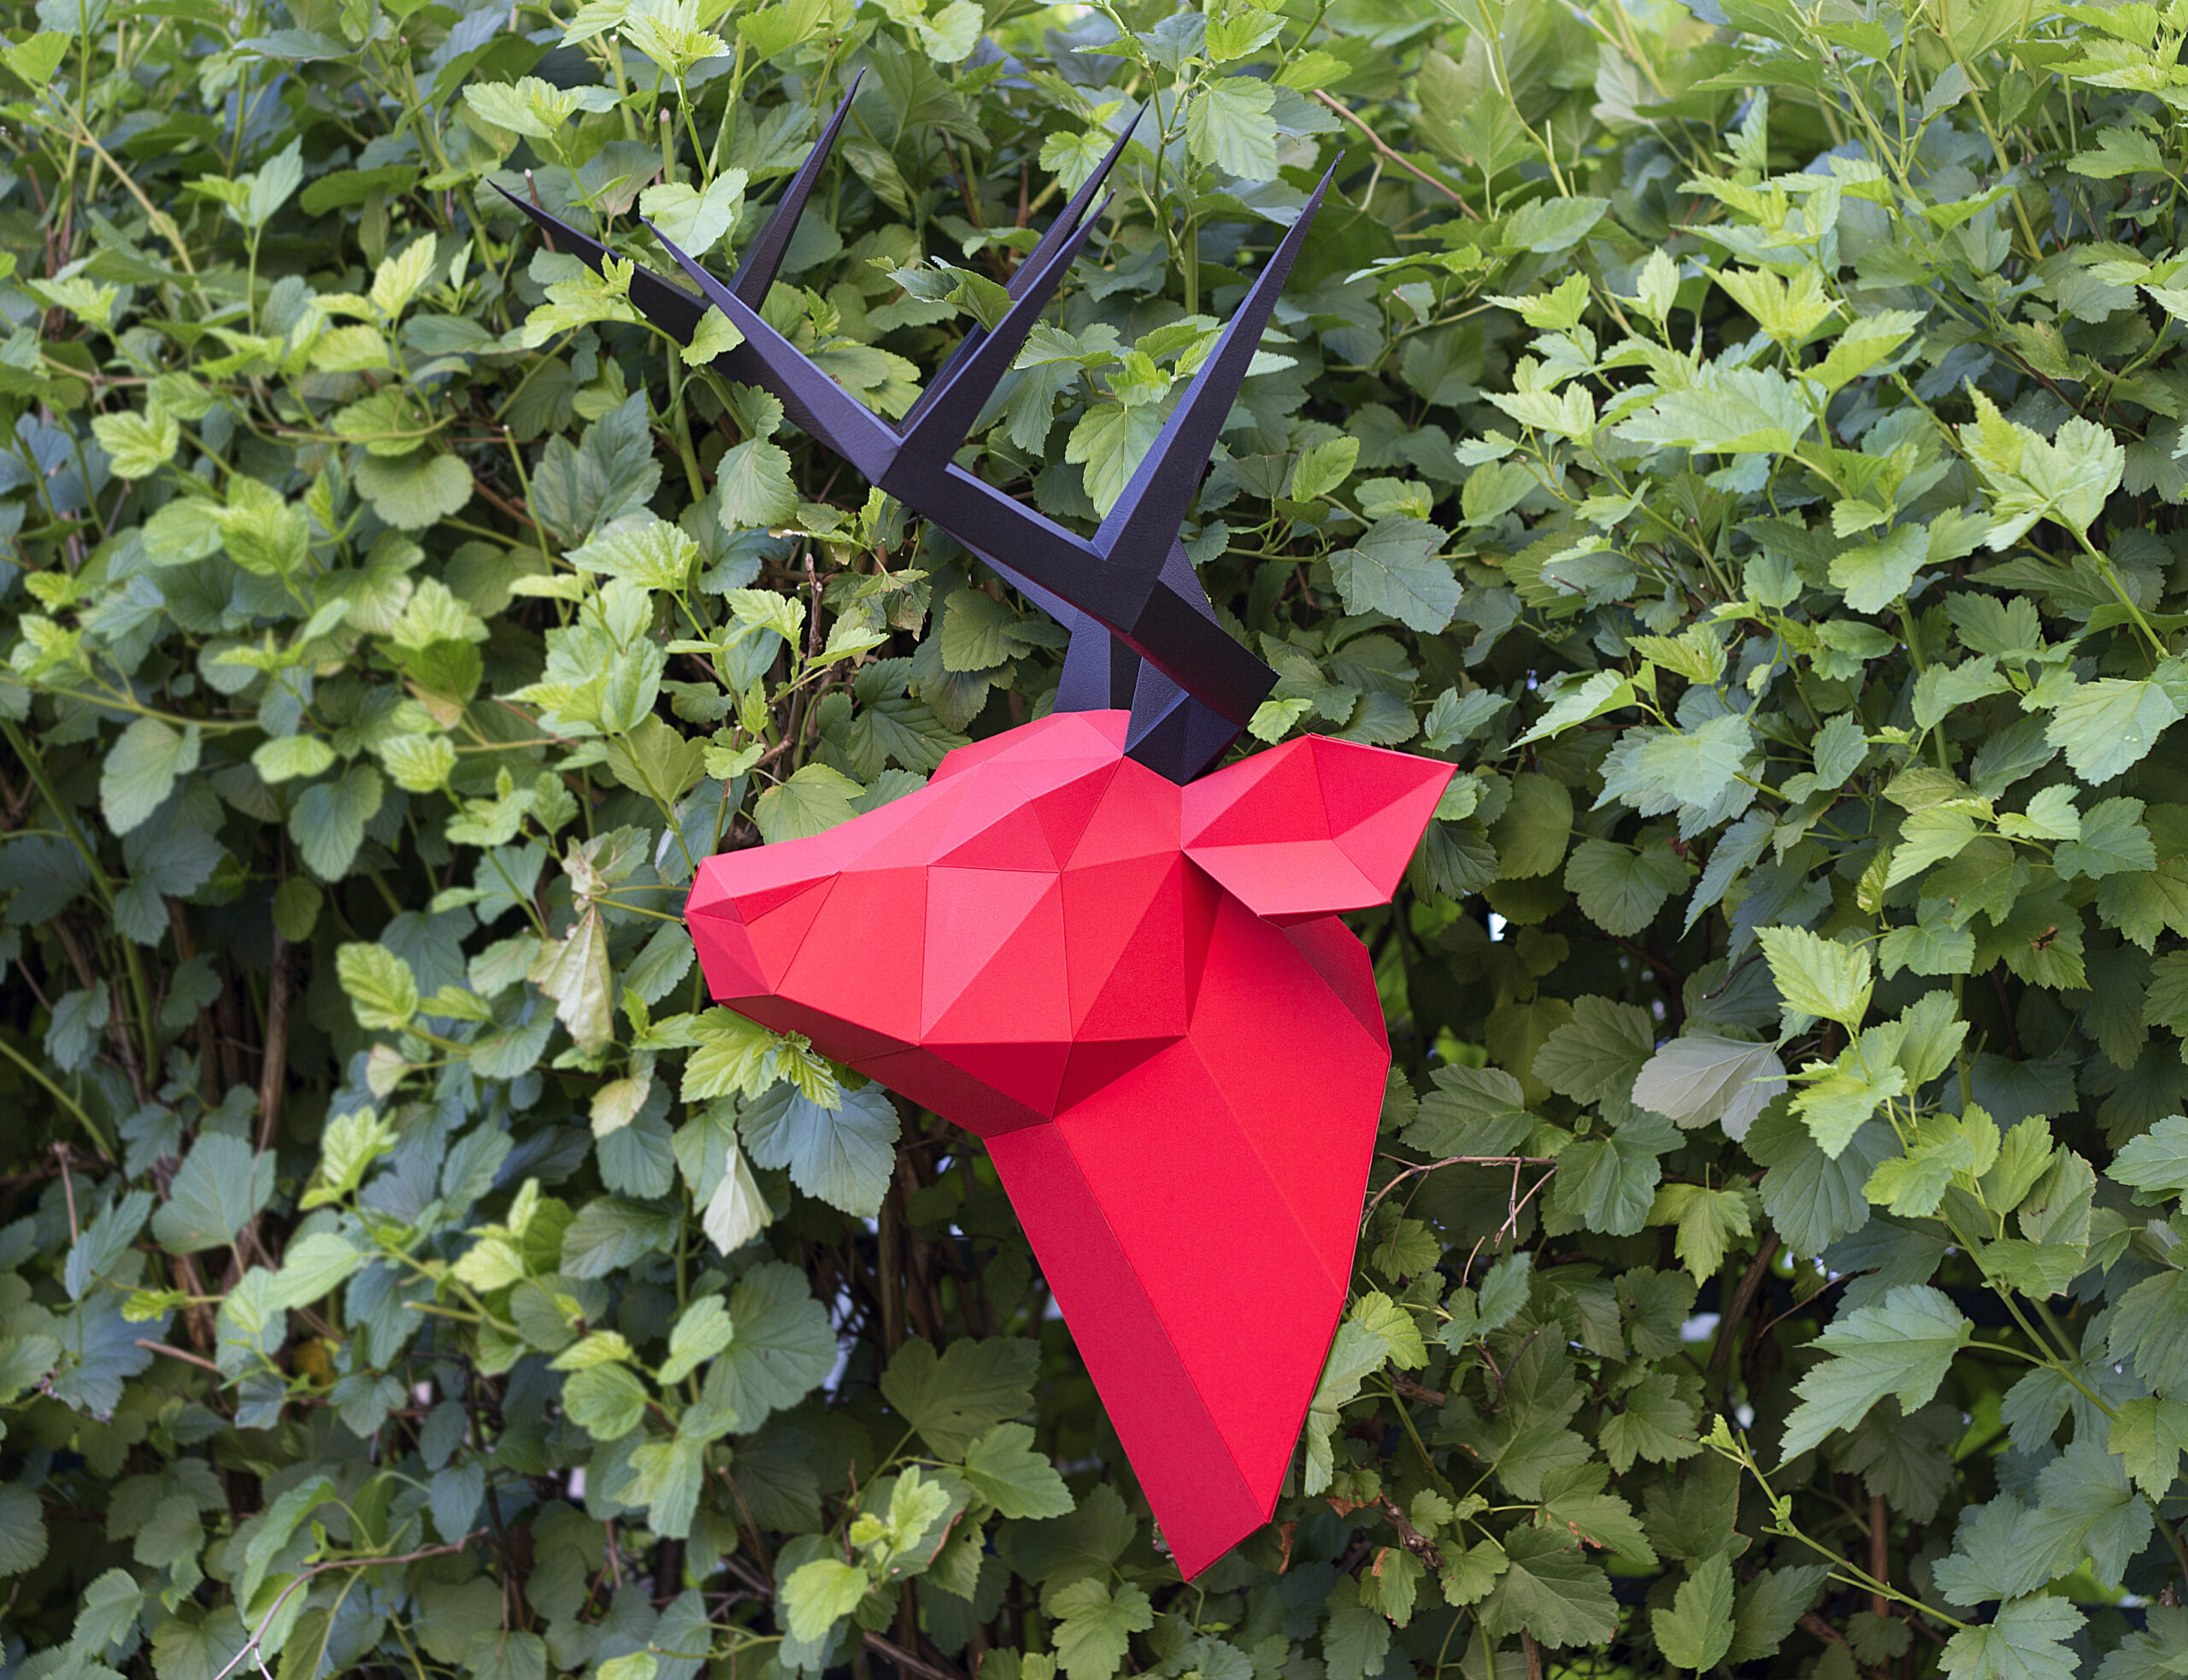
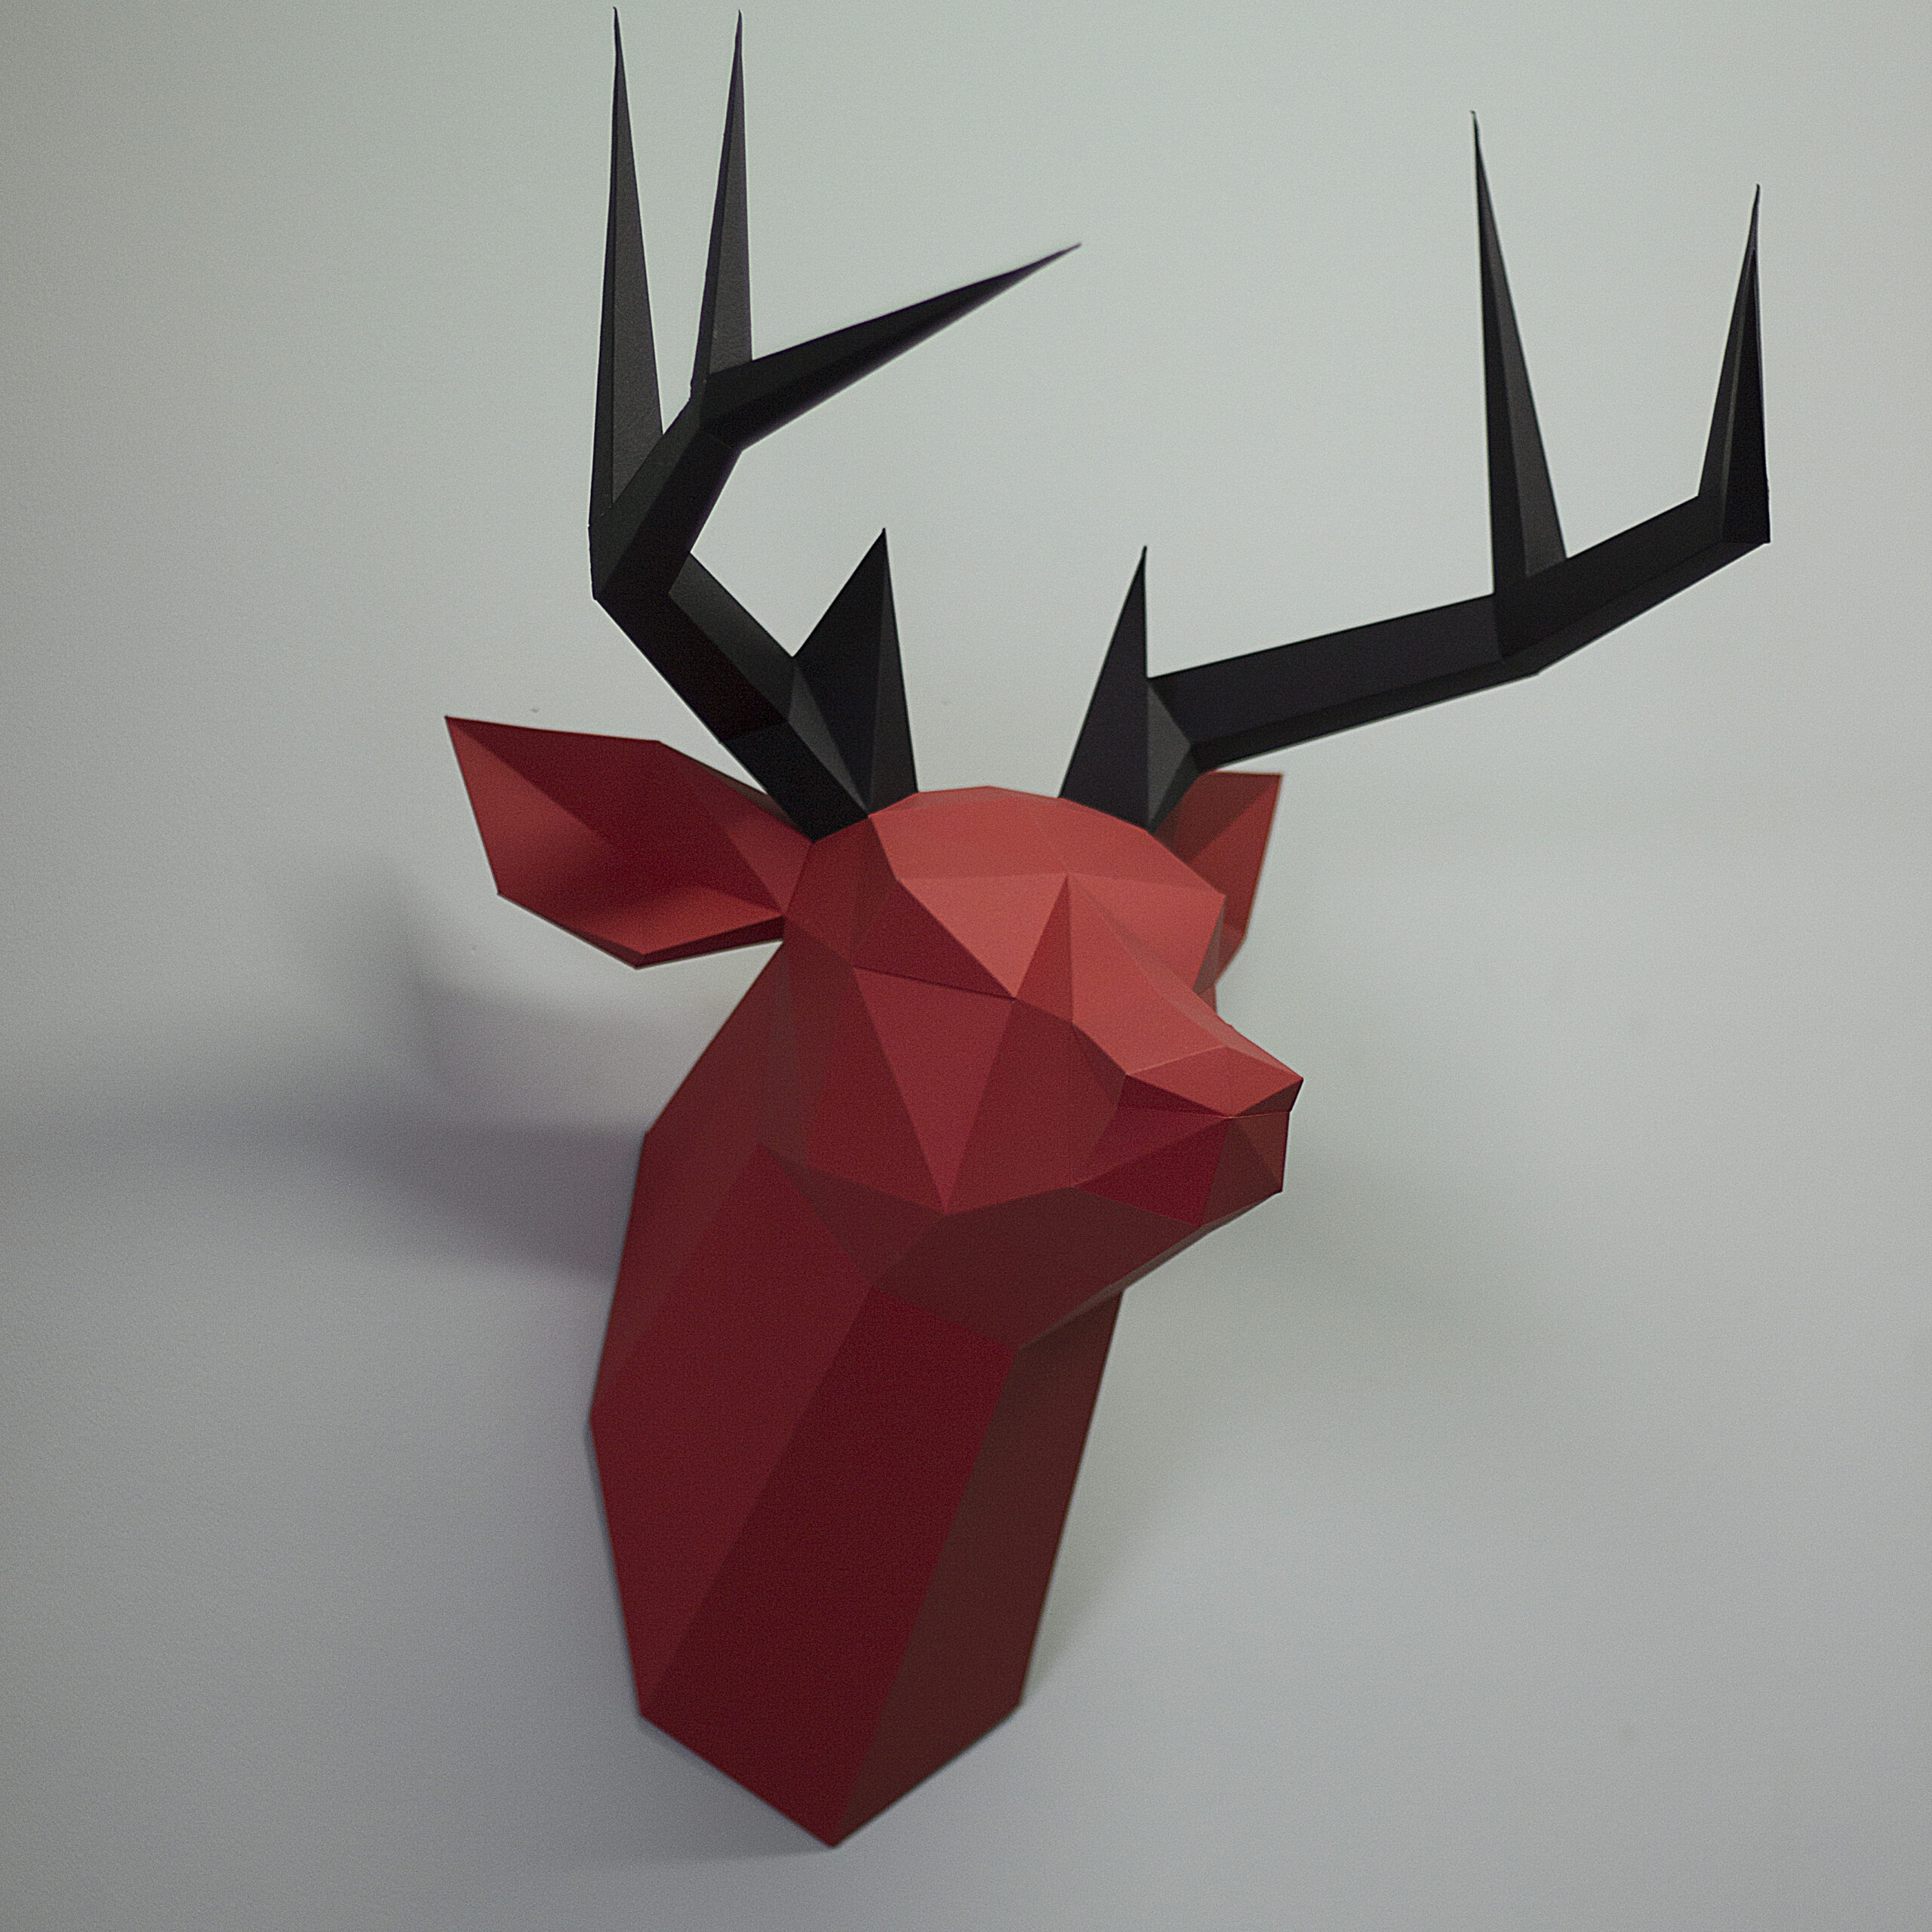
Picture yourself in the heart of an enchanted forest, where every tree hides a story and every animal holds a legend. You spot a majestic deer, a symbol of nobility and serenity. With our 3D deer head papercraft, you can recreate this magical scene at home. This model, designed to bring a touch of elegance to your interior, is the result of meticulous craftsmanship. Whether for Christmas or any other occasion, this polygonal paper papercraft promises a unique and rewarding creative experience. Discover other captivating models in our collection dedicated to 3D origami animal heads: here.
Deer head papercraft kit: digital format or complete box
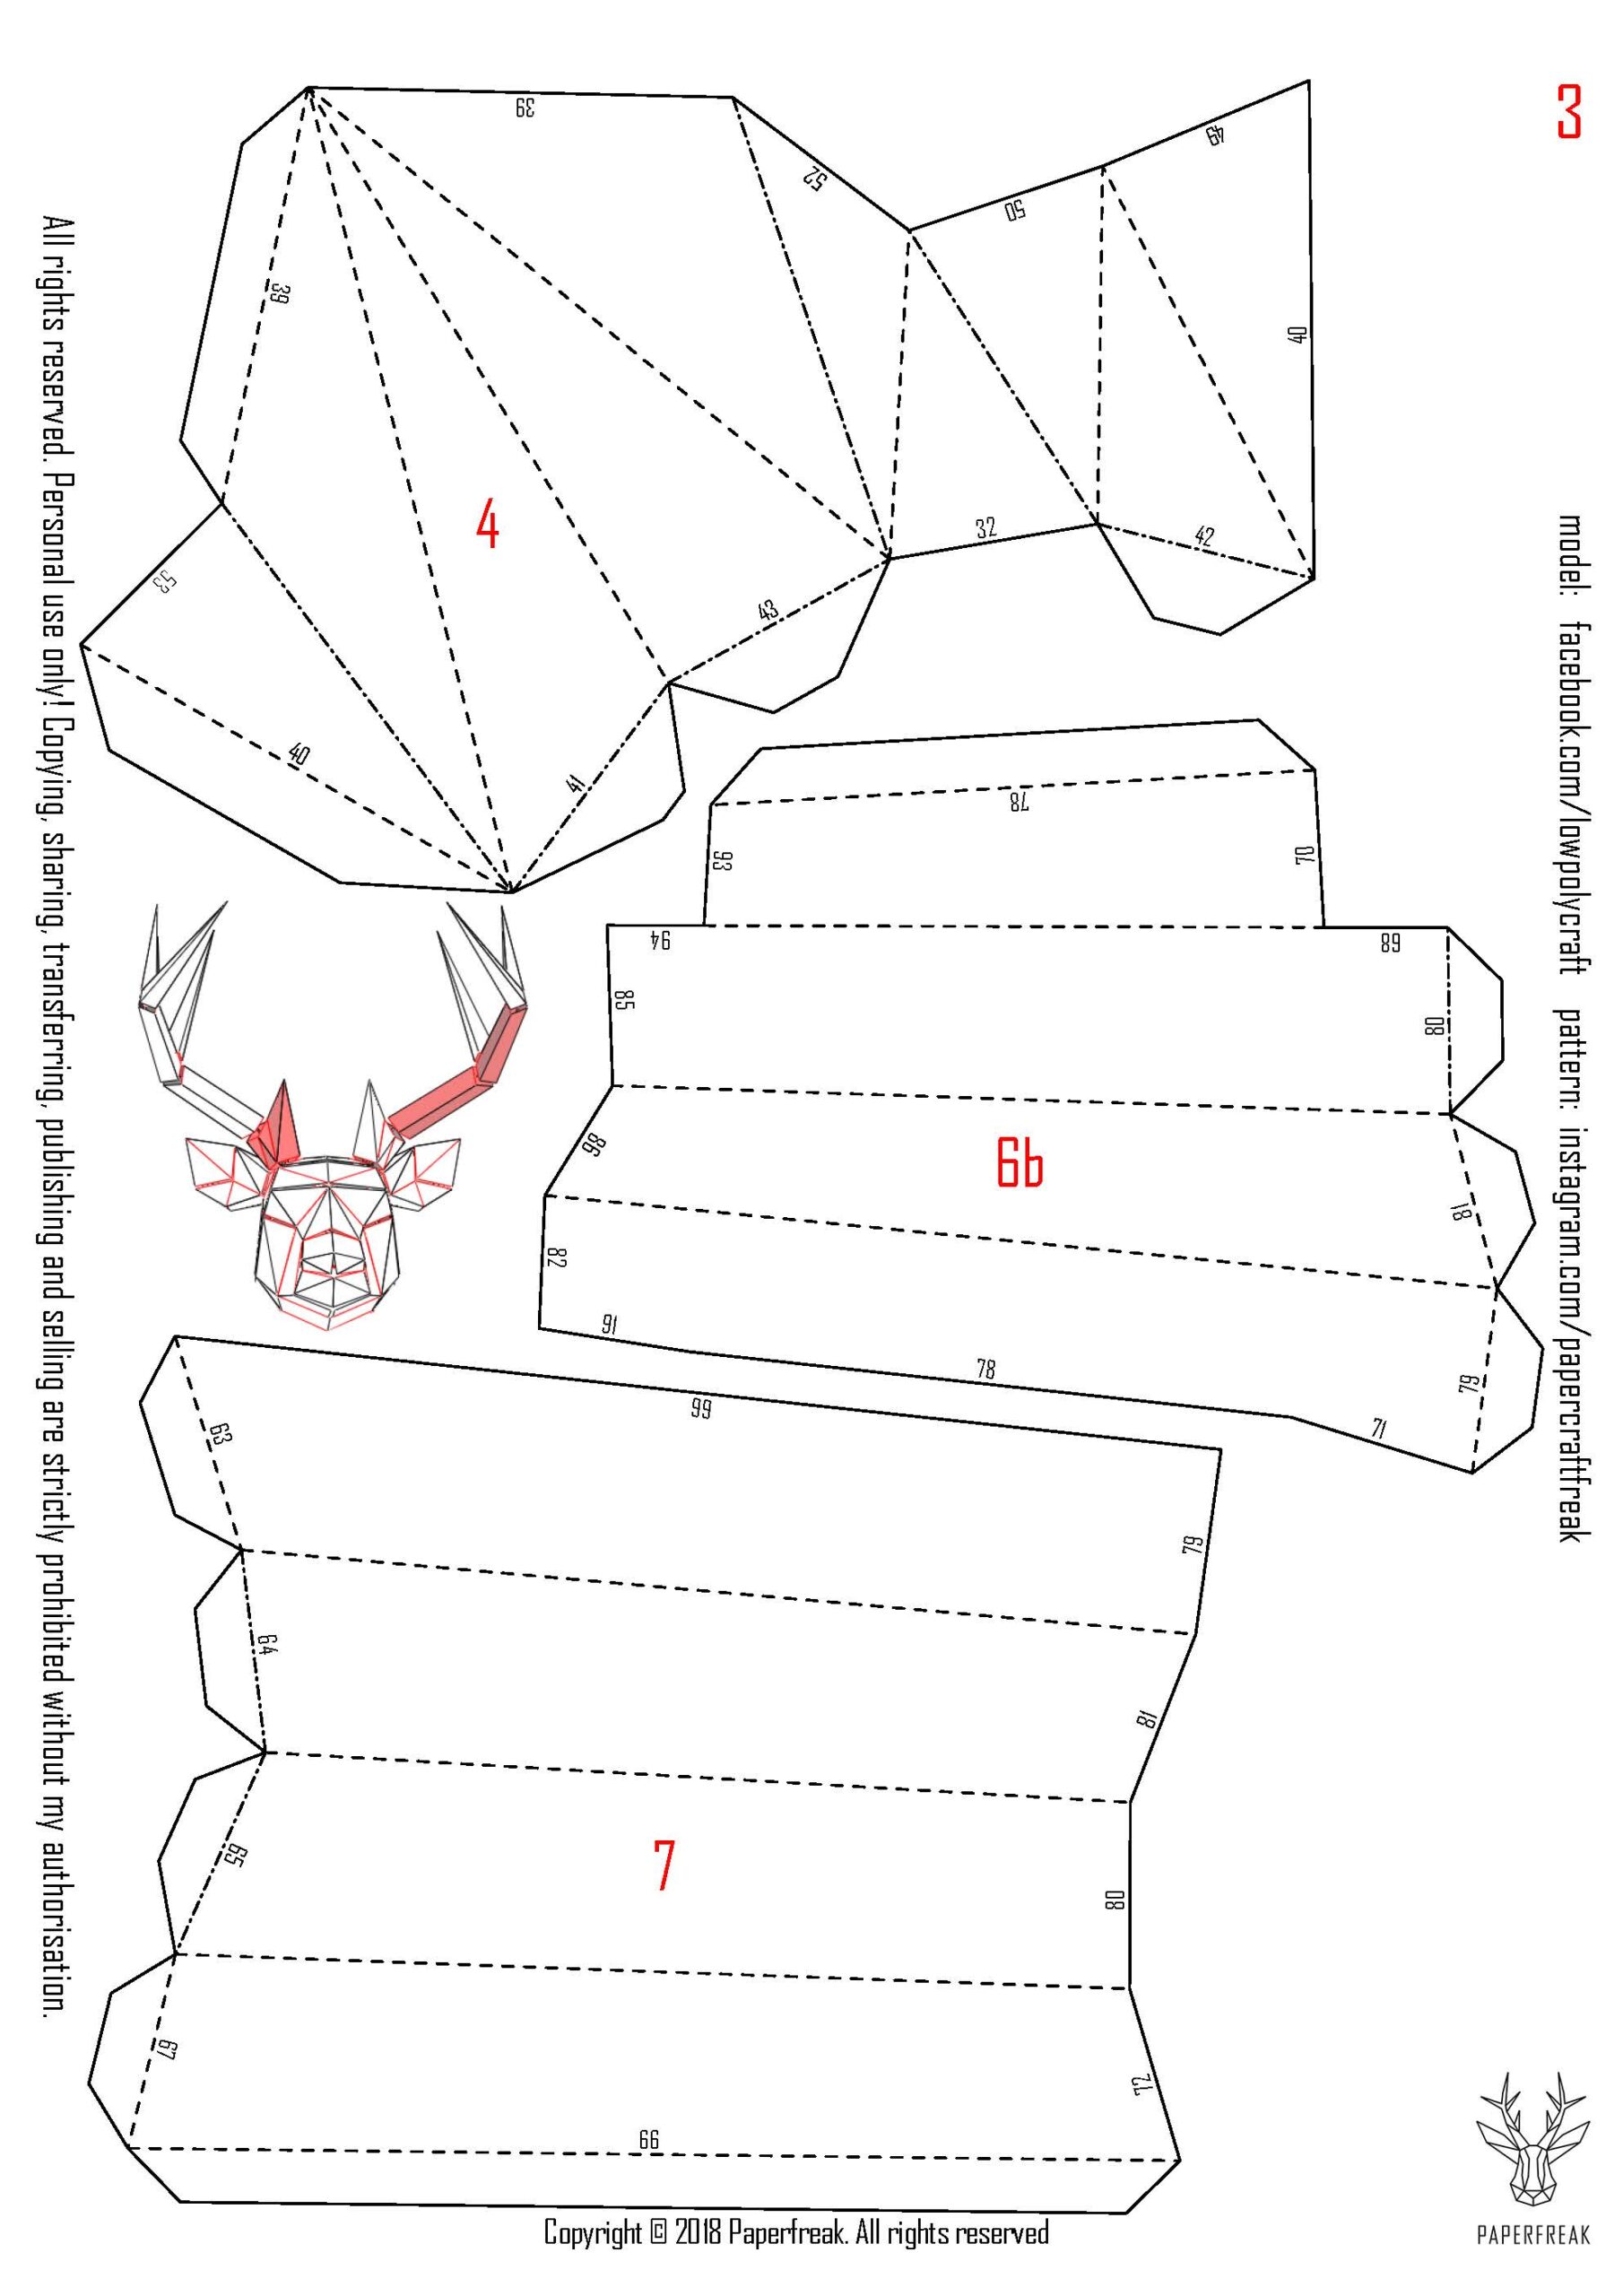
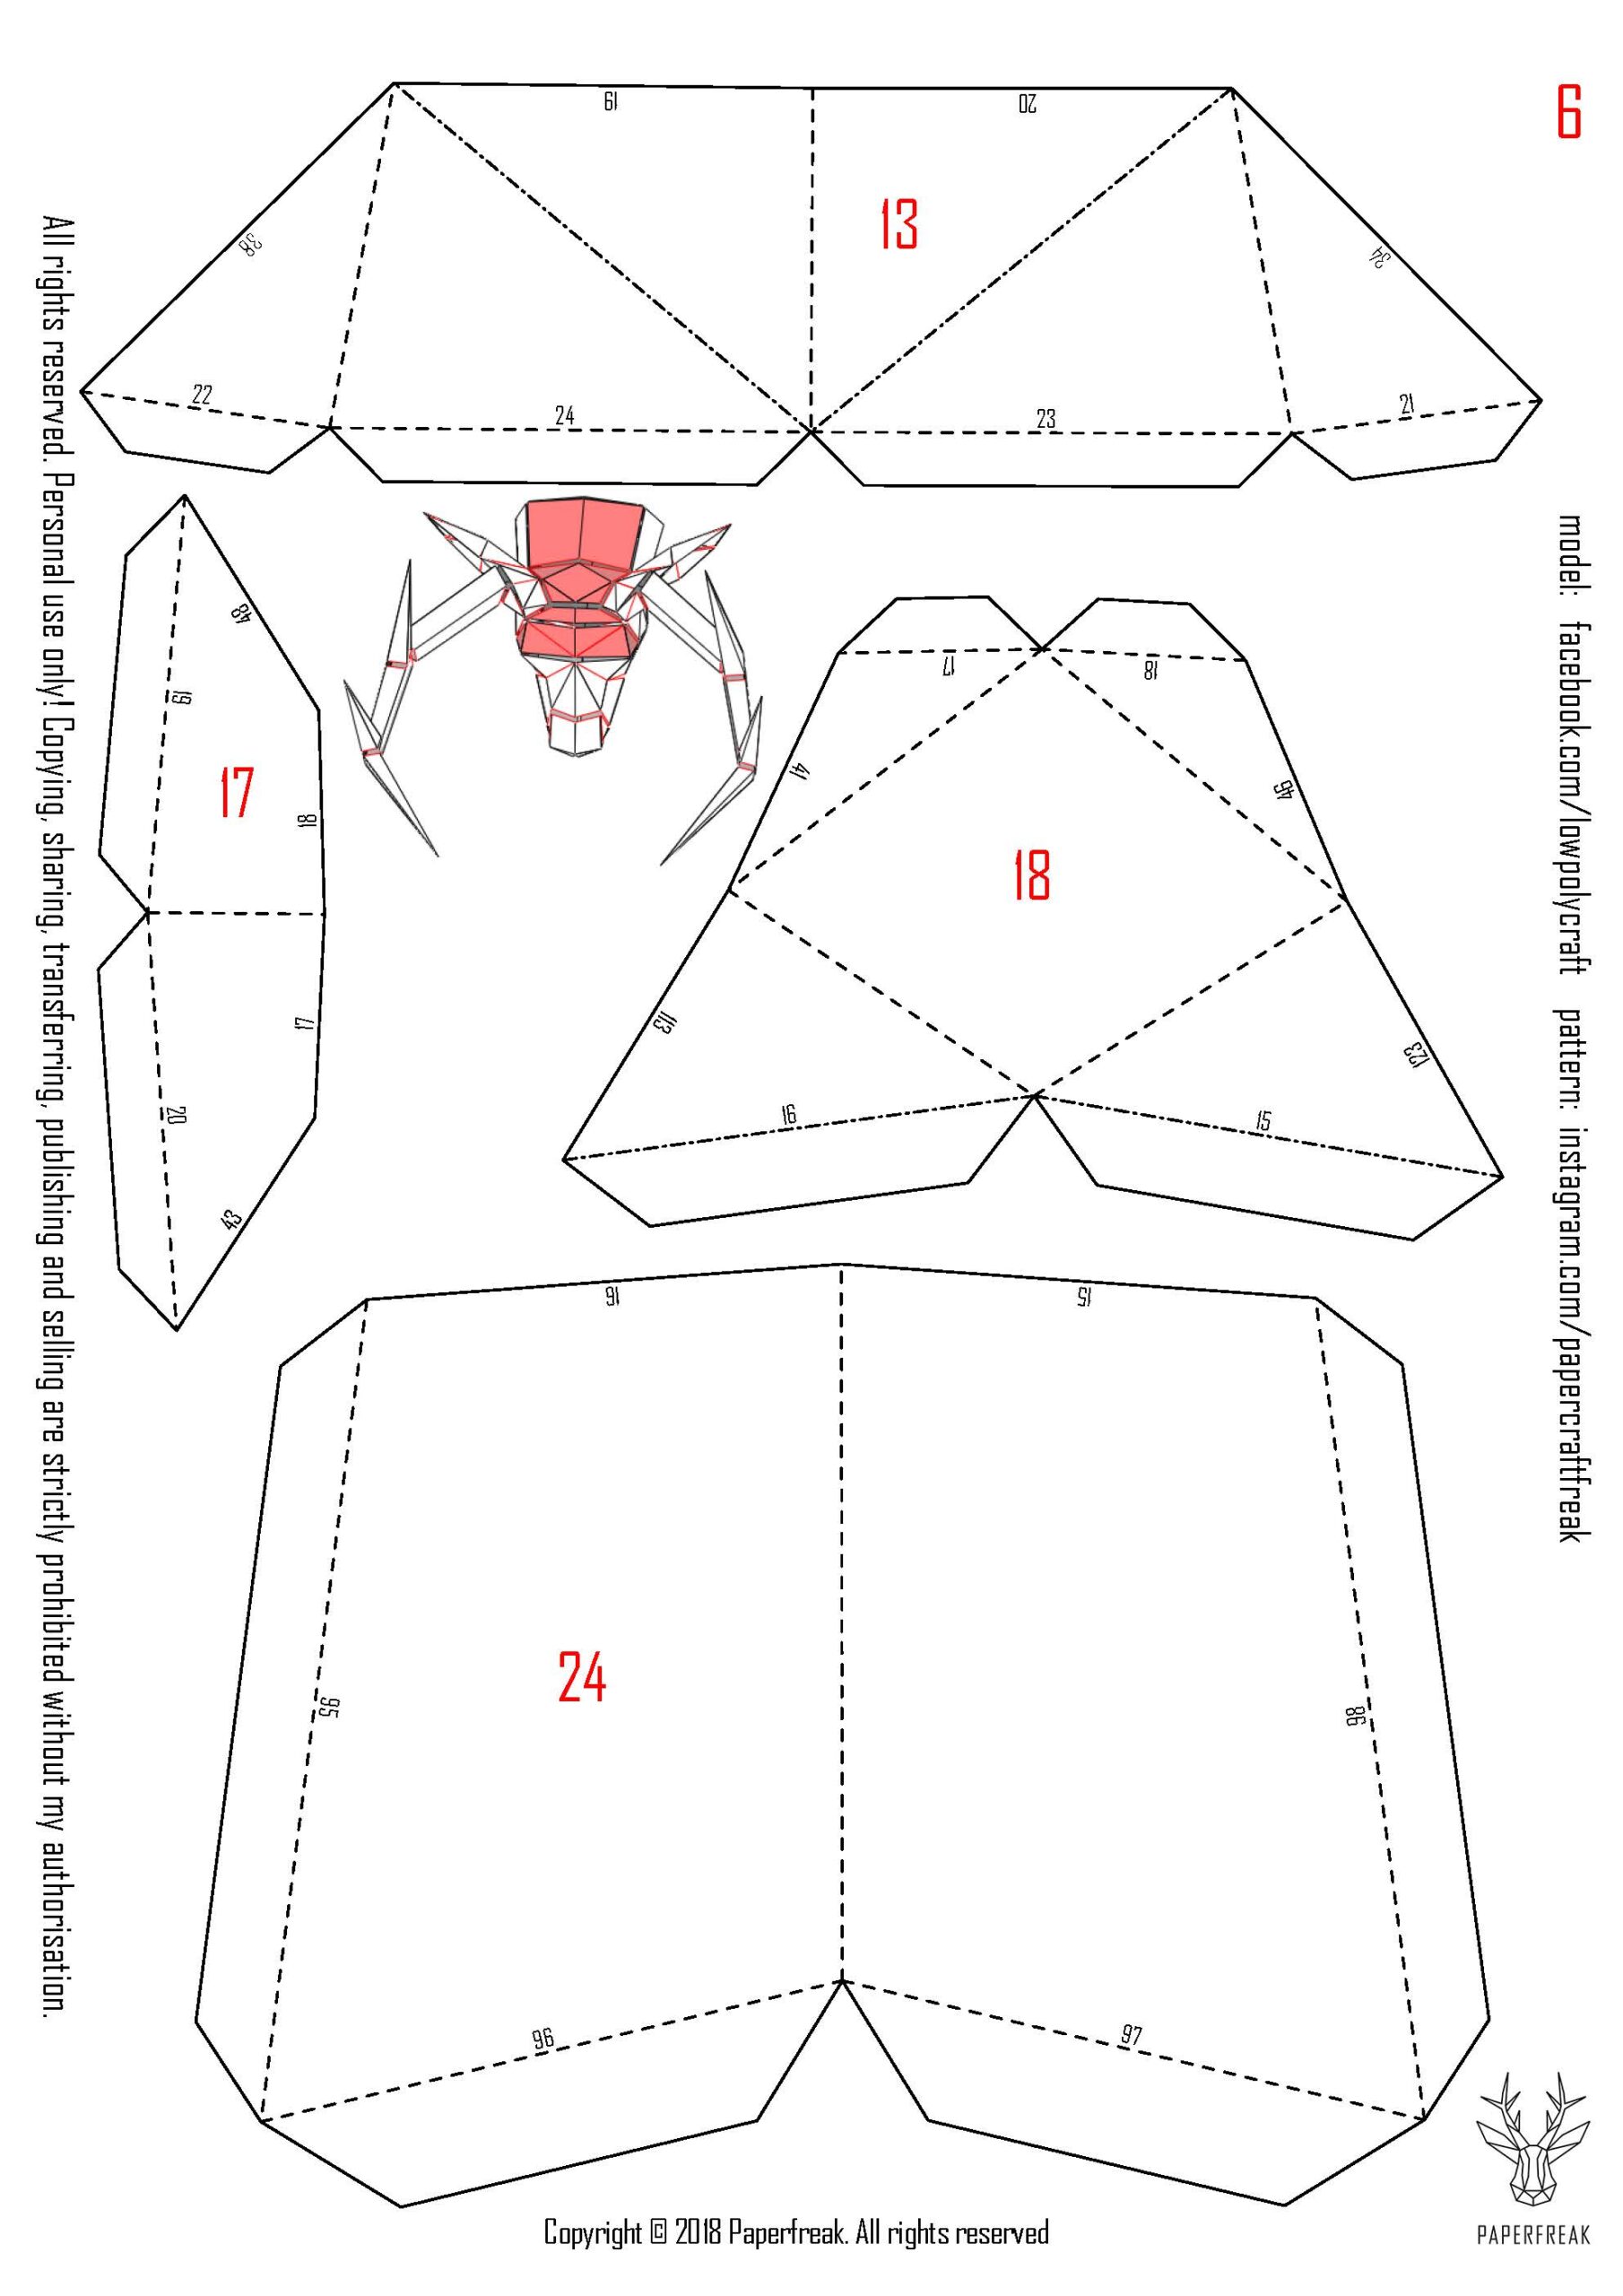
This model is available in two formats: a digital kit (PDF for immediate download) or a complete box including all printed sheets and necessary accessories. You have the freedom to choose the option that suits you best.
Technical specifications of the deer head papercraft
Print the template on 12 sheets of A4 cardboard (weight between 200 and 300gsm). Once assembled, the deer measures 610mm in height, 382mm in depth, and 366mm in width. The color scheme is divided as follows: the first three sheets for the antlers, the next eight for the head, and the last sheet for the background.
Deer head papercraft: embark on this creative adventure
Transform your space with this deer head papercraft. Whether you are a creative hobbyist, passionate decorator, or parent looking for an educational activity, this model is perfect for you. Add a touch of wild nature to your interior decor and share your masterpiece on social media with @papercraftfreak and #papercraftfreak. So, ready to take on the challenge?