Wondering how to give a second life to your old furniture? You’ve come to the right place! The popularity of DIY (Do It Yourself) techniques for customizing furniture has grown dramatically in recent years. In fact, 73% of French people carried out at least one DIY project in 2023, and this trend is only growing. It’s not only a creative way to express your unique style, but also an effective way to reduce waste by transforming rather than throwing away. In this article, we’ll share with you some simple and inspiring techniques for giving your furniture a makeover.
| Key points to remember |
|---|
| Painting and varnishing furniture |
| Use patterned paper for personalization |
| Add textiles for a unique touch |
| Using DIY stencils |
| Incorporate 3D details for added depth |
Painting and varnishing

Looking to give your furniture a second life? Painting is one of the simplest and most effective DIY techniques for furniture. Whether you want a modern, vintage or rustic look, painting can radically transform the appearance of your furniture.There are a variety of paints and varnishes available on the market. The choice depends on the type of finish you want to achieve. Acrylic paints are popular for their ease of use and fast drying. They offer a matte or gloss finish, depending on your preference. If you’re looking for a high-gloss finish, varnish could be the ideal solution.
How do I choose the right color for my furniture?
Color selection is crucial in the process of customizing your furniture. A good rule of thumb is to opt for colors that complement the overall mood of your room. For example, if your room has a natural theme with lots of greens and browns, consider earthy tones for your furniture.Don’t forget that colors have a psychological impact. Warm tones like red, orange and yellow can make a room more welcoming and stimulating, while cool tones like blue, green and violet can create a soothing atmosphere.
- For a modern look: opt for neutral shades such as gray, white or black.
- For vintage style: think soft pastels or contrasting bright colors.
- For a rustic effect: consider natural shades such as light or dark brown.
With these tips in mind, don’ t be afraid to be bold. After all, it’s your personal space!
Use patterned paper
There’s no denying the visual impact patterned paper can have on our furniture. It’s an effective, economical and above all creative way of giving a second life to dull or old-fashioned furniture. So, how do you go about it?
The key is to choose a pattern you like, one that suits your style and the mood you want to create in your room. From florals to geometrics to abstract designs, the options are almost endless.
| Wallpapers | Scrapbooking papers | Gift wrapping paper |
| They offer a wide variety of patterns and are generally more durable. | Their smaller size makes them ideal for smaller projects. | Ideal for seasonal or thematic projects. |
Now that you’ve chosen your paper, it’s time to move on to the practical part: application.
How do I apply patterned paper to furniture?
Applying patterned paper to your furniture isn’t as complicated as it may seem. Here are a few simple steps:
- Clean furniture: Make sure the surface is clean and dry before applying anything.
- Cut the paper: Measure precisely the surface you wish to cover and cut the paper accordingly. Always remember to add a few extra centimetres so you can adjust if necessary.
- Apply glue: Use special wallpaper paste or mod podge glue. Apply it carefully to the furniture surface with a flat brush.
- Position the paper: Carefully position the paper on the glued surface, paying attention to air bubbles. Use a plastic squeegee to smooth the surface and squeeze out air bubbles towards the edges.
- Leave to dry: Once the paper has been positioned correctly, leave it to dry for at least a few hours.
- Protect your work: After drying, apply a coat of clear varnish to protect the paper and extend the life of your personalized furniture.
And now you’ve transformed a simple piece of furniture into something unique and full of character. Ready to give it a try?
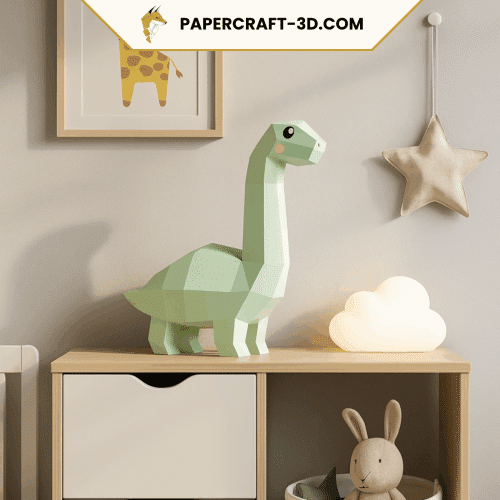
Adding 3D details
Another creative way to breathe new life into your furniture is to add 3D details. The three-dimensional effect offers visual and tactile texture, making your furniture unique and attractive. A variety of materials can be used to achieve this. From decorative knobs to carved wooden ornaments, the possibilities are endless. However, the key is to choose something that complements the overall style of your furniture and the room it’s in.
How to use origami to personalize furniture?
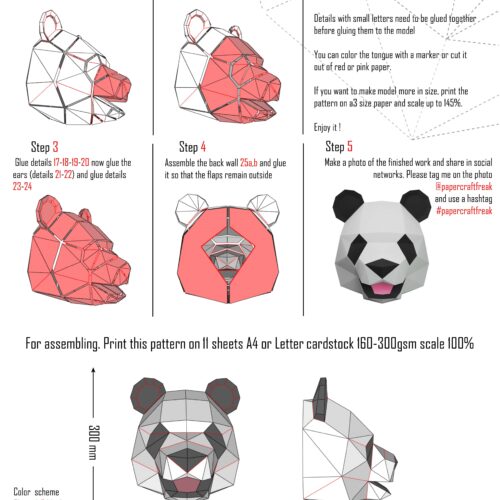
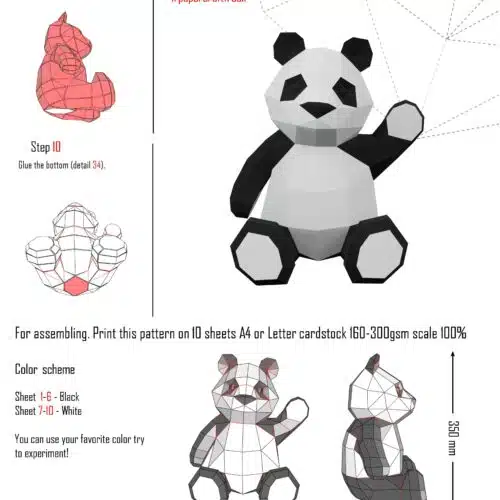
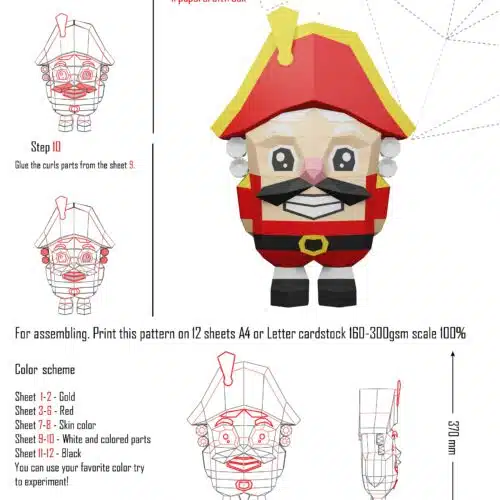
The traditional Japanese art of paper folding, known as origami, can be an excellent choice for adding 3D details to your furniture. Not only is it a fun and relaxing activity, but it also allows you to create unique designs that you won’t find anywhere else.Here’s how to do it:
- Select an origami model suited to your skill level and the design you wish to create.
- Choose a durable paper that will stand up to daily use on furniture.
- Follow the instructions on the model to create your origami design.
- Once you’ve finished, carefully attach the origami to your furniture using strong glue.
Just make sure your origami creations are securely fastened and can withstand daily handling, and voilà! You’ve now transformed a simple piece of furniture into a unique work of art using your own hands. Once you’ve explored these fascinating DIY techniques for personalizing your furniture, it’s time to move on.
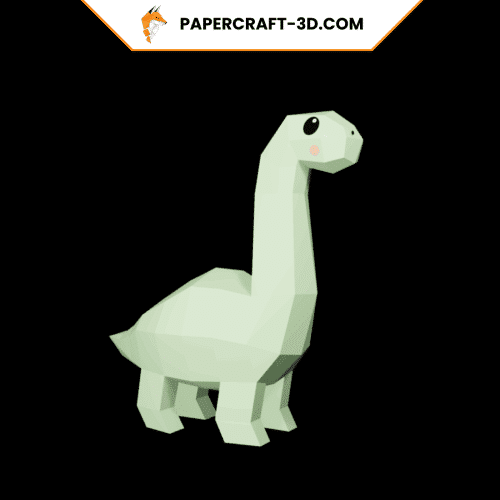
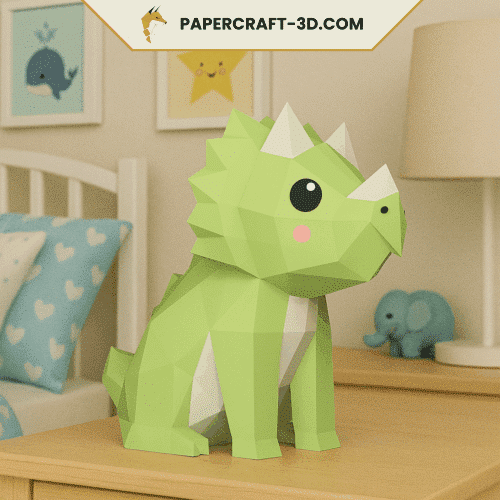
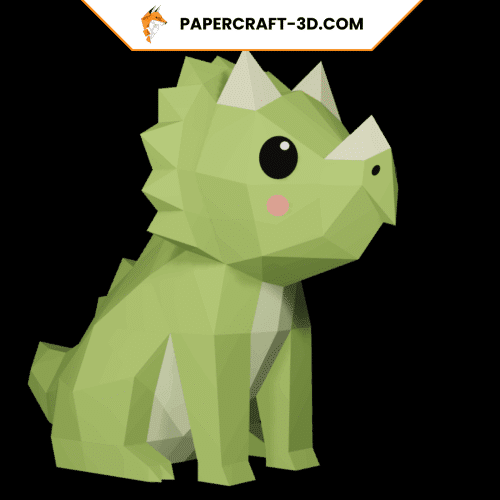
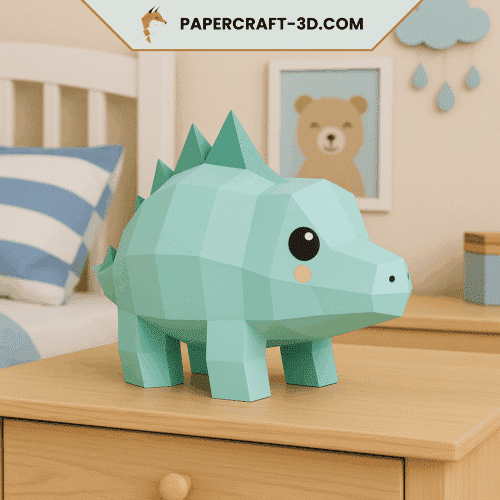
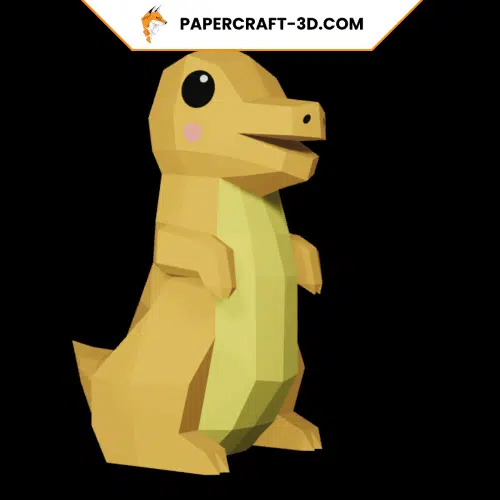
Meet Papercraft-3D.com
Looking for 3D details to bring your furniture to life? Let our store, Papercraft-3D.com, inspire you. Specializing in paper art, we offer a variety of origami and 3D papercraft creations to personalize your furniture. Each creation is designed to add a unique touch to your interior. So why wait? Turn your furniture into works of art with Papercraft-3D.com! You’ll discover a world where creativity knows no bounds. Visit us and let your imagination take over.
What is DIY for furniture customization?