| Key points | Details |
|---|---|
| ? Papercraft art | Transform paper into three-dimensional sculptures. |
| ? Model selection | Use .pdo files or create models via CAD. |
| ✂️ Materials and tools | Prefer paper between 180 and 220g/m² and use UHU Gel glue. |
| ? Assembly printing | Pay attention to the quality of cutting and folding for optimum results. |
| ? Final decoration | Personalize with paint or markers for a unique look. |
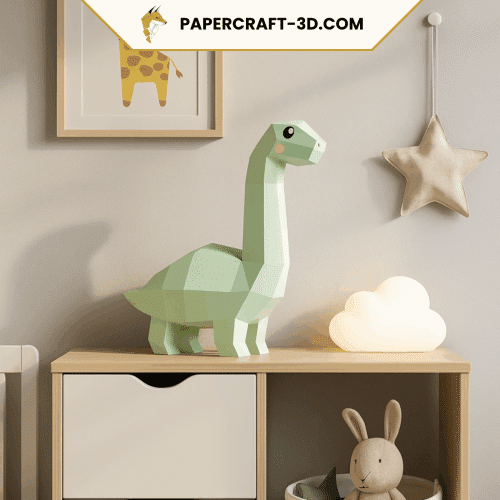
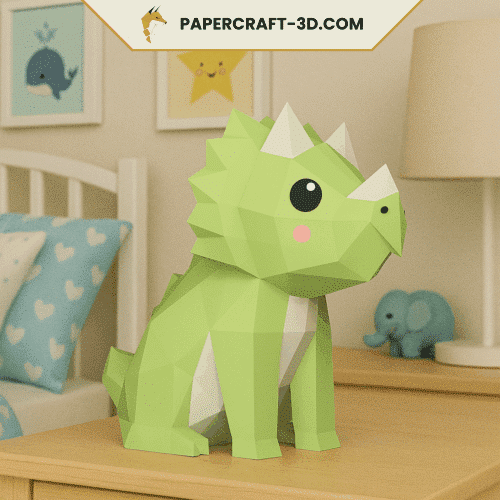
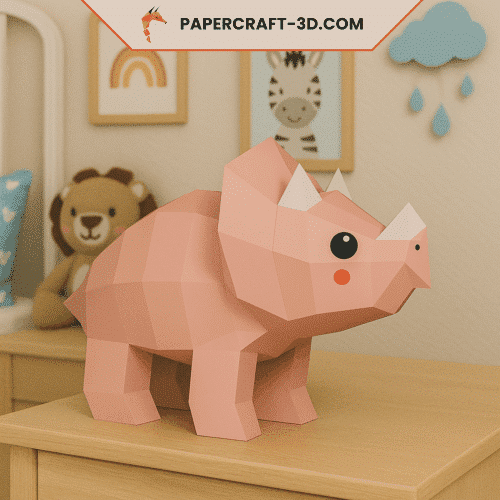
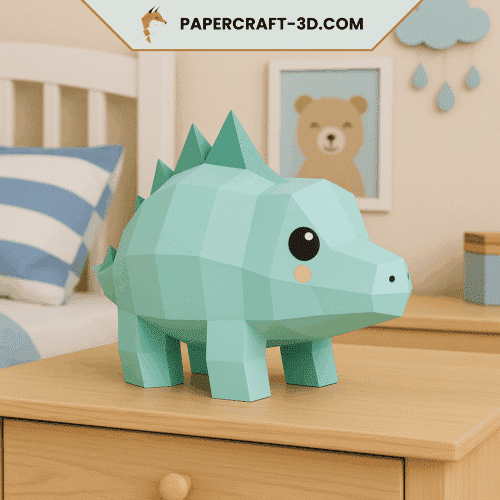
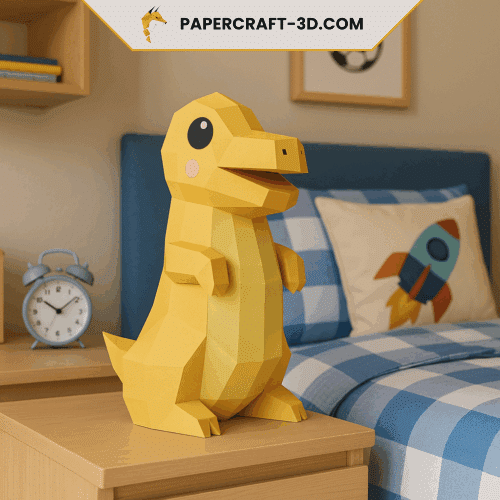
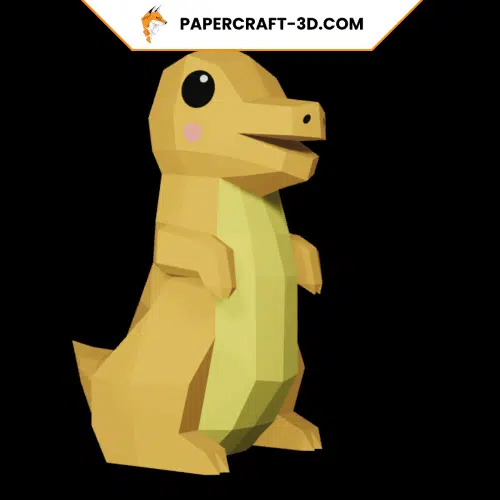
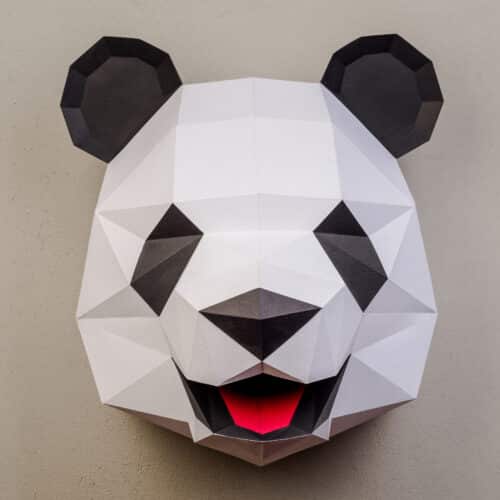
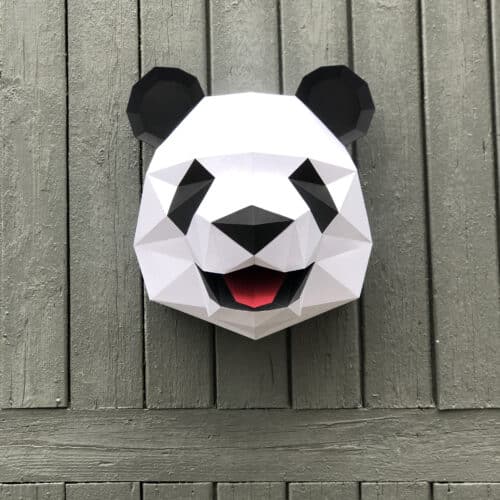
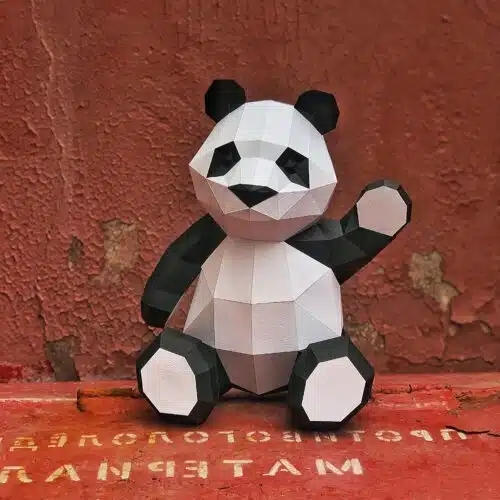
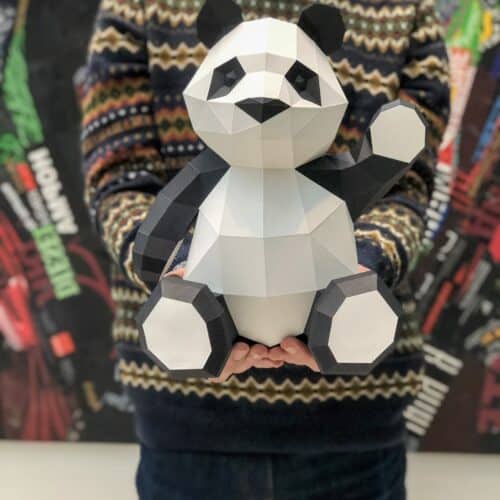
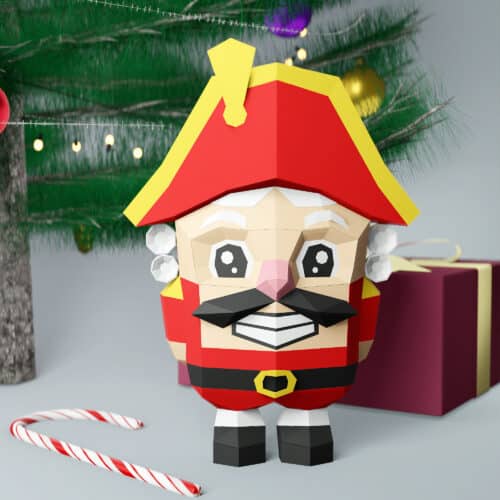
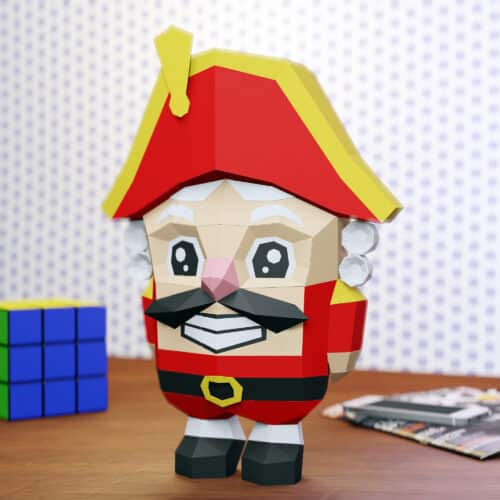
Papercraft, the delicate art of transforming paper into three-dimensional sculptures, is a fabulous exercise in meticulousness and patience. Whether you’re a novice looking to start your first project, or an experienced craftsman looking to perfect your technique, this step-by-step guide makes it easy to create your own paper creations. From the choice of materials to the final decoration of your work, immerse yourself in the fascinating world of papercraft.
Choosing and preparing your 3d model
Before plunging into assembly, the choice of a suitable model is essential. The options are vast: from pre-designed .pdo files, available on the Internet, to the personal creation of your own models using 3D modeling software. For those who prefer a gentle introduction, opting for a pre-designed file can be a wise choice. The more adventurous can embark on modeling their own design, although this requires a certain familiarity with CAD software.
Once you’ve chosen your model, importing and preparing it in appropriate software, such as Photoshop, become your next steps. Although transforming a 3D model into a papercraft pattern may seem complex, tools like Pepakura Designer simplify the process by “unfolding” the model to create a printable pattern.

Materials and tools required
To transform your digital model into a physical sculpture, you’ll need specific materials and tools. Here’s a non-exhaustive list:
- Thick paper (ideally between 180 and 220g/m²)
- Glue or tape
- Precision cutter and scissors
- Cutting mat
- Metal ruler for precise bending
Choosing the right type of paper is crucial to the final result. Paper that’s too thin can tear easily, while paper that’s too thick can make folding difficult. UHU Gel glue is often recommended for its paper-friendly bonding strength.

From printing to assembly
Once your pattern is ready, the next step is printing. Make sure the paper size matches that selected in your pattern software. For larger projects requiring several sheets, clear organization and numbering greatly simplify the assembly stage.
Meticulous cutting along the lines and precise folding of the tabs are the foundations of any successful papercraft sculpture. Each folded tab should be glued in its corresponding place, a task requiring a surprising amount of precision and patience. For ease of use, always start with simple shapes before progressing to the more complex structures of your model.
| Step | Description | Tools required |
|---|---|---|
| 1. Model selection | Choose a model according to your skill level. | Computer |
| 2. Preparation | Import and prepare your 3D model. | Papercraft software |
| 3. Materials | Select paper and gluing tools. | Paper, glue, scissors |
| 4. Print | Print your pattern on the chosen paper. | Printer |
| 5. Cutting and folding | Cut and fold parts according to pattern. | Cutter, ruler, cutting mat |
| 6. Assembly | Glue the parts together, following the numbering. | Glue, patience |
Final touches and presentation of your work
Once all the pieces have been assembled, you’re ready with your paper sculpture. However, for those who wish to go a step further, decorating offers the opportunity to add a personal touch to your creation. The use of acrylic paints or markers can bring your model to life, making it not only more realistic but also unique.
Finally, finding the right place to display your papercraft can be just as creative as building it. Whether on a shelf, in a display case or as the centerpiece of a room, make sure your creation is visible so you can admire the fruits of your labor.
Papercraft is more than just a hobby; it’s an art form requiring patience and precision. However, the sense of accomplishment felt when you see a simple piece of paper transformed into an intricate sculpture is incomparable. Follow this guide, let your creativity run wild and you’ll be amazed at what you can achieve with a little paper.


