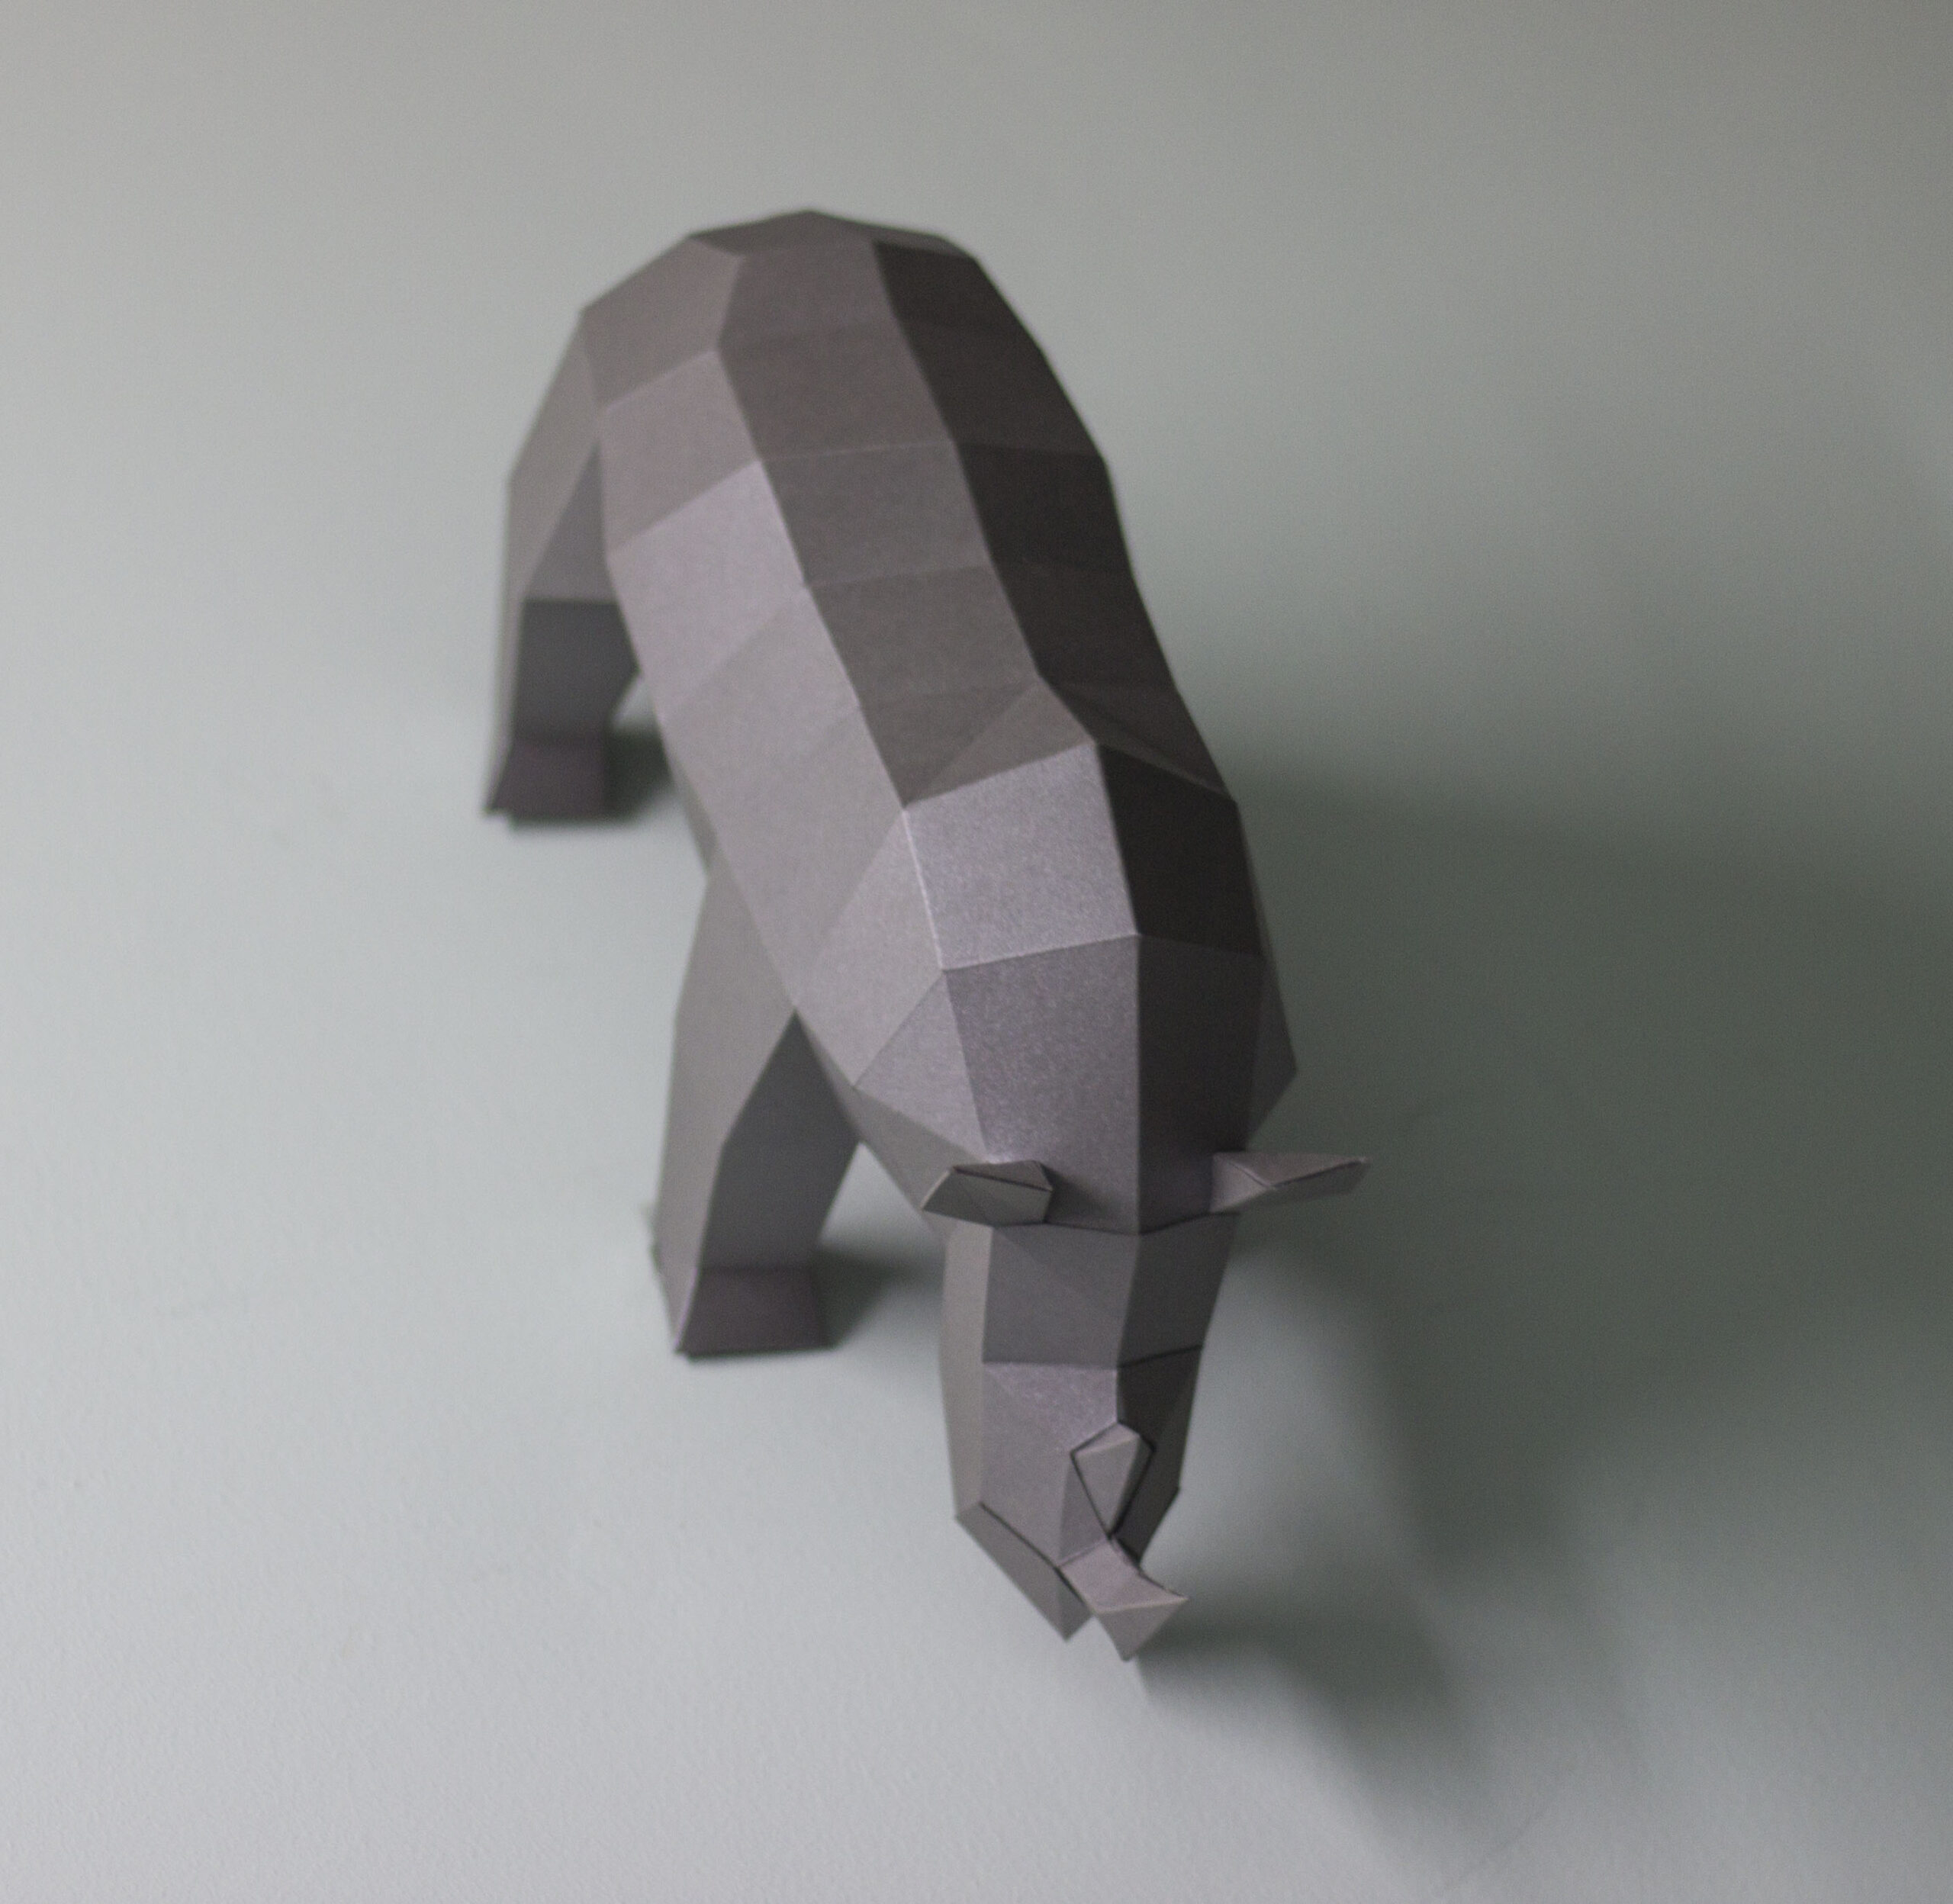
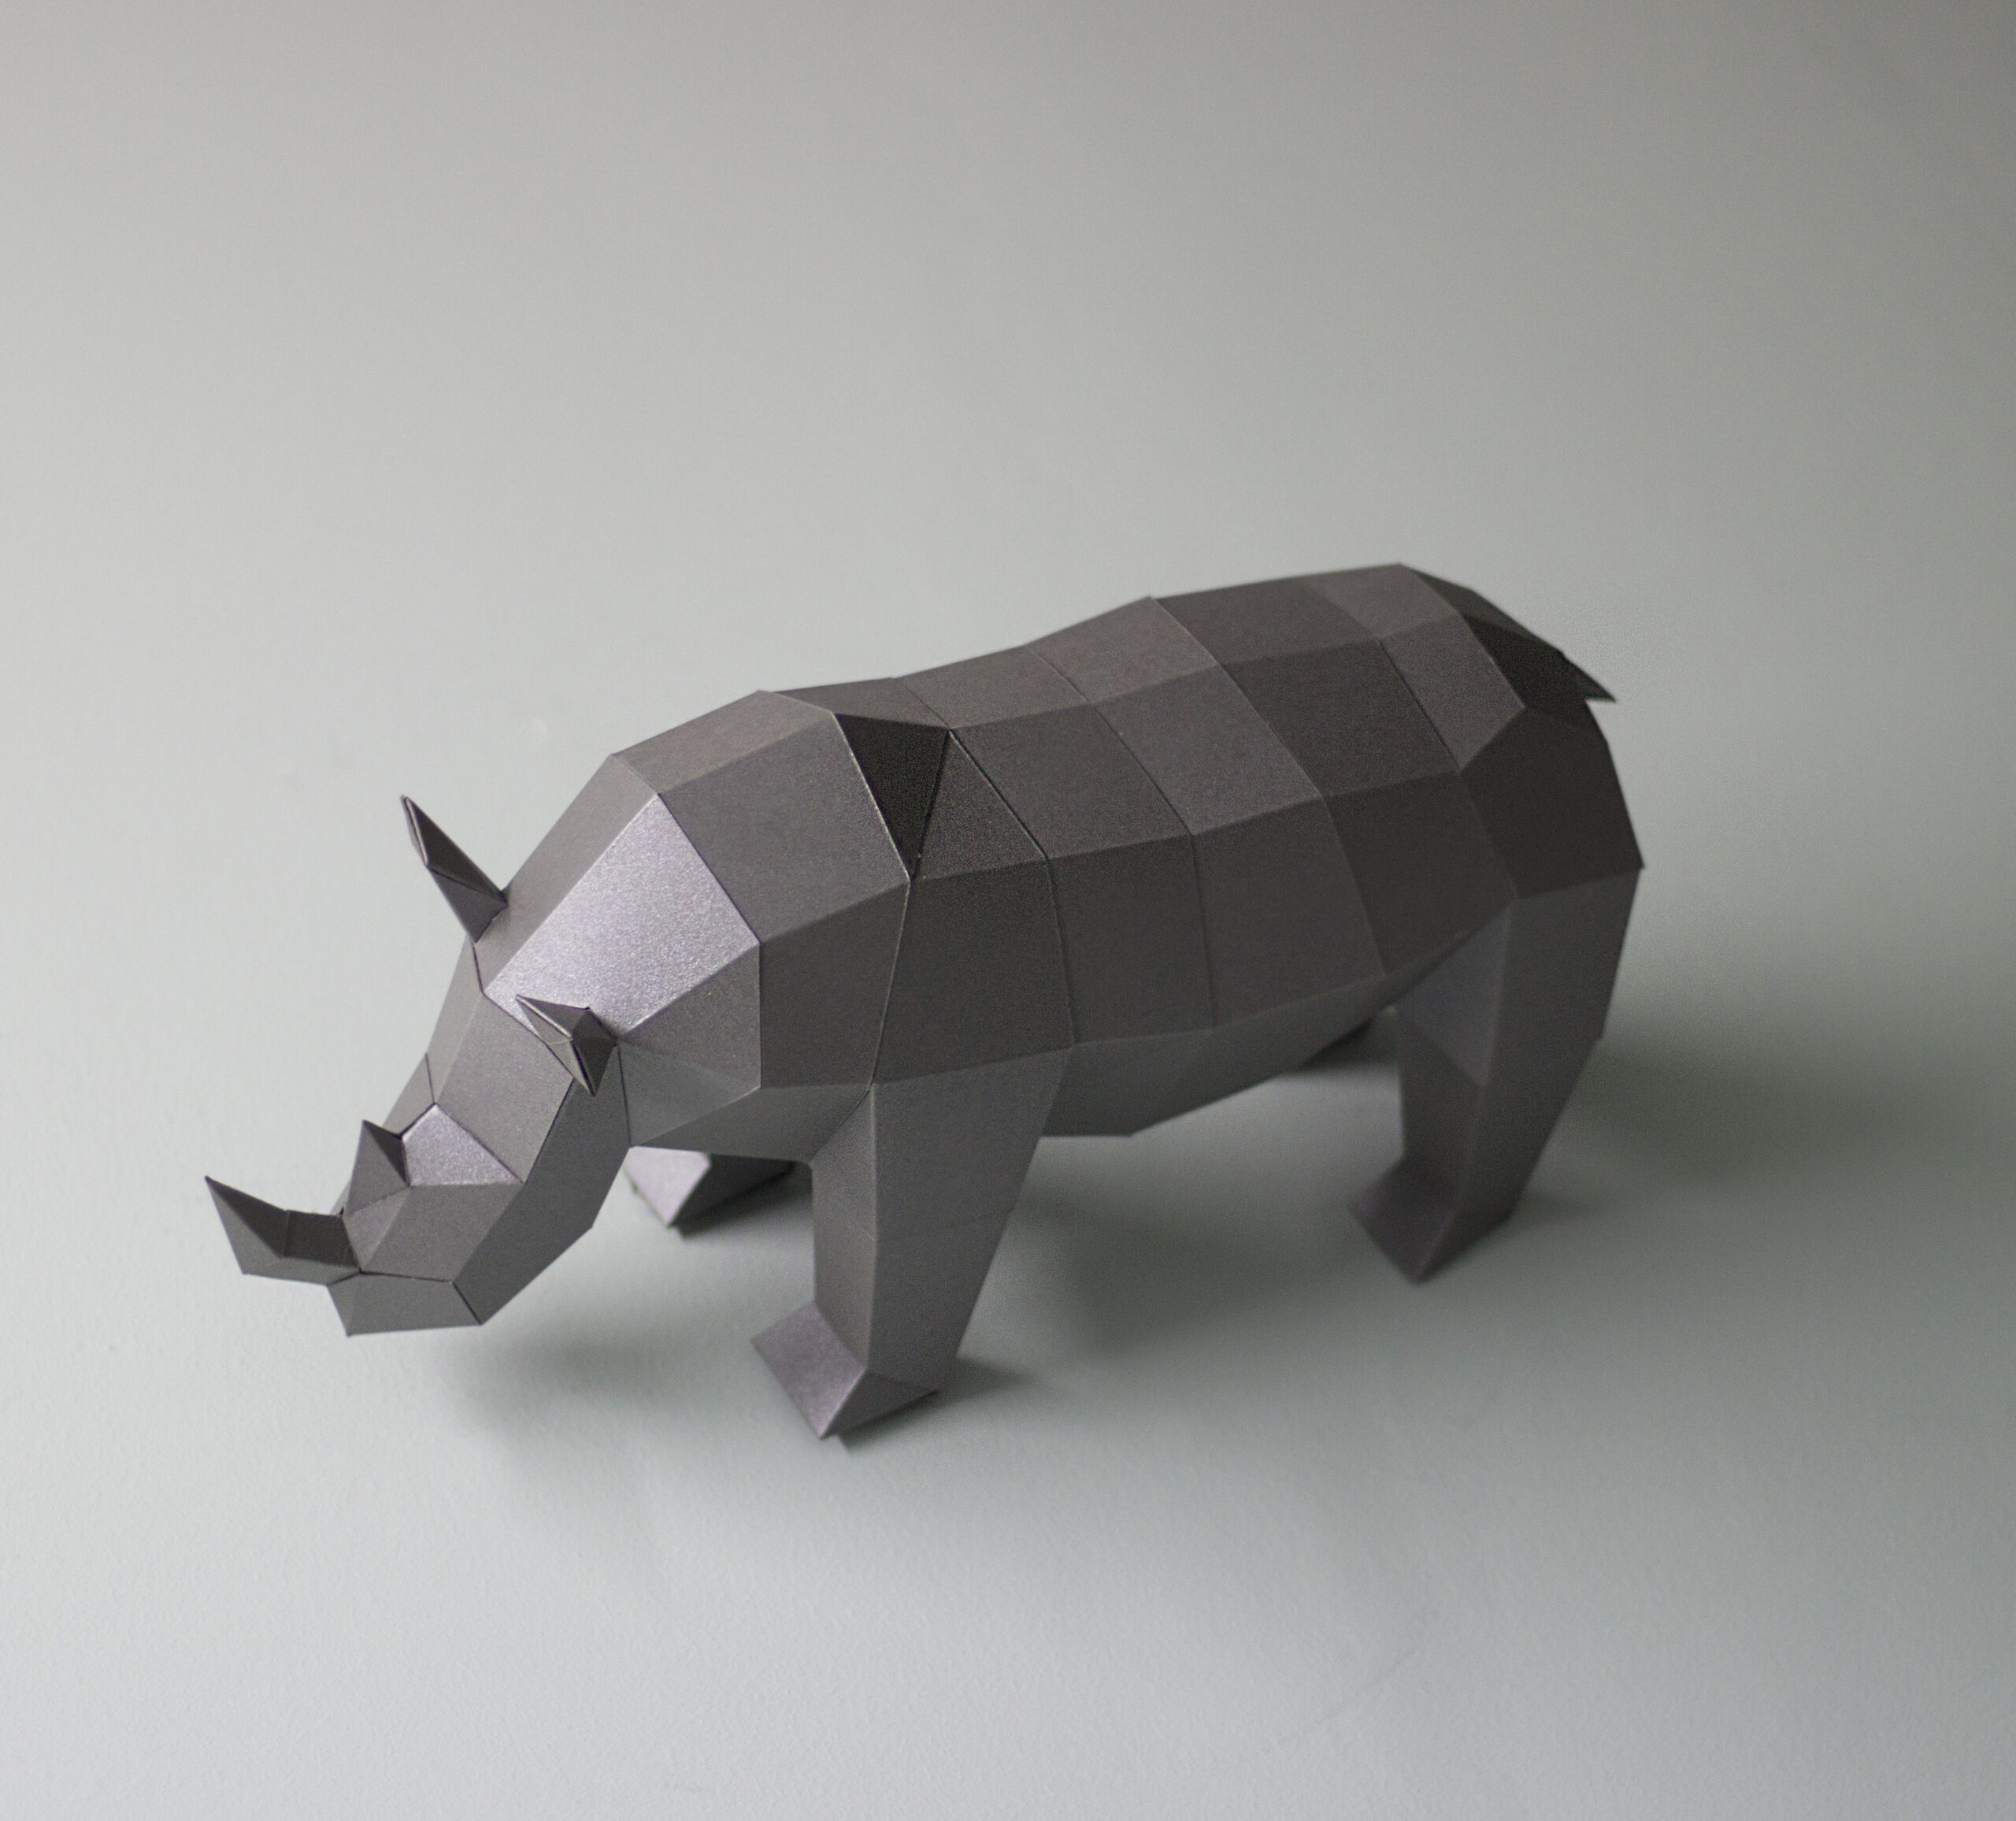
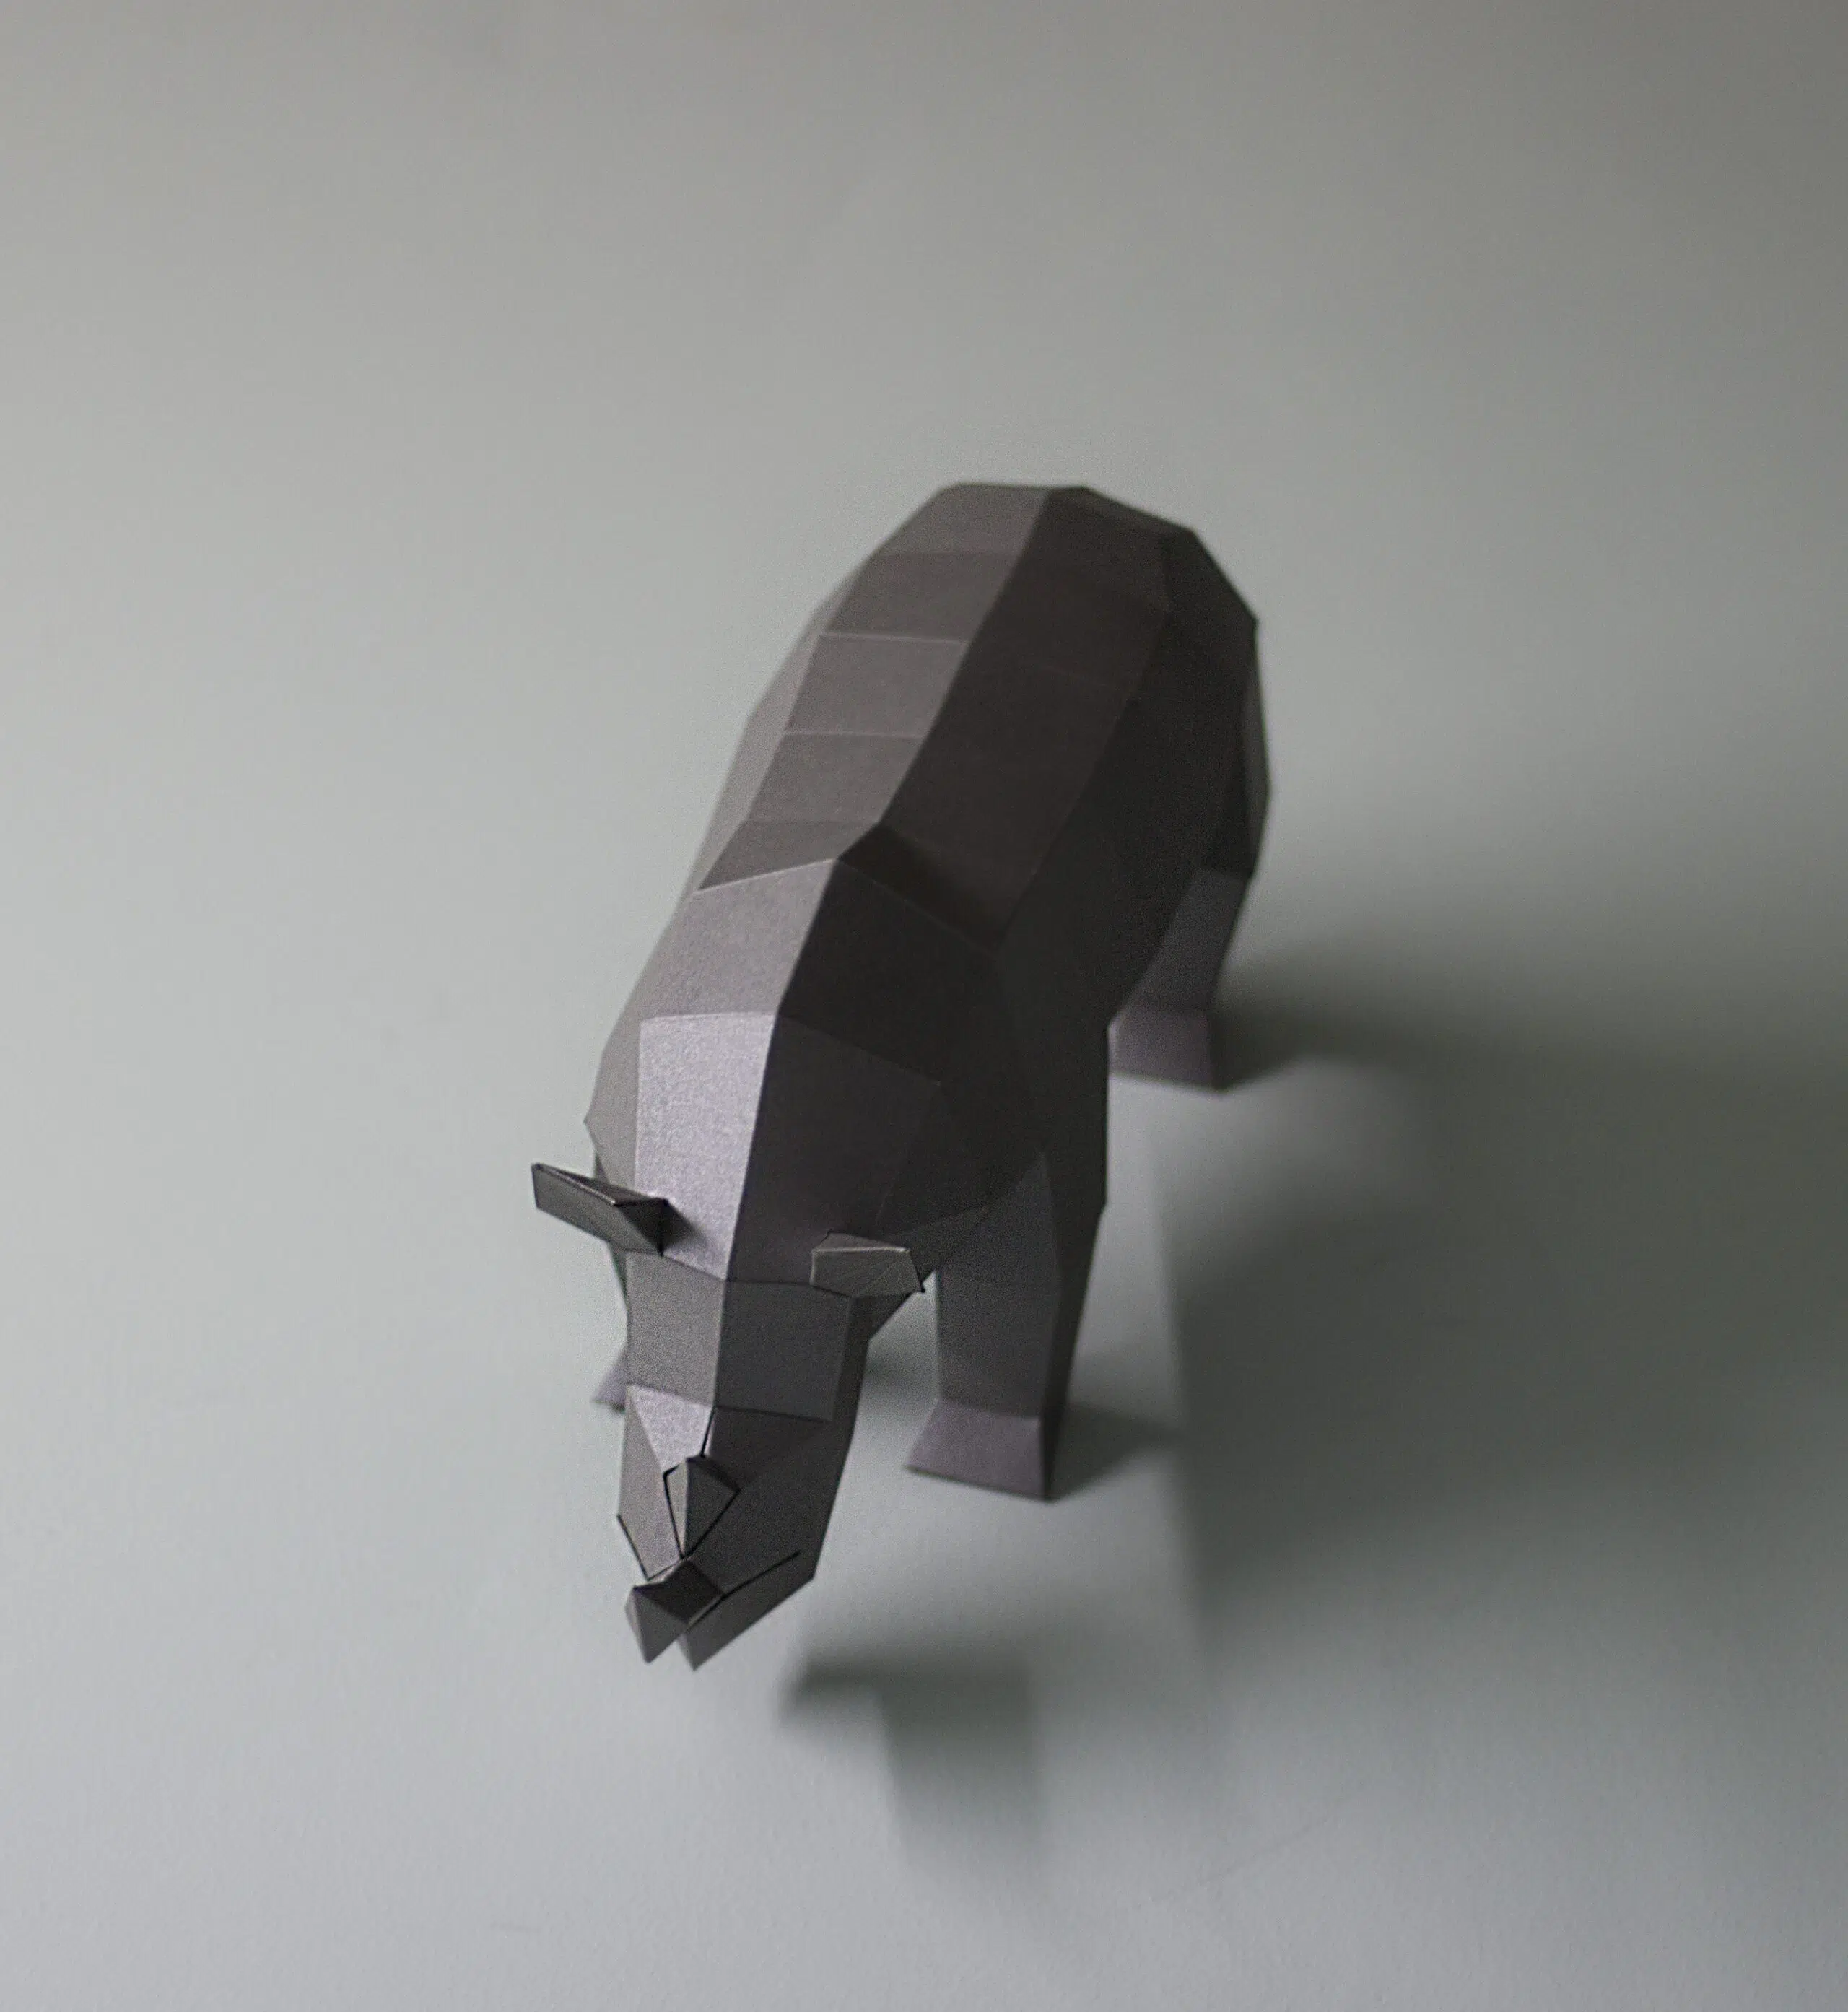
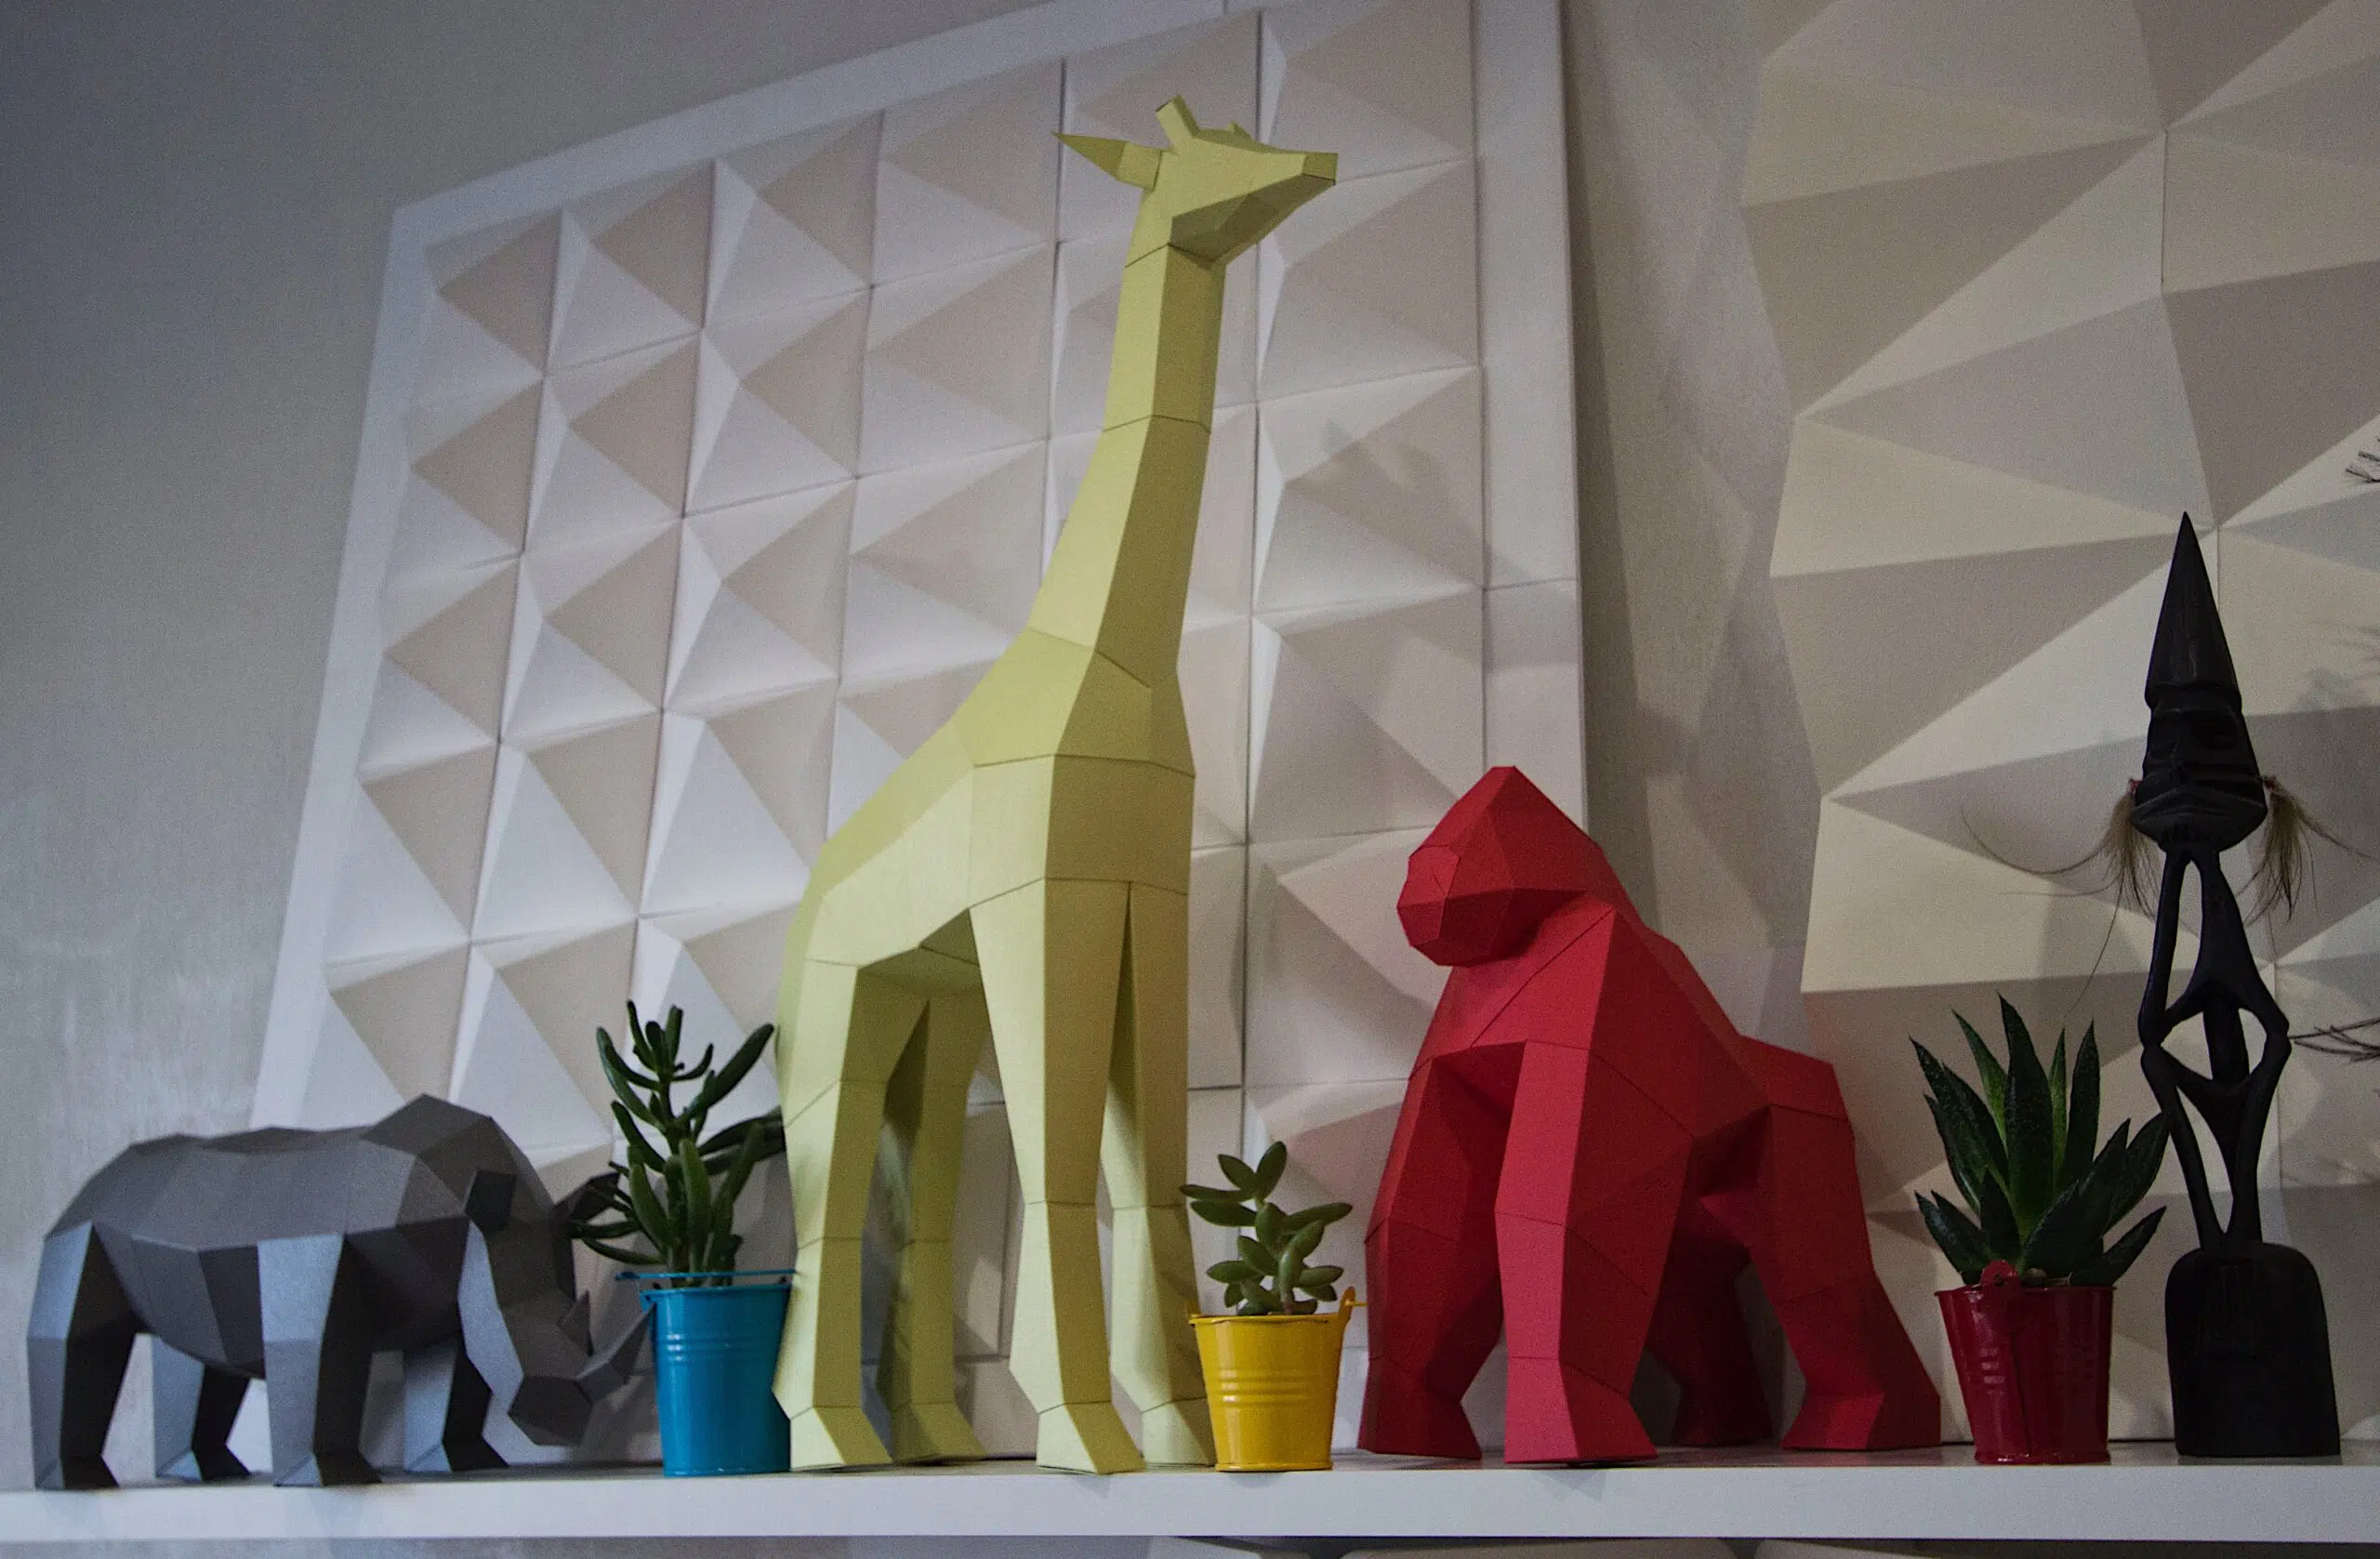
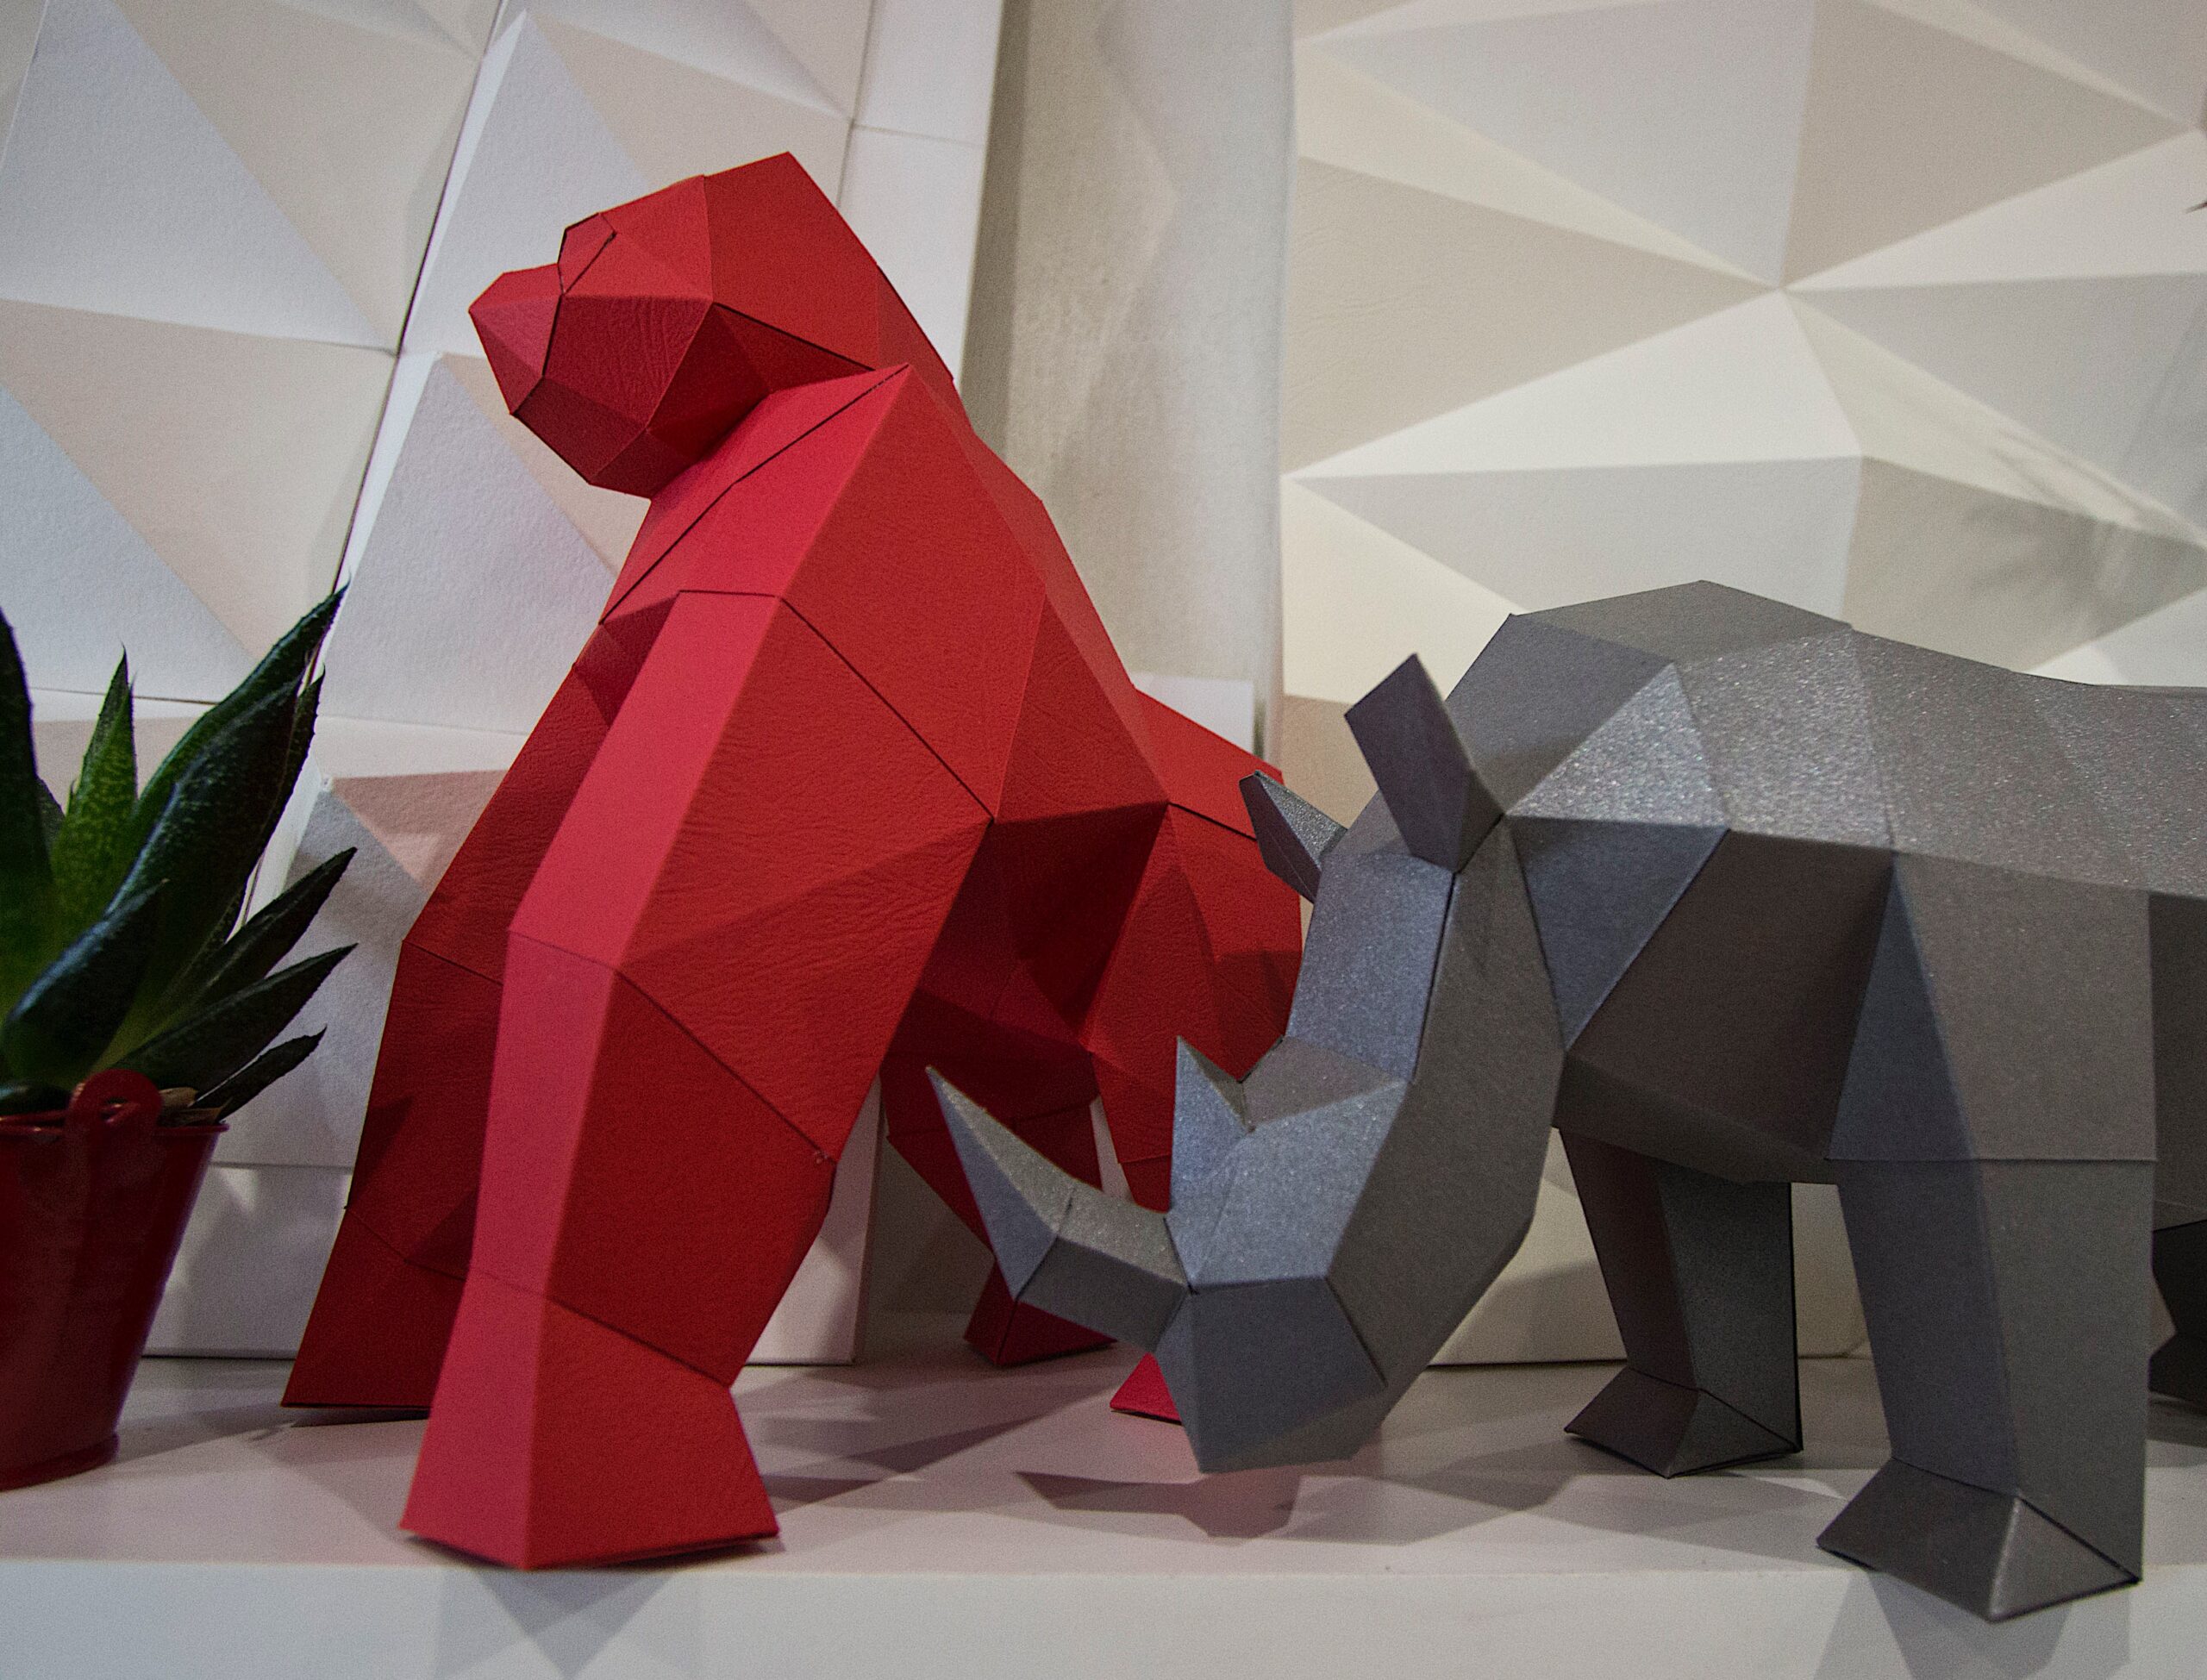
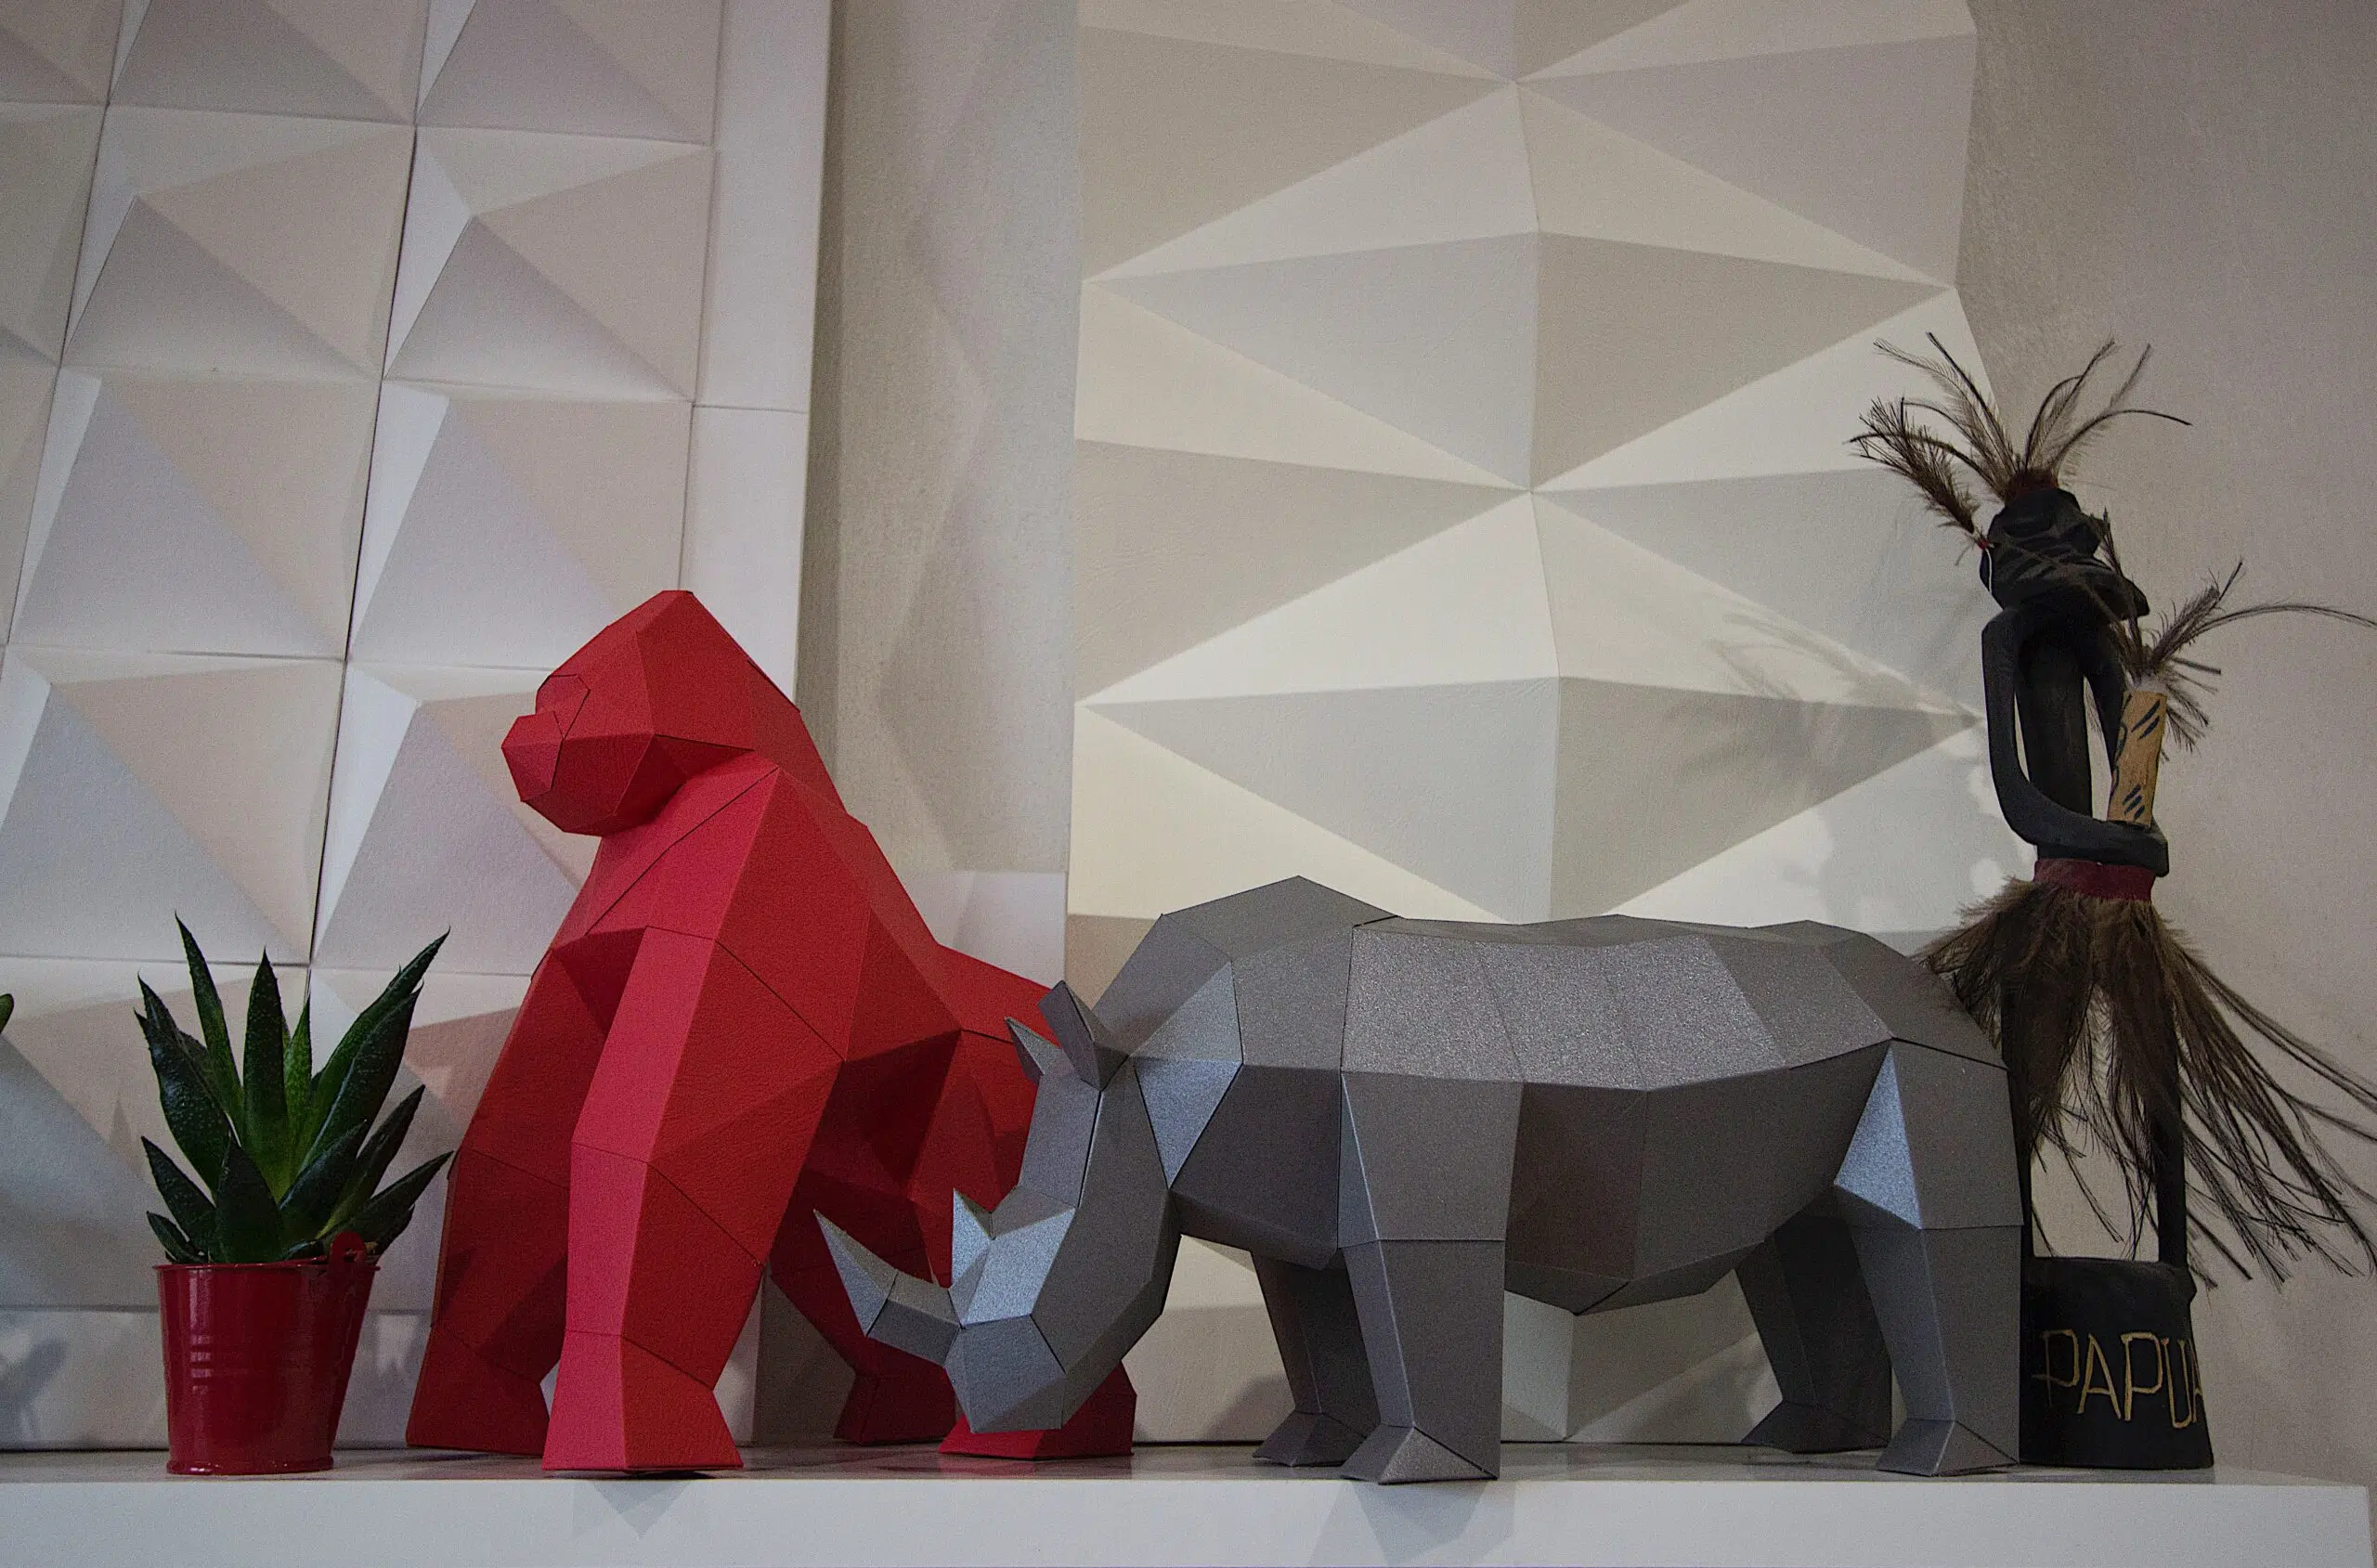


3d papercraft pepakura template, pattern for self assembly polygonal rhino from Africa and safari park, zoo
Papercraft Rhinoceros low poly paper figure
this is PDF patern ! not ready made model!
For assembling. Print this pattern on 11 A4 cardstock 200-300gsm scale 100%
Size for A4 paper
Height -230mm (9 inch)
Depth -490mm (19,3 inch)
Width -161mm (6,3 inch)
color scheme
sheet 1-11 gray
you can use your favorite color try to experiment!
Use this step by step guide for best result
Step 1
Start the assembly from the horn (part 1 and 2) glue it to the front of the muzzle (3).
Take the second horn (4a) paste it into the part 4b. Glue the resulting design to the muzzle.
Step 2
Stick parts according to larger numbers. until you get to the details 14.
Collect the legs rhinoceros separately, start from the feet (15a, 15b and 16a, 16b) and paste them into the
figure.
Step 3
Glue the part 17 between the legs, then continue to glue the parts in order until you reach the part number 23.
Glue the parts 24a and 24b, connect them together. Glue the resulting design to the figure.
Step 4
Glue the details 25 26 and 27. Now glue one leg from the foot (28a, 28b) paste it into the rhino. Now glue the part 29 and complete the assembly with the piece 30 by gluing at the very end a place marked “last detail”.
Step 5
Take a picture of the finished work and share in social networks.
Please mark me on the photo @papercraftfreak and use a hashtag #papercraftfreak
Assembly tips
Finish assembly the rhino on the foot of the hind leg. At the very end, glue the place marked, “last detail.”
Follow the big numbers and you will succeed Some flaps are enlarged for easy assembly
Every detail has its own number with large symbols. Follow these numbers for your convenience.
Enjoy it !
If you want to make model more in size, type the pattern on a3 size paper and scale up to 145%.