


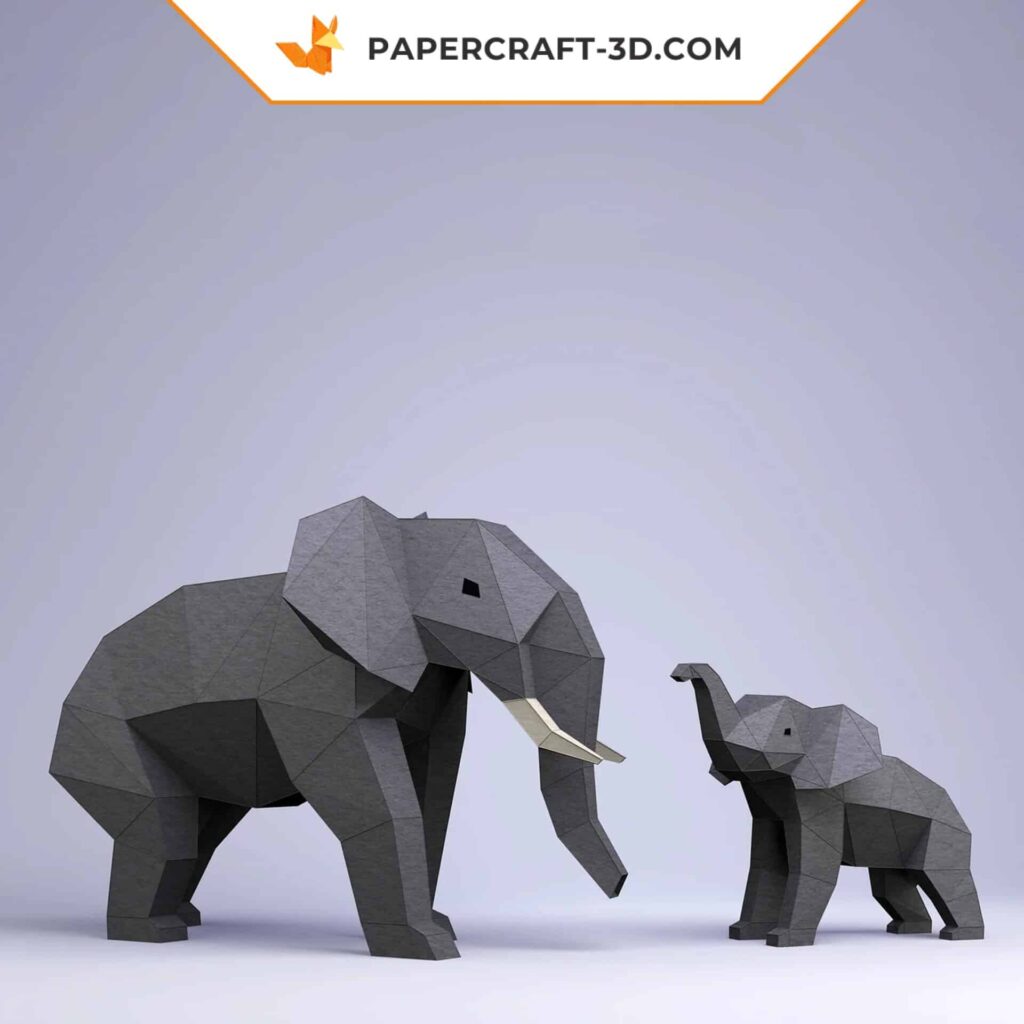
A majestic elephant coming to life, fold by fold
Sometimes, all it takes is a few sheets of paper to create a powerful presence. With this 3D origami elephant papercraft, you build much more than a decorative object: you shape a strong, graphic, almost sculptural silhouette. Each piece fits together with precision, and little by little, the elephant takes form, calm and impressive.
The finished model features well-balanced proportions: 285 mm high, 267 mm wide, and 377 mm deep. An ideal size to enhance a wall, shelf, or desk, while never going unnoticed. The assembly requires focus, but remains accessible if you enjoy taking your time and working carefully.
Throughout the build, you move step by step thanks to a clear numbering system. Cut, score the folds, glue. Nothing more. The pace slows, the mind focuses, and the object almost naturally comes to life.
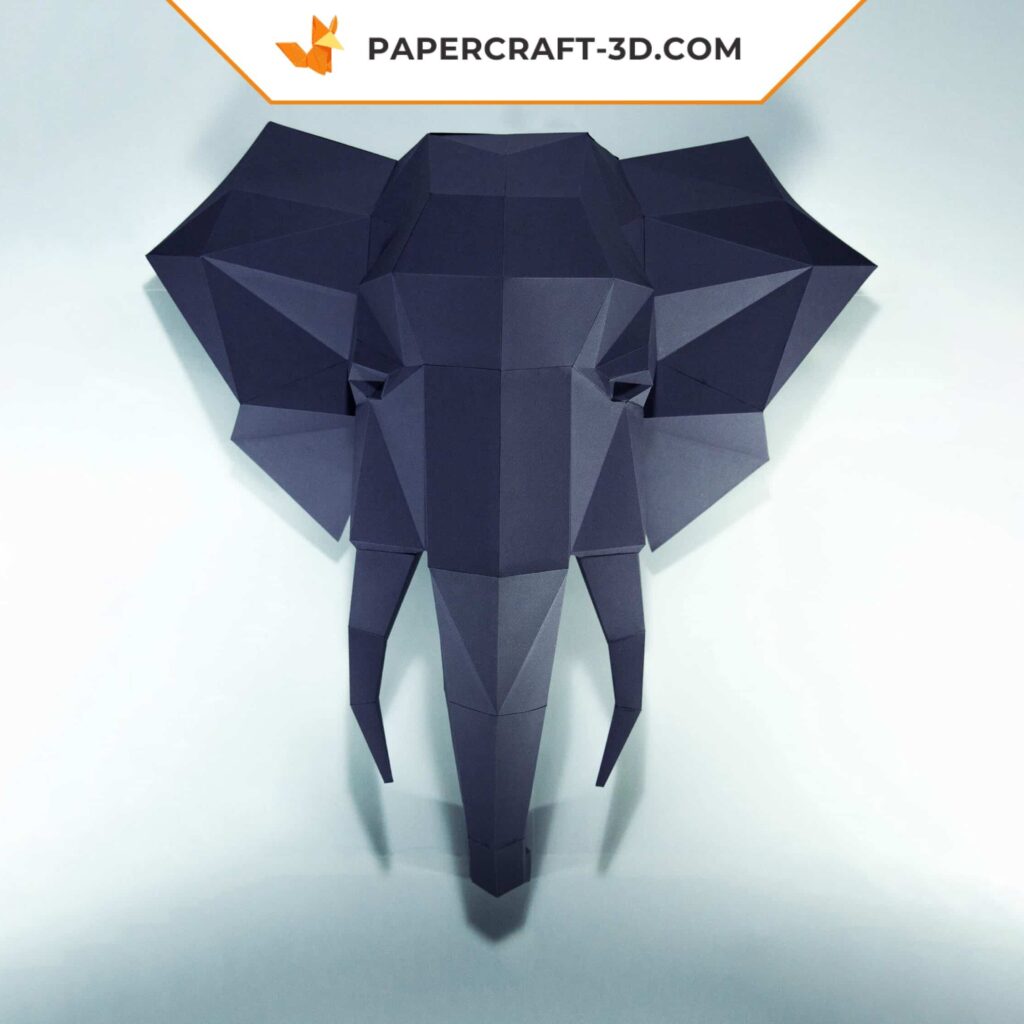
This model is made up of 25 pages, all designed to be printed on a single paper color, ensuring a clean and elegant final look. You are then free to experiment with textures or shades if you wish to personalize the result.
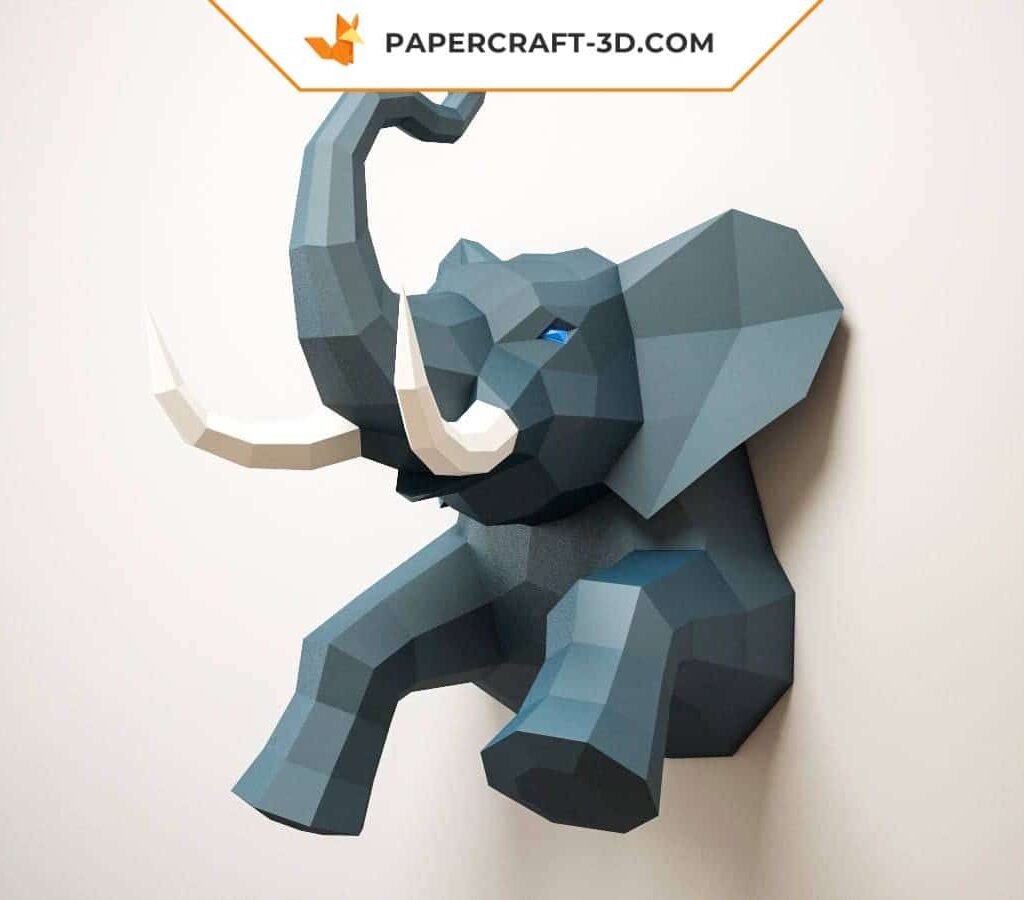
Want to explore more bold and distinctive creations? Discover this model and many others in the dedicated collection: explore the collection models.
A creative project for lovers of precise challenges
With a medium difficulty level and a large number of pieces to assemble, this elephant papercraft is designed for those who enjoy detailed projects where every move matters. The reward is well worth the effort: a striking decorative piece, built entirely by your own hands.


Reviews
There are no reviews yet