


papercraft-3d.com review
from 1237 reviews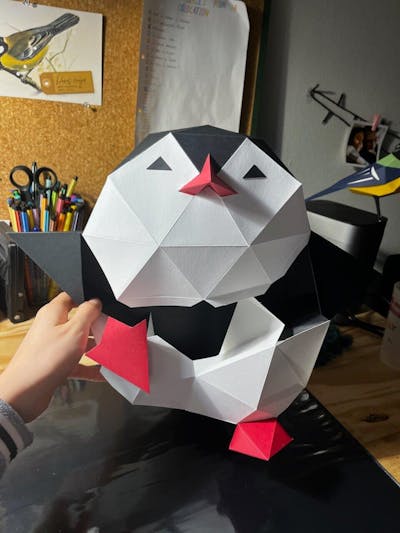
Bonjour,
Voici ci-jointe la photo de mon pinguoin.
J'ai pris beaucoup de plaisir à le faire
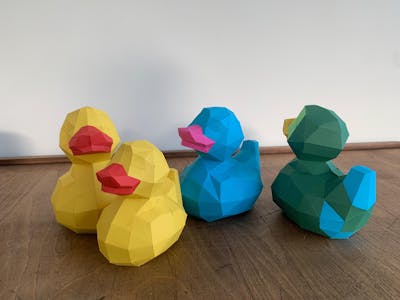
Coin coin

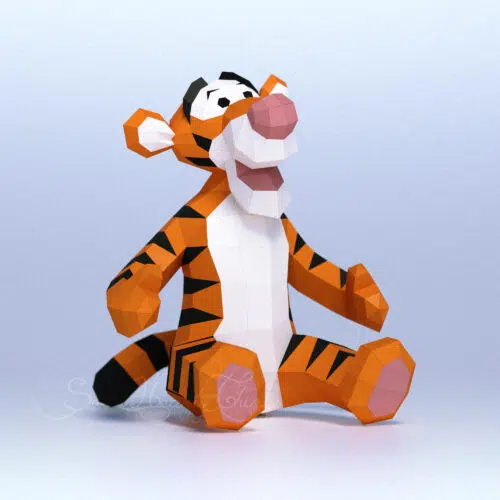
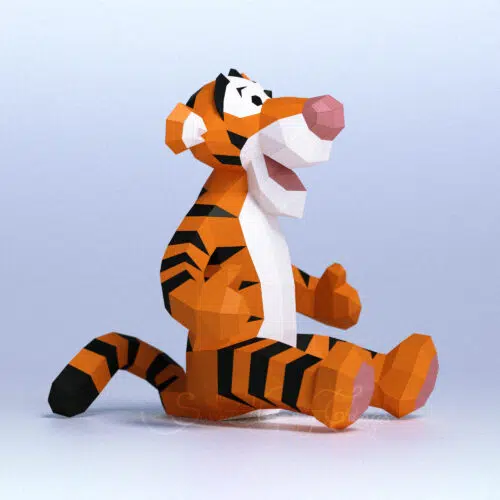
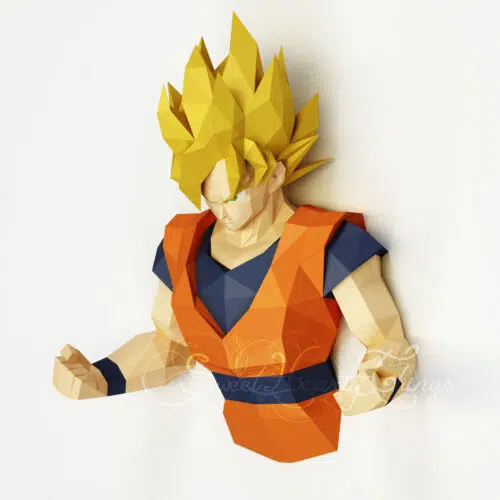
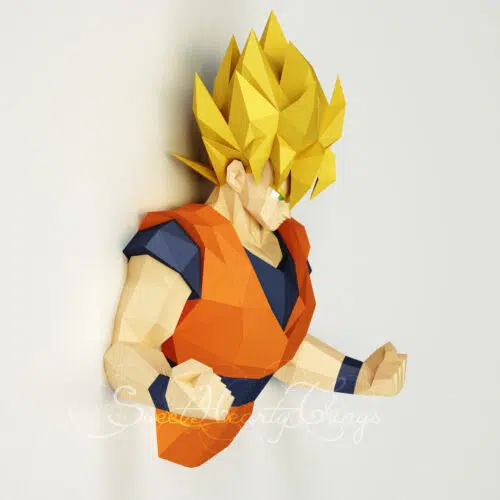
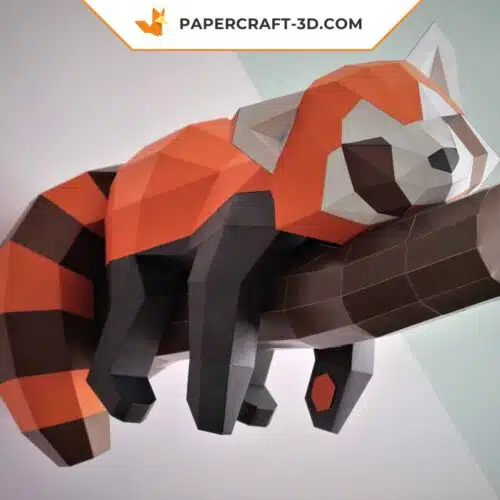
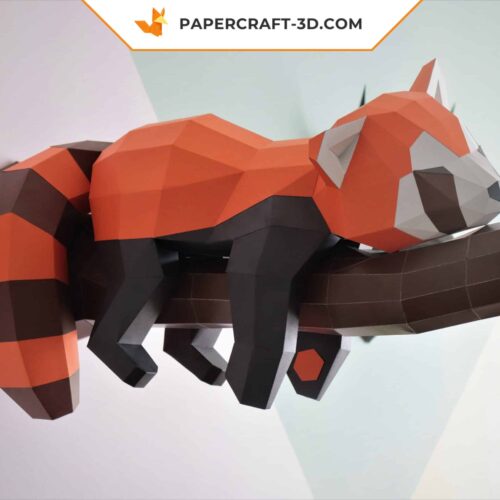
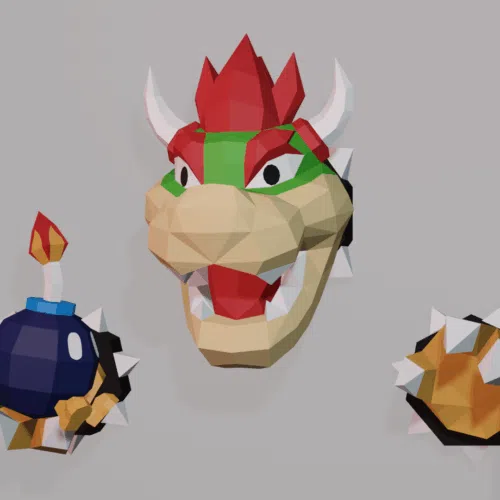
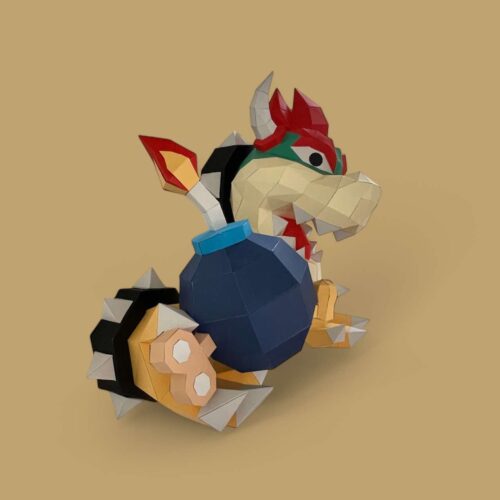
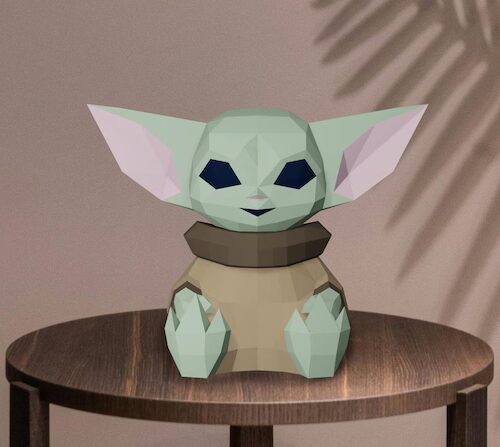
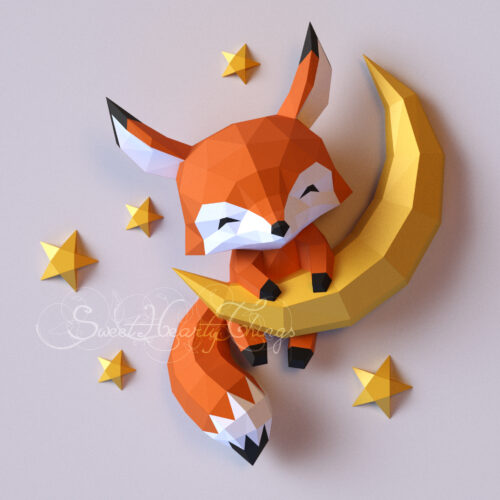
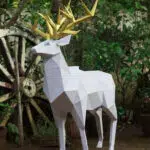
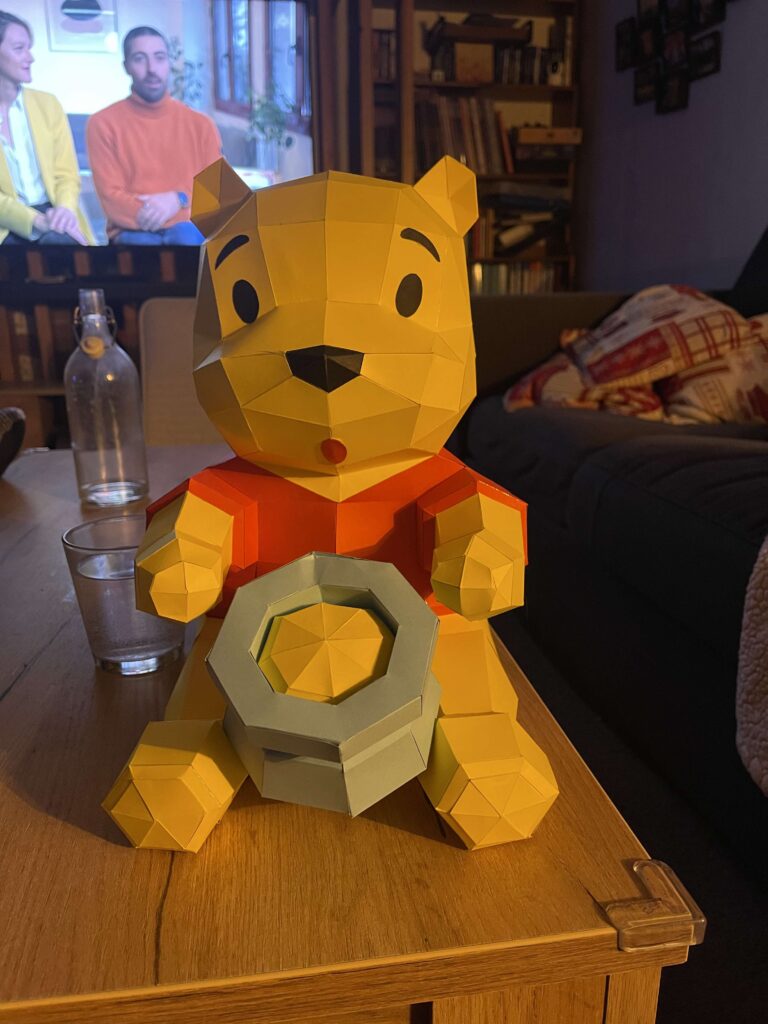
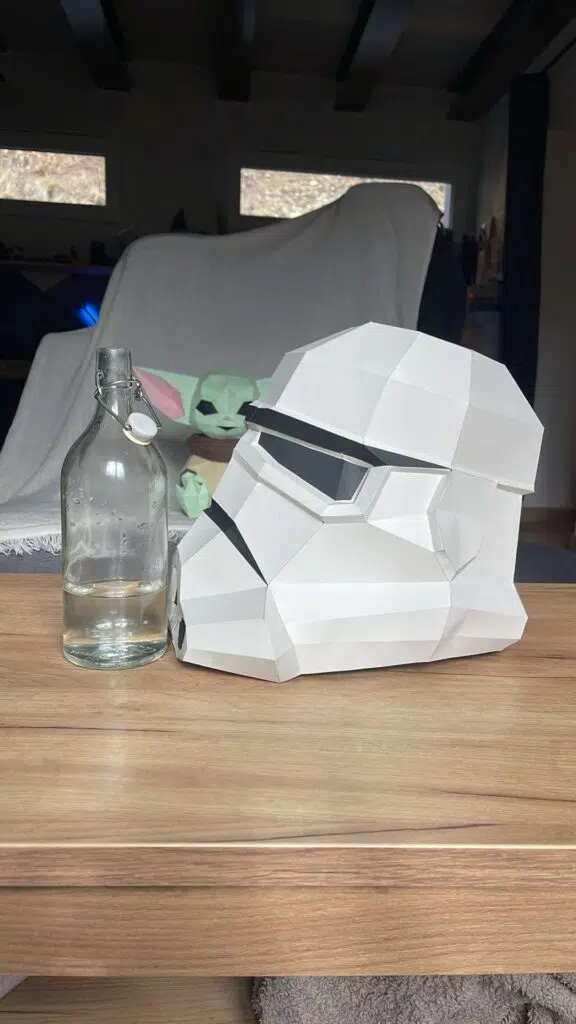
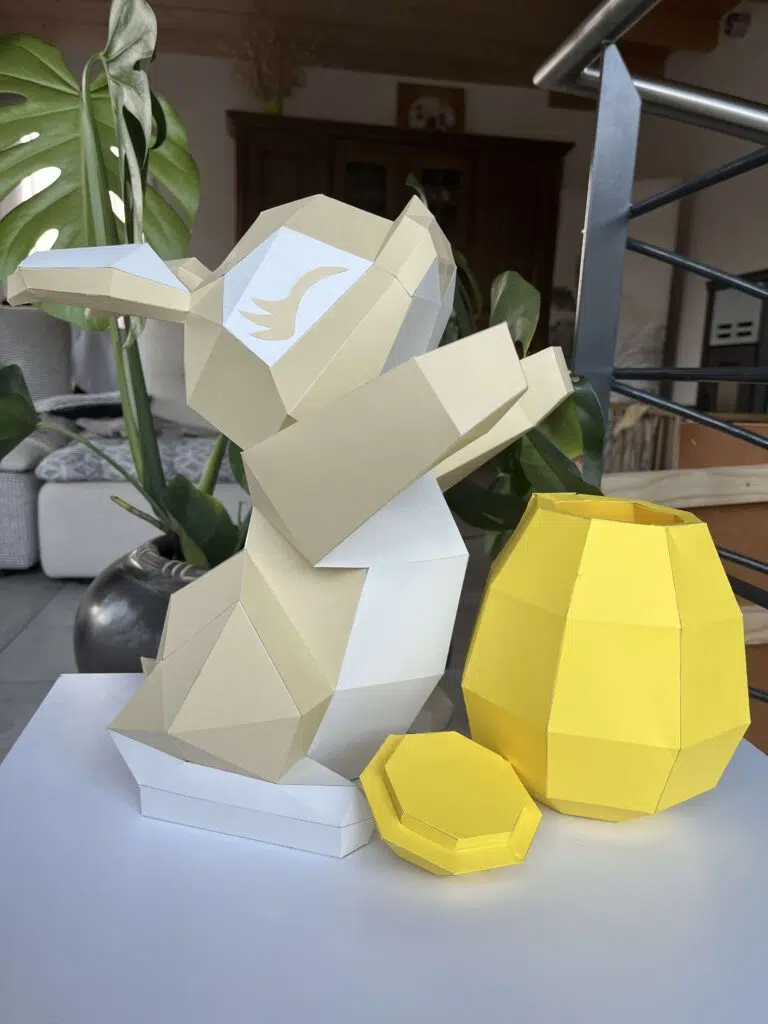
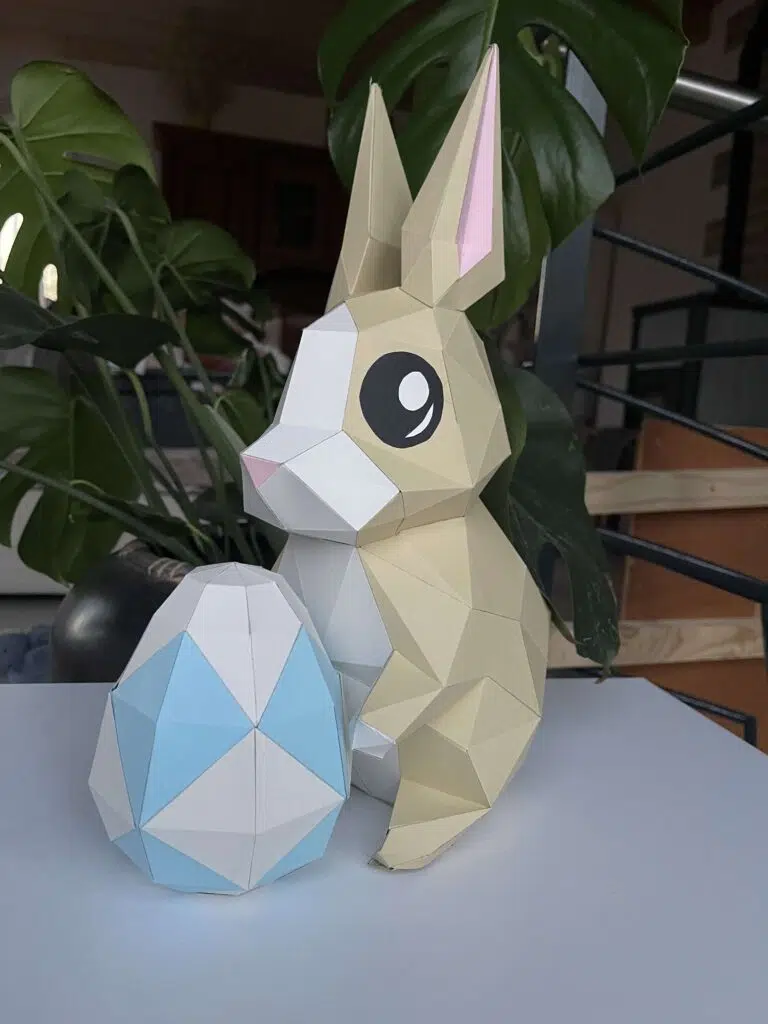
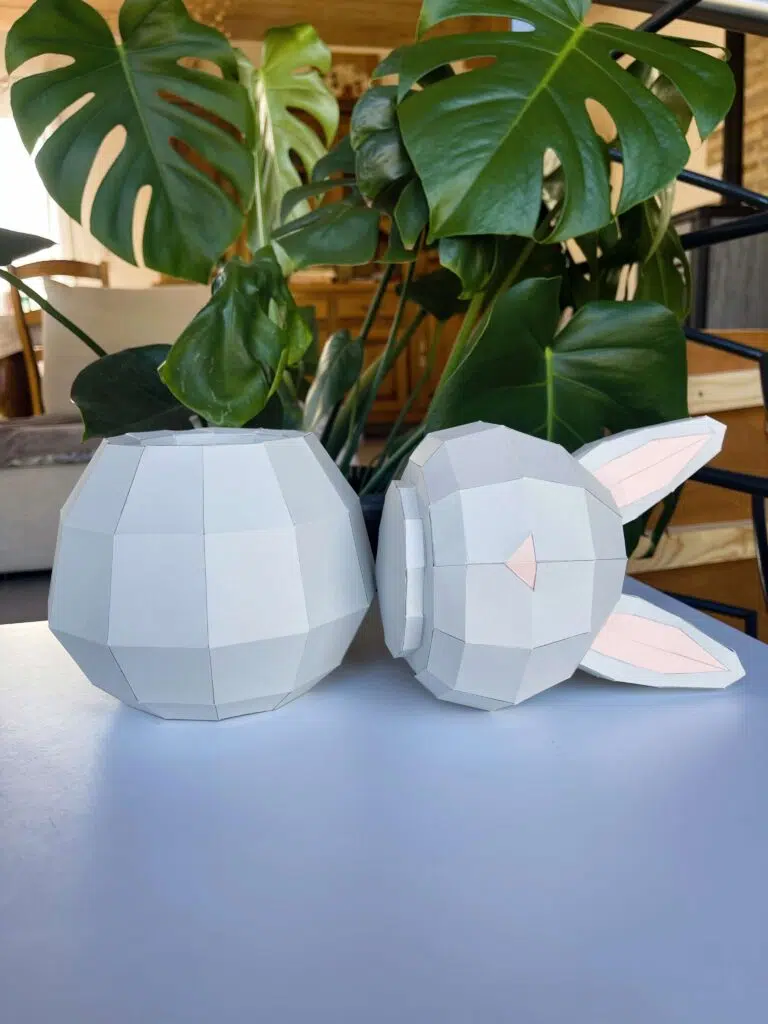
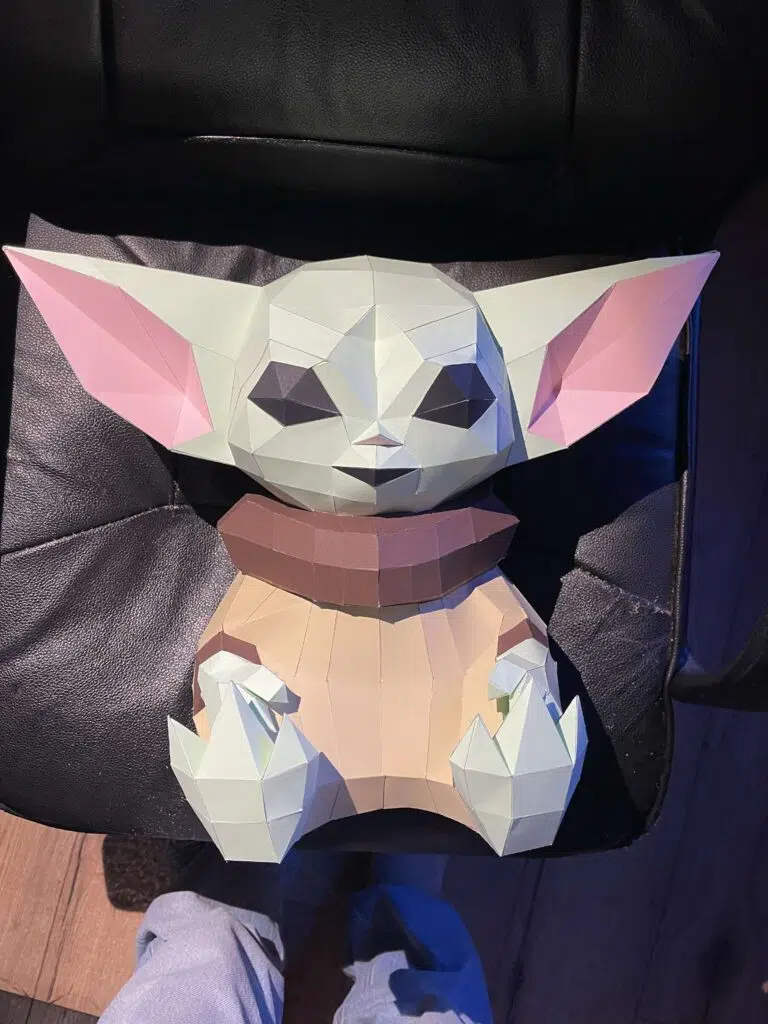
Quelque soit le modèle les invités ont été sidérés par le résultat. Les modèles sont plus ou moins facile à réaliser mais avec de la patience on y arrive.
Simple à faire pour un débutant et une déco originale qui fait déjà son effet !

Très contente de mon achat, fabrication à la main, beaucoup de choix sur le site, réponse aux questions rapides. Vous êtes des artistes, bravo. Il me reste à trouver le temps d'assembler pour réaliser ce joli panda.
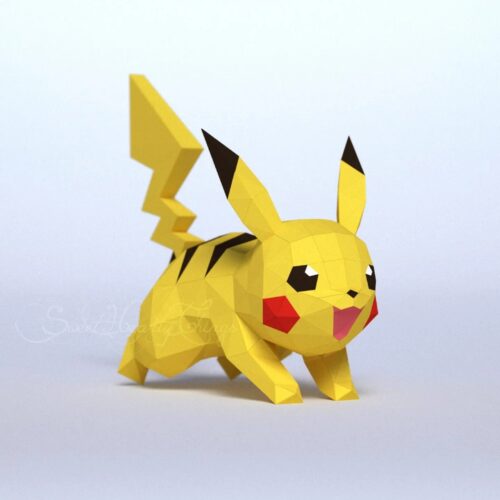
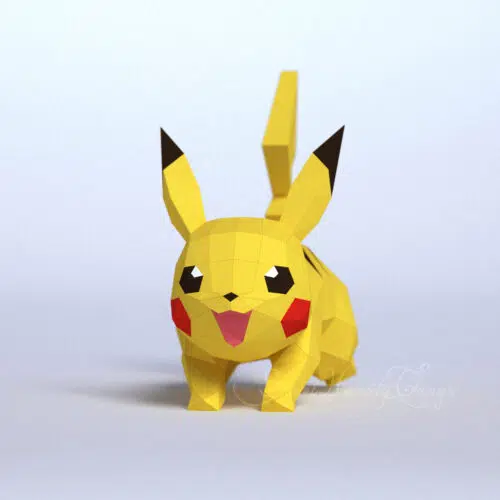
Modèle super sympa
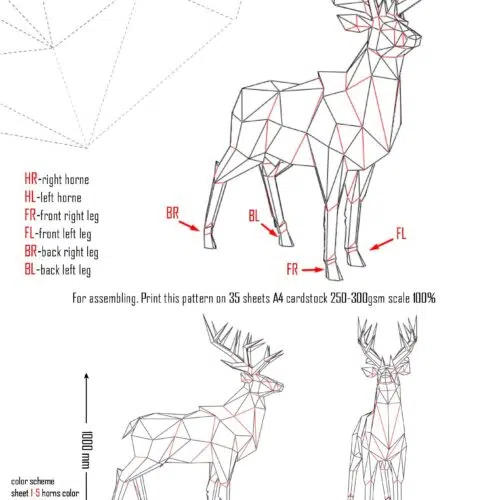
plein de modèles avec des explications très claires
Un modèle facile à faire, vraiment sympa pour la déco ! Merci😊
Le service client a été vraiment compréhensif quand j'ai mentionné que je n'avais pas reçu ma commande. Ils m'ont rapidement envoyé un nouveau colis sans tracas. Très satisfait de la manière dont ils ont géré la situation.

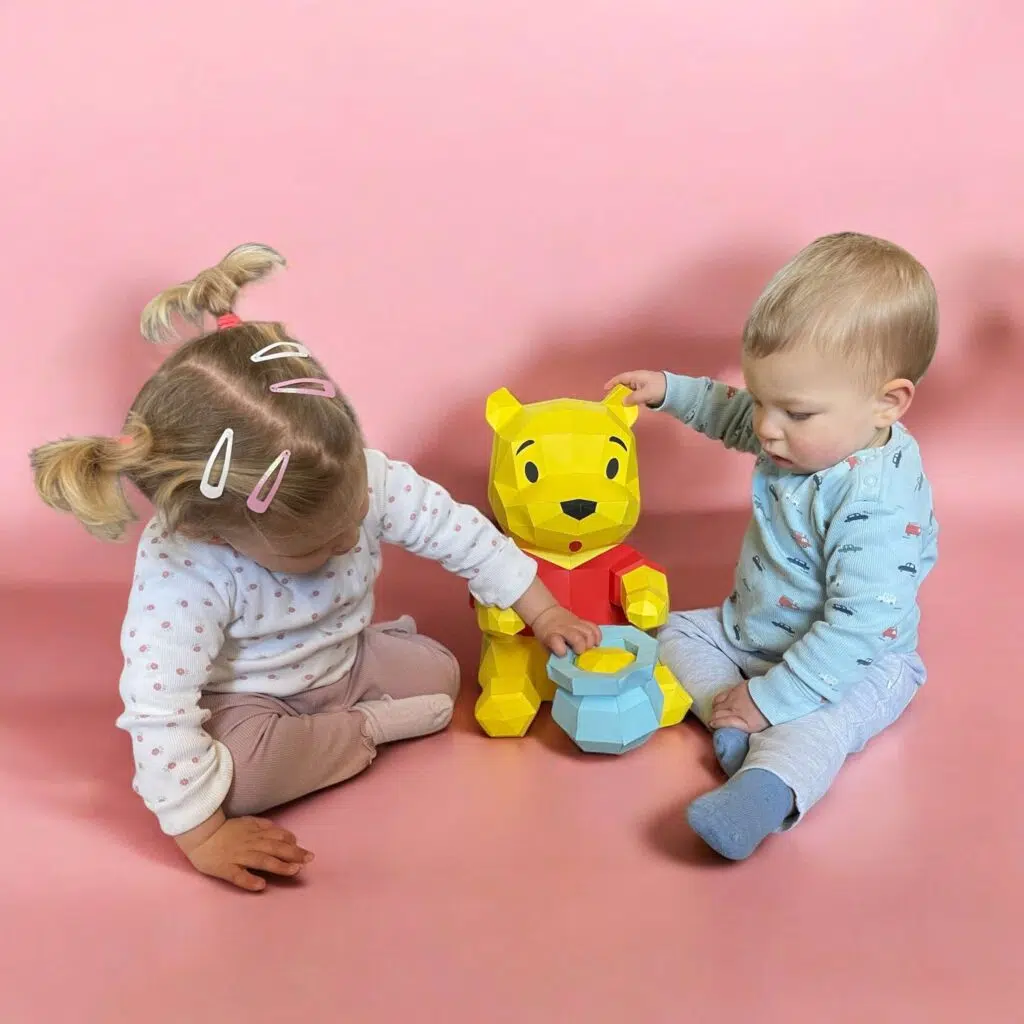
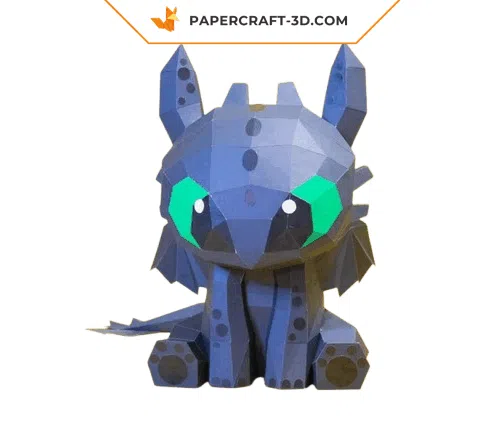
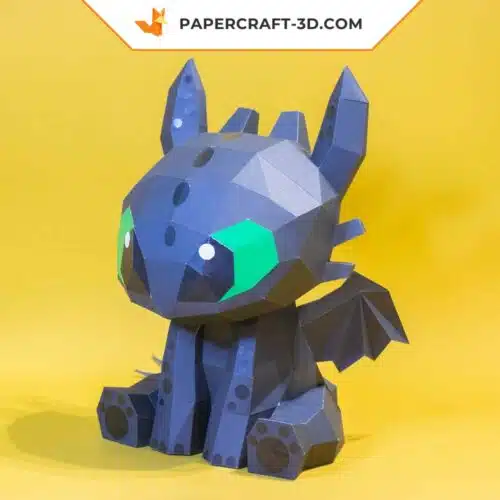
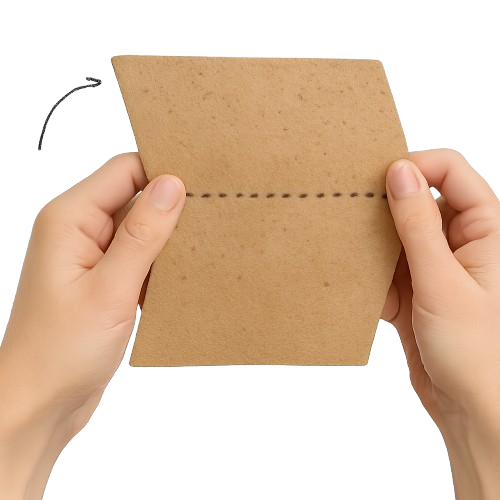
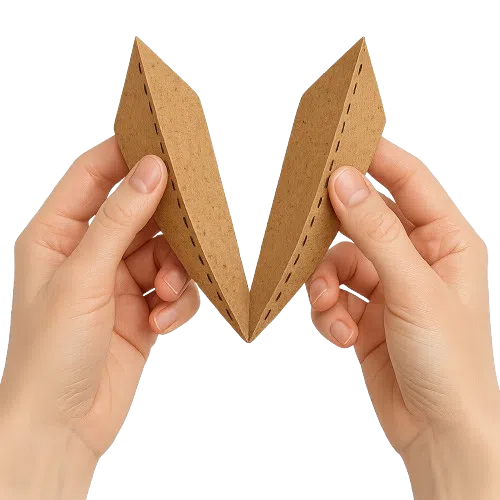
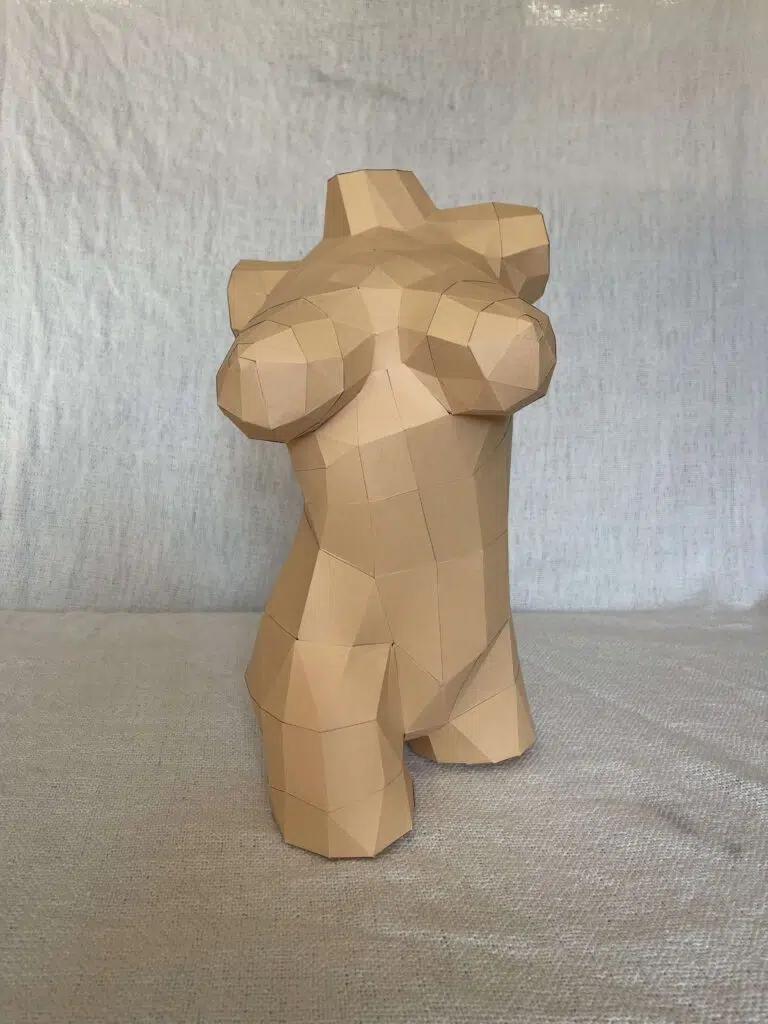
Les origamis 3D sont super amusants à assembler, et une fois terminés, ils font de jolies décorations. C'est une activité relaxante et créative, parfaite pour les après-midis pluvieux.
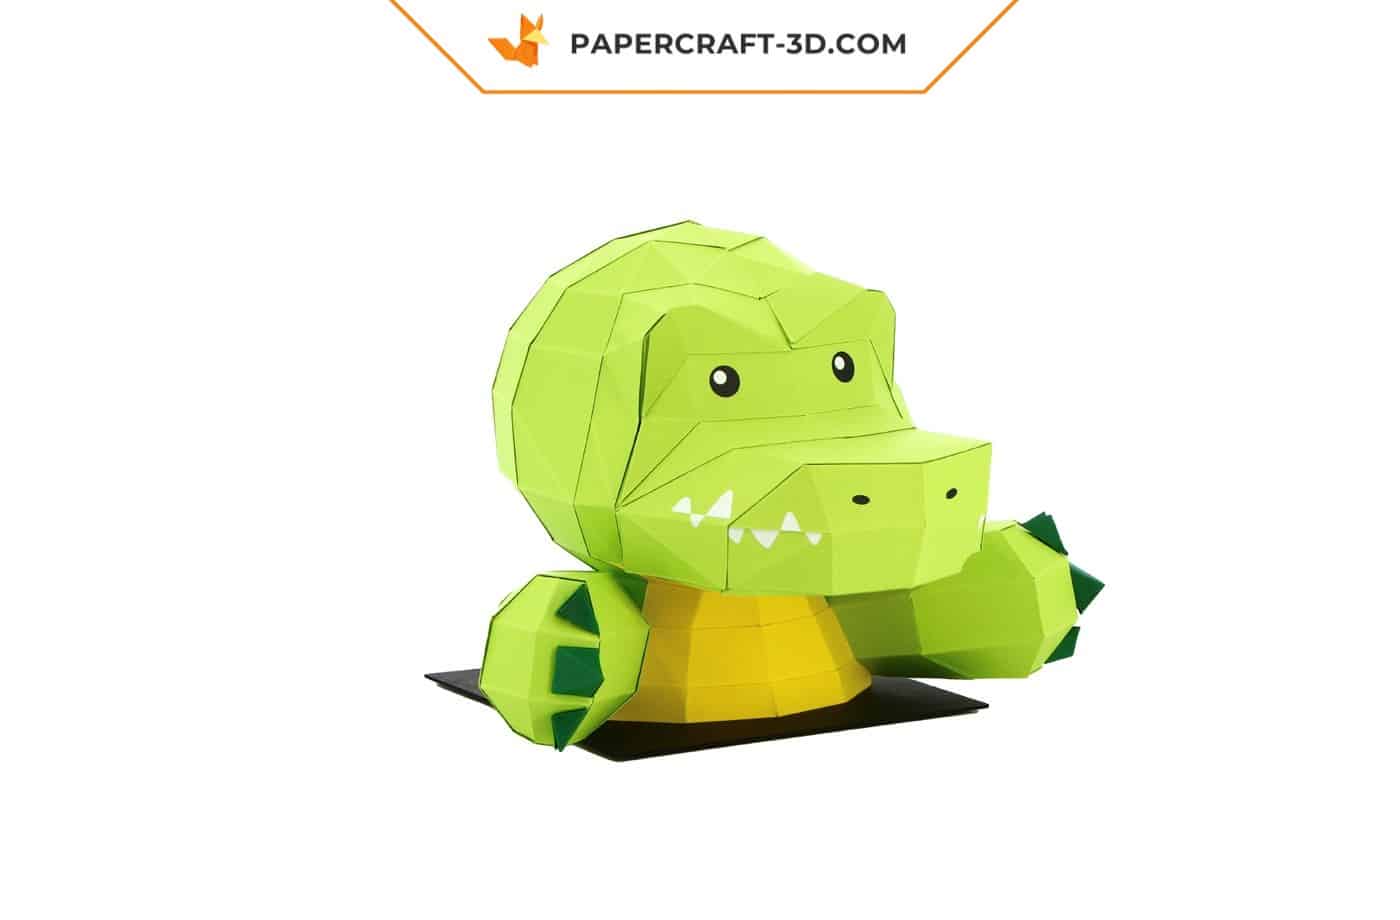
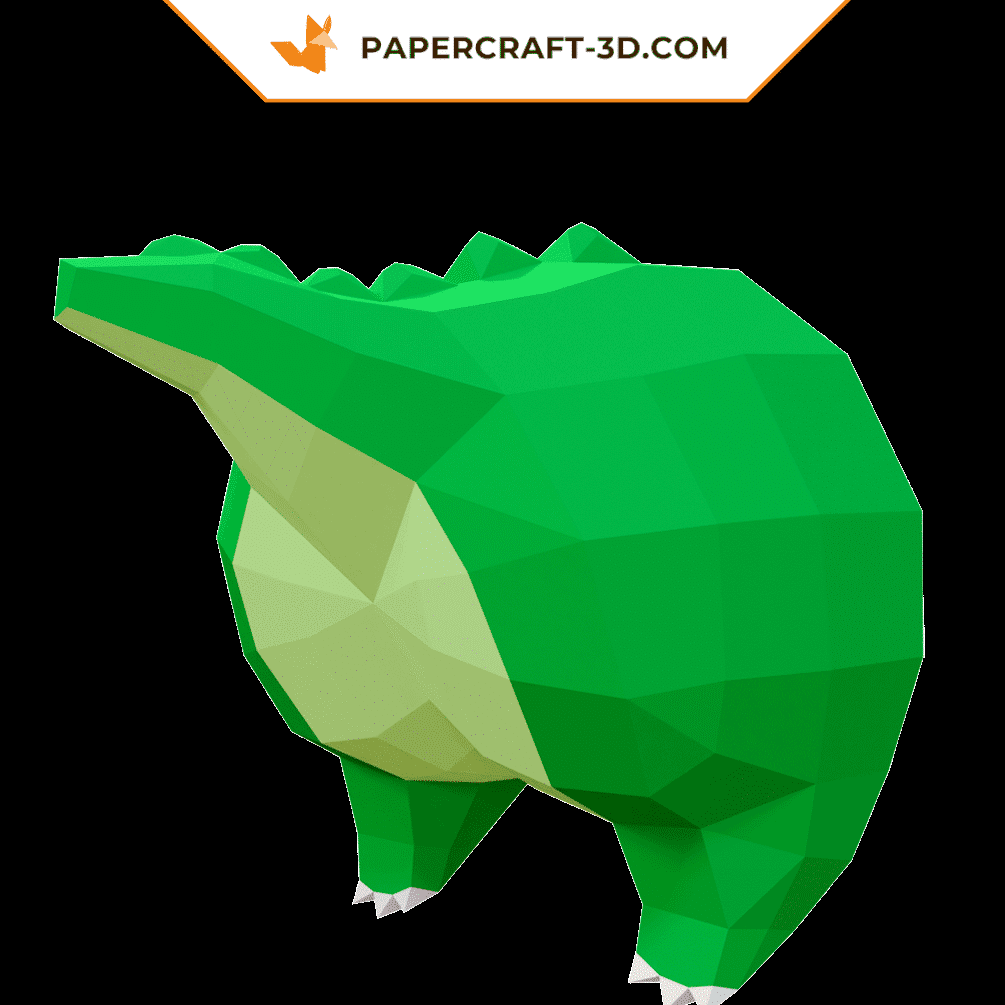
J'ai adoré assembler le petit crocodile ! Les instructions étaient claires et le résultat est vraiment mignon, parfait comme déco pour la chambre de mon fils.
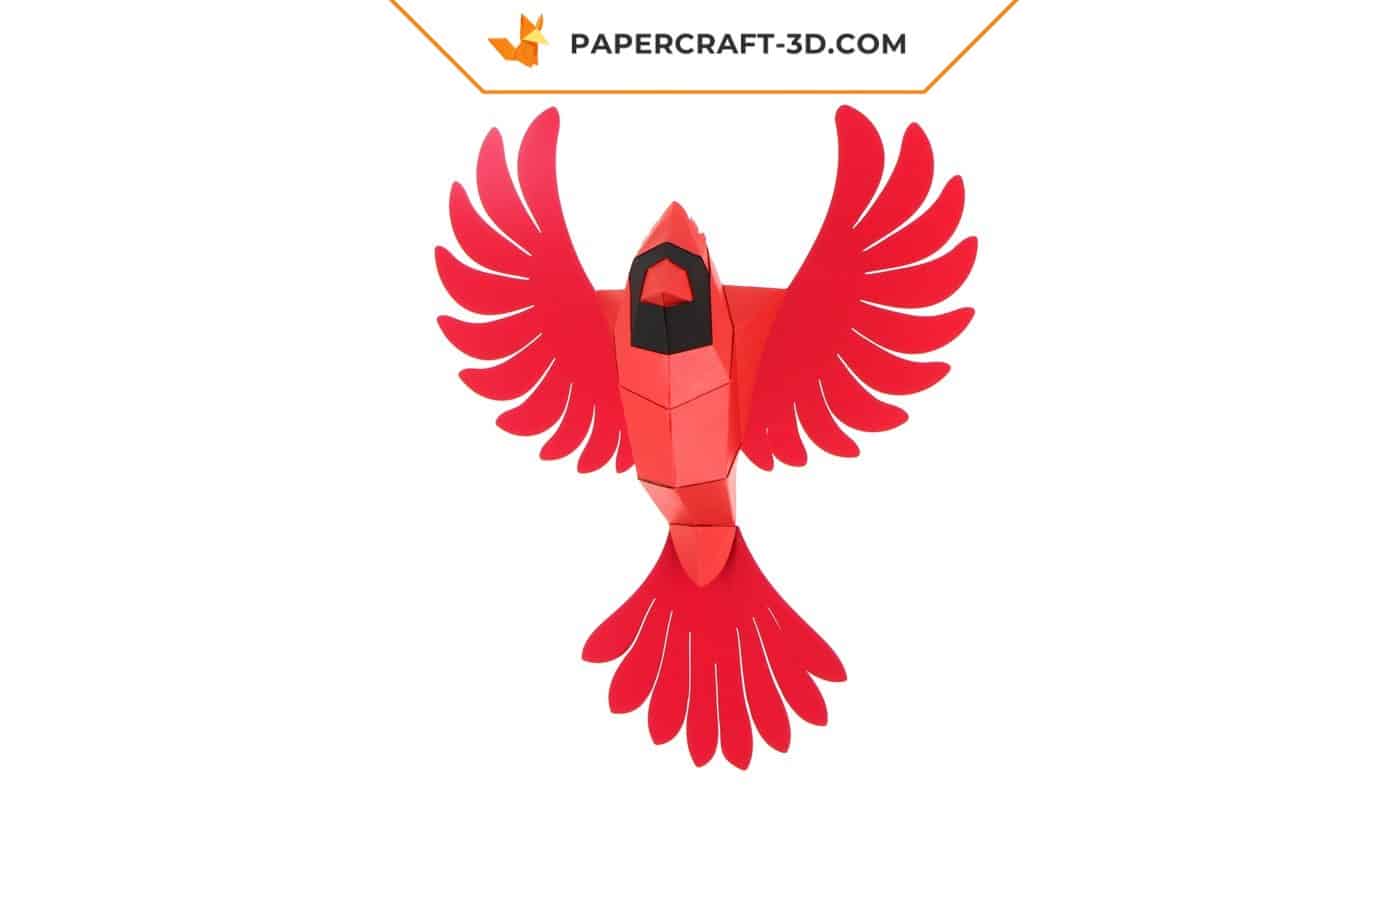
J'ai vraiment apprécié la minutie avec laquelle le cardinal en papier a été emballé. L'utilisation de papier de soie acide-neutral pour la protection et l'emploi d'adhésifs sans résidus pour sécuriser le tout montrent un souci du détail très professionnel. Cela reflète une connaissance approfondie des meilleures pratiques en matière de préservation des créations en papier.
Franchement cool, facile à monter et le résultat est top. J'recommande grave!

Je suis vraiment content de cet achat, c'est super.
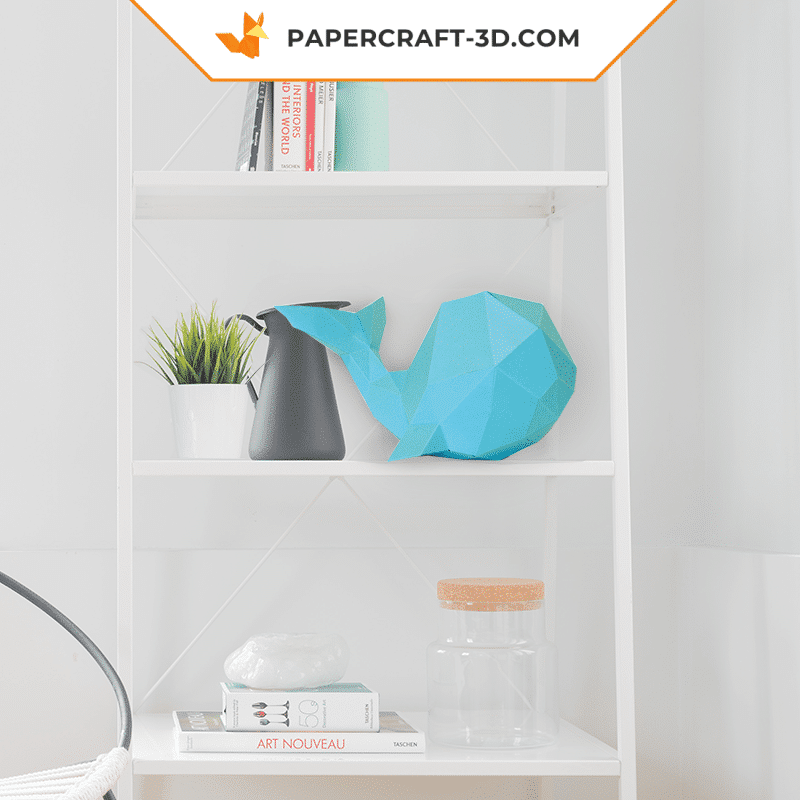
Il y avait pas mal de choix, ce qui était assez impressionnant, mais je m'attendais à plus de variétés de baleines.
Le concept est sympa, mais c'est un peu compliqué à assembler si on n'a pas l'habitude des origamis. 😕